User Guide - Overview
The vertex-threat-intel Power-Up provides a structured means for analysts to create, manage, link, track, and compare common threat intelligence objects.
The Power-Up installs a dedicated Workflow that simplifies the tracking of operational and strategic data for:
Threat clusters and threat groups
Malware families, tools, and software
Techniques / TTPs
Victimology / targeting
Associated alerts, attacks, compromises, and campaigns
Assessed goals
Related reporting
Like all data in Synapse, these objects can be created, viewed, and managed directly from the Research Tool. However, the vertex-threat-intel Workflow provides a dedicated interface to assist with these common analysis tasks. Because Workflows are tightly integrated with other Synapse components, analysts can easily switch between the Workflow and the Research Tool as needed.
This section of the User Guide provides an overview of the vertex-threat-intel Workflow and general instructions for how to perform these common tasks:
Other sections of the User Guide provide more detailed information:
User Guide - Threat Intel Model includes descriptions of each threat intelligence object and its intended use. This section provides valuable background if you are new to the threat intelligence portion of the Synapse data model.
User Guide - Object Details provides additional information on working with specific threat intelligence objects, such as threat clusters, techniques, or goals. While you create, view, and modify all of the threat intelligence objects in similar ways, individual objects may have additional options or considerations.
User Guide - Configuration provides information for Synapse Administrators on vertex-threat-intel Power-Up features that can be configured and managed via the Configuration Workflow.
Tip
Other Synapse Power-Ups may create and populate threat intelligence objects (such as threat clusters, tools, alerts, and so on). Any nodes, tags, and light edges created will depend on the specific Power-Up and / or the data available from any third-party provider.
Workflow Overview
The Workflow can be accessed from the Workflows Tool:
Scroll or search to locate the vertex-threat-intel Workflow. Select Threat Intel to open the analysis Workflow:
The vertex-threat-intel Workflow has two main sections:
The Selection Panel on the left is used to search, view, and create various threat intel objects.
The Profile Panel on the right is used to view and update detailed information about any object you choose from the Selection Panel.
Selection Panel
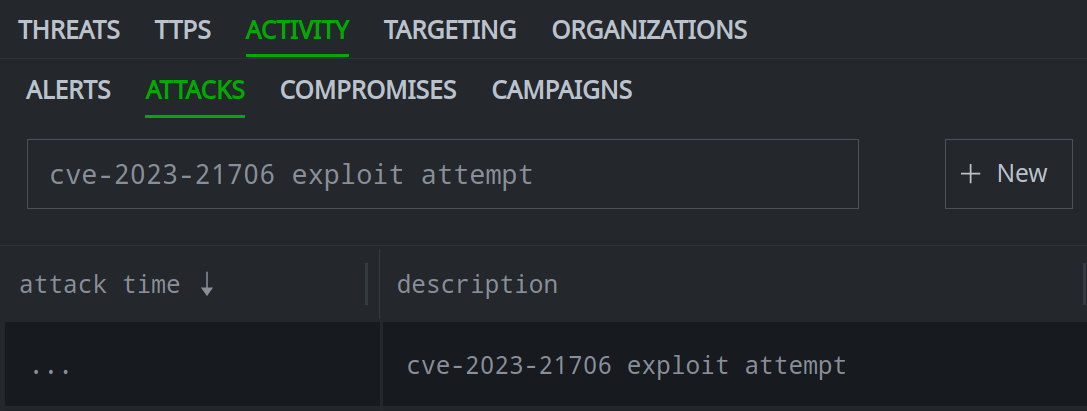
The Selection Panel consists of a set of primary tabs that represent the types of threat intelligence data you can view through the Workflow:

Each primary tab has a set of secondary tabs that are displayed when you click the primary tab. Each secondary tab represents a specific threat intelligence object:

When you click a secondary tab, you can search / select a specific object, or click the + New button to create the object if it does not exist:
When you select a specific object from the Selection Panel, information about the object is displayed in the Profile Panel.
Tips
You can work with objects in the Selection Panel the same way you work with objects in the Research Tool, Tabular display mode:
Click (or right-click) a column header to sort the column:
Note
Columns in the Workflow are preset and not configurable. You cannot add or reorder columns. Clicking the hide X option will remove a column; removed columns will be restored the next time you load a new instance of the Workflow (i.e., after you exit the Workflow / load a different Workflow, then return to the Threat Intel Workflow) or refresh your browser.
Right-click any object to access the context menu:
The same context menu used in the Research Tool is available from the Selection Panel, so you can add tags, view documentation, run Node Actions, and so on. Selecting any query option will switch to the Research Tool (Tabular mode) to run the query and display the results.
Double-click any property to edit the value.
Press Enter to save your changes:
Profile Panel
Click an object in the Selection Panel to view its information in the Profile Panel.
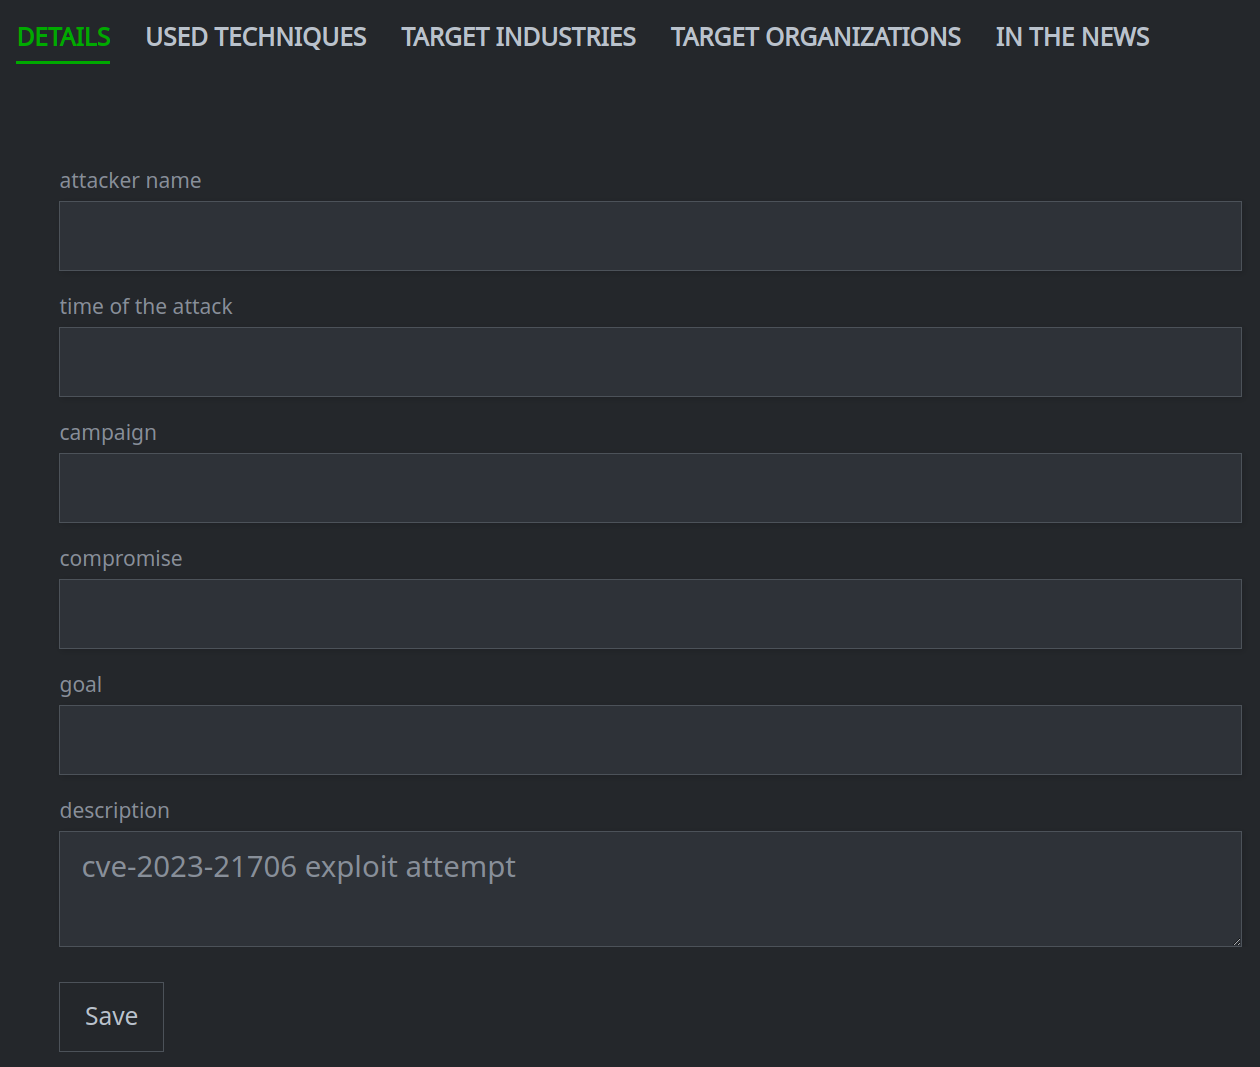
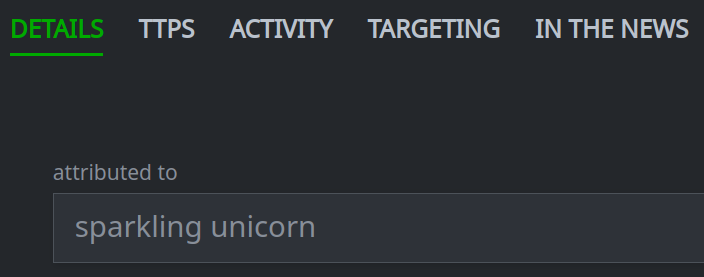
By default, the Profile Panel will display the DETAILS primary tab for the object.
Click any primary tab in the Profile Panel to either display the contents of that tab, or display a set of secondary tabs to select from.
Use the Profile Panel to Work with Threat Intel Objects.
Search for a Threat Intel Object
You can search for various threat intelligence objects through the Selection Panel.
All objects in the Selection Panel include a Search field. When searching in the Selection Panel, Synapse will attempt to match:
the start (prefix) of the value(s) you are searching; or
any text within the value (if the synapse-search Advanced Power-Up is installed).
Tip
Prefix searches will match based on one (or more) characters. Text searches must match the beginning of a token (term / word) and must match on a minimum of five characters.
The Search field for some objects will search multiple property values. For example, the Search field for threat clusters and tools will search both the threat or tool name / names and the reporter name.
In the Selection Panel, click the primary tab that contains the object you want to search.
Click the secondary tab for the specific object.
Enter your search term in the Search name by prefix and full text field.
Click the object you want to view to see its details in the Profile Panel.
If the object is not found, you can Create a Threat Intel Object.
Create a Threat Intel Object
You can create various threat intelligence objects (nodes) through the Selection Panel.
The steps to create a node are similar across all node types. In some cases, additional options can be selected when you create certain nodes; these options are addressed in the User Guide - Object Details in the section for the associated object (e.g., “threat cluster”, “software”, etc.).
In the Selection Panel, click the primary tab that contains the object you want to create.
Click the secondary tab for the object.
Click the + New button:
In the Create new… dialog box, enter the requested value(s).
Click the Create button to create the node.
Your newly created node will be shown and automatically selected in the Selection Panel:
The newly created node’s DETAILS will be displayed in the Profile Panel:
You can set additional properties for the node and link the node to other objects using the various tabs in the Profile Panel. See Work with Threat Intel Objects.
Note
When creating a new node, Synapse will first attempt to deconflict against existing nodes - that is, try to identify an existing node whose property (or properties) exactly match the values you enter in the Create new… dialog box. If a match is found, Synapse will display the existing node; if not, Synapse will create a new one.
This deconfliction is straightforward for nodes such as Tools, which are deconflicted on the tool name and reporter name - these are likely to be short, well-defined strings.
Deconfliction may be more challenging for nodes whose input value is a freeform name or description. For example, if you create a new technique named “Use of Oxford Comma”, Synapse will not be able to deconflict your node against similarly named techniques (“Oxford Comma”, “Oxford Comma Usage”, etc.)
We recommend using the Selection Panel to Search for a Threat Intel Object before creating a new node.
Work with Threat Intel Objects
The Profile Panel allows you to display and work with any threat intelligence object. The primary uses are:
To work with an object in the Profile Panel, first Search for a Threat Intel Object or Create a Threat Intel Object in the Selection Panel.
While there are several threat intel objects in Synapse (from threat clusters to techniques to goals), many of the relationships are similar, and are set in similar ways. For example:
Threats, tools / software, and various kinds of activity (from attacks to campaigns) can all use various techniques.
Any object, from a vulnerability to threat to a victim organization, may be referenced in a blog, news article, or similar source.
Many objects (including threat groups, campaigns, and attacks) can have assessed goals.
Various entities (including organizations and industries) can be targeted.
Different activities (such as attacks or compromises) can be attributed to a threat cluster or threat group.
The Profile Panel allows you to view and set these relationships - the “profile” of any object - without worrying about “how” those relationships are represented in Synapse (e.g., via a property, light edge, or tag).
For additional information on threat intelligence objects and their intended use, see the User Guide - Threat Intel Model.
Tip
The vertex-threat-intel Workflow allows analysts to view, create, and link the most common forms, properties, and relationships (light edges) used in threat intelligence analysis. You can always view and work with the full range of Synapse nodes, properties, tags, and light edges in the Research Tool.
Set Details for an Object
The steps to set or modify the details for an object are similar across all object types.
Note
All changes made through the DETAILS tab must be saved by clicking the Save button:

In the Selection Panel, select the object you want to view:
In the Profile Panel, click the DETAILS tab:
3a. Set (or update) a standard (single value) property:
Enter the value in the appropriate field.
3b. Remove a standard (single value) property:
Remove the value from the appropriate field.
Tip
This deletes the property from the node (vs. setting an empty value). Recall that all deletions must be made in the layer where the data resides (i.e., cannot be made in a fork of that layer).
3c. Add a value to a multi-value (array) property:
Click the + add item button for the property you want to modify.
Enter a value for the property and press Enter.
Tip
Synapse will attempt to match existing values for the property, or you can create a new one if the value does not exist.
3d. Edit a value in a multi-value (array) property:
Double-click the item you want to modify.
Enter a value for the property and press Enter.
3e. Remove a value from a multi-value (array) property:
Click the X on the item you want to remove.
Click Confirm in the dialog to remove the item.
Tip
The DETAILS tab displays and allows you to modify a useful subset of properties for a given node. To view or edit other properties, right-click the object in the Selection Panel and select query > selected node to view / edit the node in the Research Tool.
Note
The DETAILS tab for some objects may include additional object-specific buttons or other options. See the User Guide - Object Details for additional information on specific objects.
Run Consistency Checks
The DETAILS tab for some objects includes a Run consistency checks button. The Workflow can check for potential discrepancies in the profile of a given object.
Any inconsistencies found are displayed in a list. You have the option to resolve each finding separately.
Note
An inconsistency does not necessarily indicate a problem with your profile. These are issues you may wish to address (based on your needs and available data). For example, the consistency checker will indicate if you have a threat cluster without an associated threat group. But it is common to have threat clusters independent of threat groups, particularly for clusters that are new or not yet well-defined.
Whether you address an inconsistency depends on your analysis and how you are using the threat intel model and Workflow.
In the Selection Panel, select the object you want to view:
In the Profile Panel, click the DETAILS tab:
Click the Run consistency checks button to run the checks:

Review any inconsistencies found.
5a. To resolve an inconsistency:
Click the hamburger menu to the left of the item.
Select the resolution option to resolve the issue.
5b. To ignore any inconsistencies and exit the dialog:
Click the X in the upper right of the Resolve inconsistencies dialog:
View Relationships for an Object
The steps to view the profile (relationships) for a given object are similar for all object types.
In the Selection Panel, select the object you want to view:

In the Profile Panel, click the primary tab for the information you want to view. If necessary, click the associated secondary tab.

Modify Relationships for an Object
You can add or remove a relationship from an object using the Profile Panel.
Add a Relationship
In the Selection Panel, select the object to modify.

In the Profile Panel, select the primary tab (and if necessary, secondary tab) for the relationship you want to add.

Click the + Add button to add a relationship.
3a. For a single field search box:
In the search bar, start typing the name of the node you want to add. (Note: Synapse will search and match on the beginning of the name / string.)
Select the node you want to add.
Press Enter to add the node.

Tip
If you do not find the node you are looking for, you can create it by entering the value for the new node in the search bar. Press Enter to create and link the new node.

3b. For a multi-column search box:
In the search bar, enter your search term. (Note: Synapse will search both the beginning of the string (prefix search) and the full text (token search). Token search requires the synapse-search Advanced Power-Up.)
Click the hamburger menu next to the item(s) you want to add and click Link selected node(s). (Note: You can select multiple nodes using shift-click or ctrl-click.)
Tip
If you do not find the node you are looking for, you can create the node through the Selection Panel or the Research Tool.
Remove a Relationship
In the Selection Panel, select the object to modify.
In the Profile Panel, select the primary tab (and if necessary, secondary tab) for the relationship you want to remove.

Click the hamburger menu next to the item you want to remove. Click Remove to remove the item.