Workspaces Tool
The Workspaces Tool can be accessed from the Optic Toolbar:

The Workspaces Tool is used to manage your customized user environment (a Workspace) and to list, view, and manage the Views you have access to.
Workspaces
A Workspace is your Synapse user environment. Workspaces can be customized to tailor your environment to your specific analysis needs. Users can configure (or be given access to) multiple Workspaces that are customized in various ways to support different types of analysis or different workflows.
New Workspaces are “blank slates” with no customizations that can be tailored as needed. Users can also copy existing Workspaces; the new (copied) Workspace will inherit any customizations from the original (and can then be further modified if desired).
Once created, Workspaces can optionally be shared, either with specific users or roles (via permissions) or globally (as a Global Default) with all users of Synapse.
Tip
Many organizations create and share a Workspace (or Workspaces) that are pre-configured with a set of “baseline” customizations to all users or to specialized teams. This saves individual users from having to fully tailor their environment and allows users or teams to start with the same initial settings.
Workspace features that can be explicitly set and customized include:
tag colors (rules and rule order);
node actions (custom right-click menu options);
query preferences (the number of results to load in each Research Tool display mode); and
default preferences (“initial state” settings for the Storm query bar mode and the Research Tool display mode).
For details on configuring these options, see the Workspaces Tool section of the Customize Your Environment guide.
In addition to those items that can be explicitly configured, a Workspace will automatically save the following:
your Tablar display mode columns layout;
your Storm query bar mode (e.g., Lookup, Storm, etc.) in the Research Tool and Console Tool;
the current state of each display mode (e.g., Tabular, Force Graph, etc.); and
your query history in the Research and Console Tools for each query mode.
Tip
Column layouts in Tabular mode are highly customizable and are configurable for each form in the Synapse data model. These per-form display options (i.e., which columns to display in Tabular mode for each form) can be configured in advance as part of a shared Workspace.
See the Research Tool - Tabular Display Mode section of the Customize Your Environment guide for additional detail.
Select a Workspace to Use
In the Top Bar, use the Workspace Selector to choose the Workspace you want to use:
Tip
The Workspace Selector lists all Workspaces that are available to you. It groups Workspaces into sections separated by horizontal lines. Your Favorites are grouped at the top, followed by Workspaces that are directly available to you (such as the built-in Default Workspace and any Workspaces you create), and then Workspaces that are shared with you (either globally or by another user).
Add a Workspace to Favorites
In the Top Bar, use the Workspace Selector to display the list of available Workspaces. Click the star icon next to the Workspace name to add it to your Favorites:
Create a new Workspace
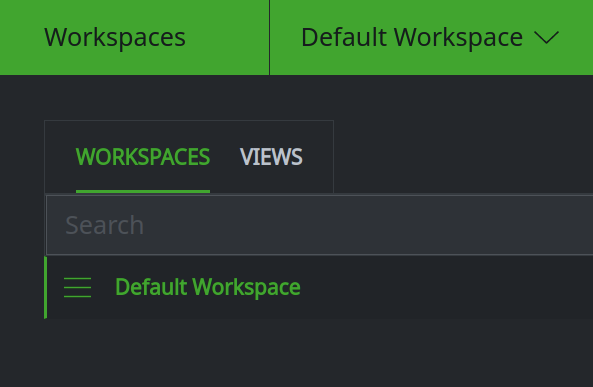
In the Workspaces Tool, select the WORKSPACES tab:
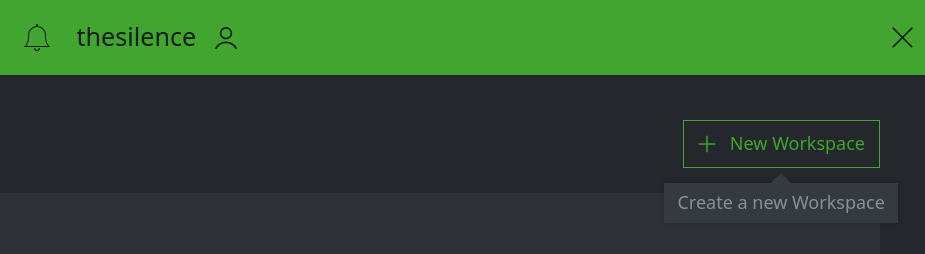
Click the + New Workspace button:
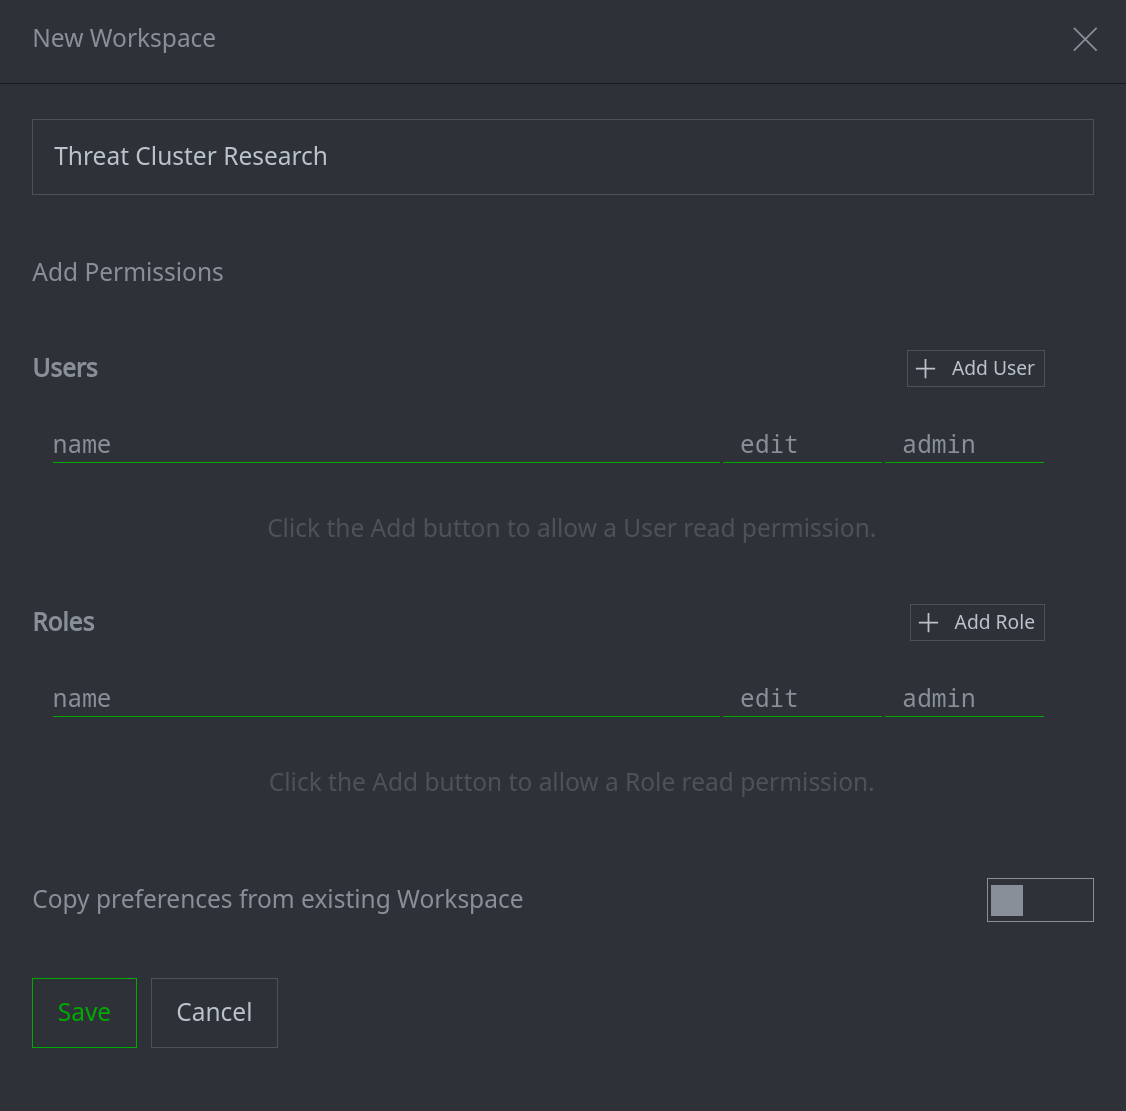
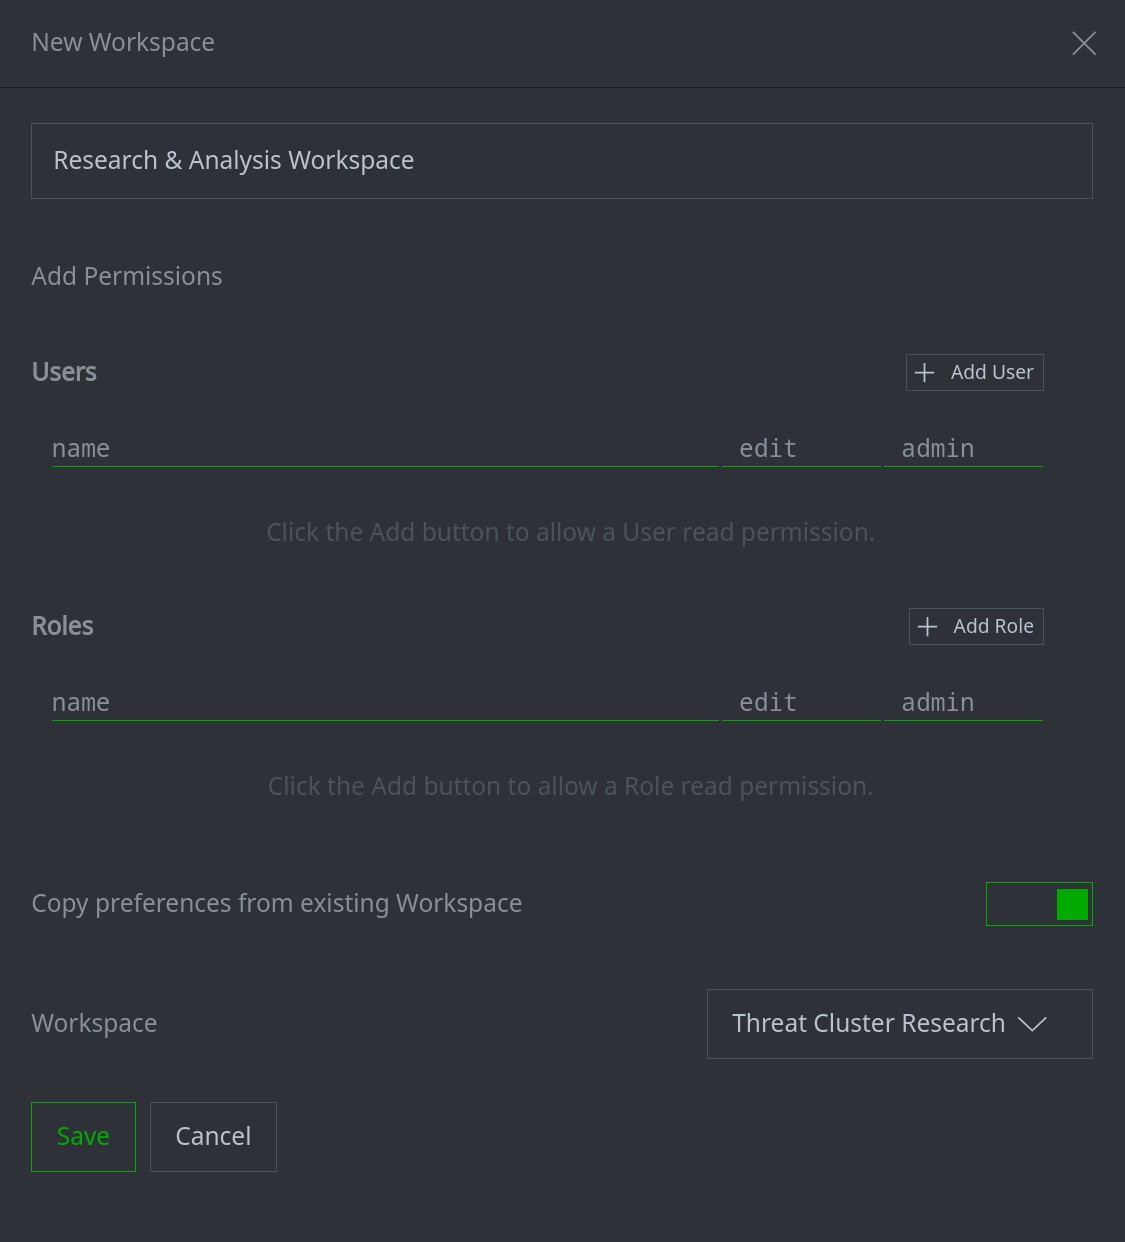
In the New Workspace dialog, in the Name field, enter a name for your Workspace:
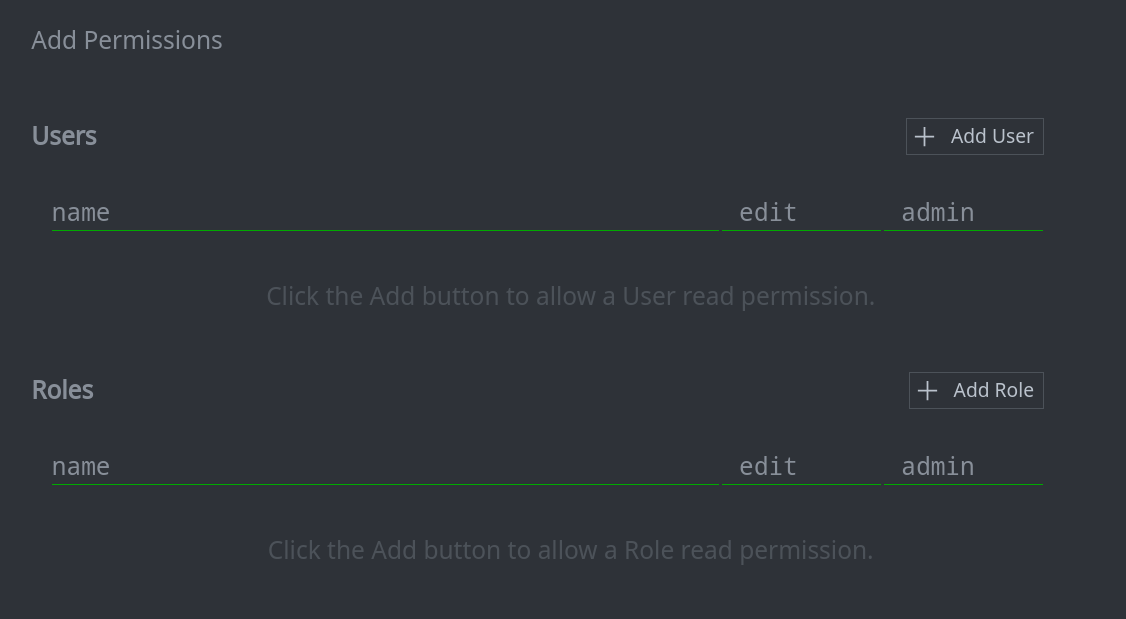
To optionally share the Workspace with others, use the + Add User and / or + Add Role buttons to grant permissions to the Workspace:
Tip
See Share a Workspace for permissions considerations when sharing Workspaces.
You can set or modify permissions for the Workspace at any time through the Workspaces Tool. Click the hamburger menu next to the Workspace name and select Workspace permissions.
When you have configured all of the options for the Workspace, click the Save button to create it:
Tip
The new Workspace will be a “blank” Workspace with no customizations set.
Copy an existing Workspace
In the Workspaces Tool, select the WORKSPACES tab. In the Workspaces list view, click the hamburger menu next to the Workspace name you wish to copy and choose Copy Workspace:
In the New Workspace dialog, optionally edit the name of the new Workspace:
To optionally share the Workspace with others, use the + Add User and / or + Add Role buttons to grant permissions to the Workspace:

Tip
See Share a Workspace for permissions considerations when sharing Workspaces.
You can set or modify permissions for the Workspace at any time through the Workspaces Tool. Click the hamburger menu next to the Workspace name and select Workspace permissions.
When you have configured all of the options for the Workspace, click the Save button to create it:
Delete a Workspace
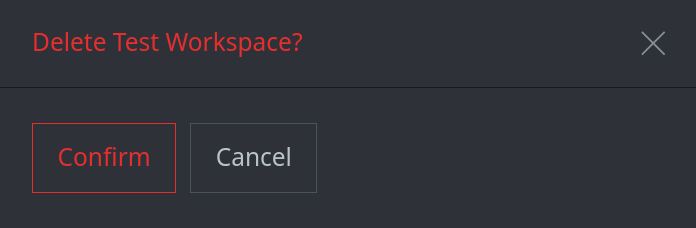
In the Workspaces Tool, select the WORKSPACES tab. In the Workspaces list view, click the hamburger menu next to the Workspace name you wish to delete and choose Delete Workspace:
You will see a confirmation dialog. Click Confirm to delete the Workspace:
Note
You cannot delete the original Default Workspace present for each user. You also cannot delete a Workspace if it is currently the active Workspace (in the Workspace Selector in the Top Bar). The Delete menu option will be grayed out in each case.
Share a Workspace
Any user can share a Workspace that they create with other users or roles.
In the Workspaces Tool, select the WORKSPACES tab. In the Workspaces list view, click the hamburger menu next to the Workspace name you wish to share and choose Workspace permissions:
Use Workspace permissions dialog to grant permissions to the Workspace:
When you have made all the required changes, click the X in the upper right corner to close the dialog and save your changes.
Note
The read, edit, and admin permissions used for Workspaces have the standard behavior described in the section on Default Permissions. However, these permissions have special considerations for Workspaces.
If a Workspace is shared with read permissions, users can see, select, and use it, but will be unable to make changes (such as modify tag colors or change the columns displayed in Tabular mode).
If a Workspace is shared with edit permissions, users can see, select, use, and modify it, but any changes will affect / be visible to all users of the shared Workspace.
The most common use case for a shared Workspace is for a Synapse Admin, power user, or team lead to configure a Workspace with optimal settings (e.g., customized tag colors, node actions, Tabular layout, etc.) and then share it (with read access) to the appropriate users or roles.
Those users can make a copy (Copy an existing Workspace) of the shared Workspace as a baseline that they can further modify to meet their needs.
The original shared Workspace can be maintained (i.e., the baseline modified as needed); users or roles responsible for maintaining the Workspace can be granted edit access (or admin as needed).
Note that any changes made to a shared Workspace are not propagated to any copies of that Workspace.
Create (set) a Global Default Workspace
A Global Default Workspace is a specialized instance of a shared Workspace:
A Global Default is shared with all users of Synapse; it cannot be restricted to a subset of users or roles.
A Global Default is shared with read access only. Users can either use the Global Default “as is” (they will be unable to modify it) or can make a copy (Copy an existing Workspace) that they can change.
There can be only one Global Default Workspace per Synapse instance.
You must be a Synapse Admin to create (set) and manage the Global Default.
A Global Default Workspace is useful in cases where:
All Synapse users have similar needs, so a single custom Workspace is sufficient.
While the needs of different Synapse users or teams may vary, a “core” set of preconfigured options is appropriate for all users. (Additional custom shared Workspaces can be built using the Global Default as a baseline).
Note
Only one Global Default Workspace can be set at a time. If you set a new Global Default while one already exists, the existing Global Default is automatically unset and automatically deleted.
In the Workspaces Tool, select the WORKSPACES tab. From the Workspaces list view, click the hamburger menu next to the Workspace you wish to make the Global Default and choose Set as Global Default:
Optic will make a copy of the Workspace and set the Global Default status. The display name for the Workspace will change to italics and will have (Global Copy) [global default] appended to it.
Users will see the Global Default as an available Workspace the next time they reload Optic.
Tip
A Synapse Admin can make changes to the Global Default Workspace. Any changes are available to the Global Default instance visible to other users. However, keep in mind that:
changes to the Global Default are not propagated to any copies that other users have made.
changes to the Global Default are not propagated back to the “original” Workspace that was copied to create the Global Default itself.
Remove (Unset and Delete) a Global Default Workspace
In the Workspaces Tool, select the WORKSPACES tab. From the Workspaces list view, click the hamburger menu next to the Workspace you wish to make the Global Default and choose Delete Global Default:
Tip
The Global Default Workspace is deleted when you select the menu option. Users will no longer see this Workspace in their Workspaces Tool. Deleting the Global Default does not affect any copies that have been made and does not affect the source Workspace that was used to create the Global Default.
Views
A View provides visibility into a particular set of data within Synapse. You can use the Workspaces Tool to view and work with Views that are available to you or that you create.
See Views and Layers for additional information on views, and See and Manage View Details for information on working with views.