Fork and Merge
Synapse allows you to fork a view - effectively create a new “working space” on top of existing data. The underlying data is visible, but becomes read-only. This allows users or groups to conduct initial research or test automation without impacting your existing data. Once research or testing are complete, the forked view (and any data) can be merged (partially or in full) into your existing data or discarded.
Note
We strongly encourage forking a view for all research, analysis, and testing, no matter how incidental. It is much easier to “fix” any errors by simply deleting a forked view and its data than it is to manually clean up bad data that has been merged into an existing / production view.
Similarly, we encourage users to Review Data Before Merging, whether through an informal process, through peer review and approval, or through Optic’s Quorum voting.
For additional background on views, layers, and the fork and merge process, see our blog post, the Synapse documentation (including some best practices), or the Views and Layers section of the Optic UI documents.
Fork a View
Select a View to fork.
In the View Task Bar, click the fork icon:

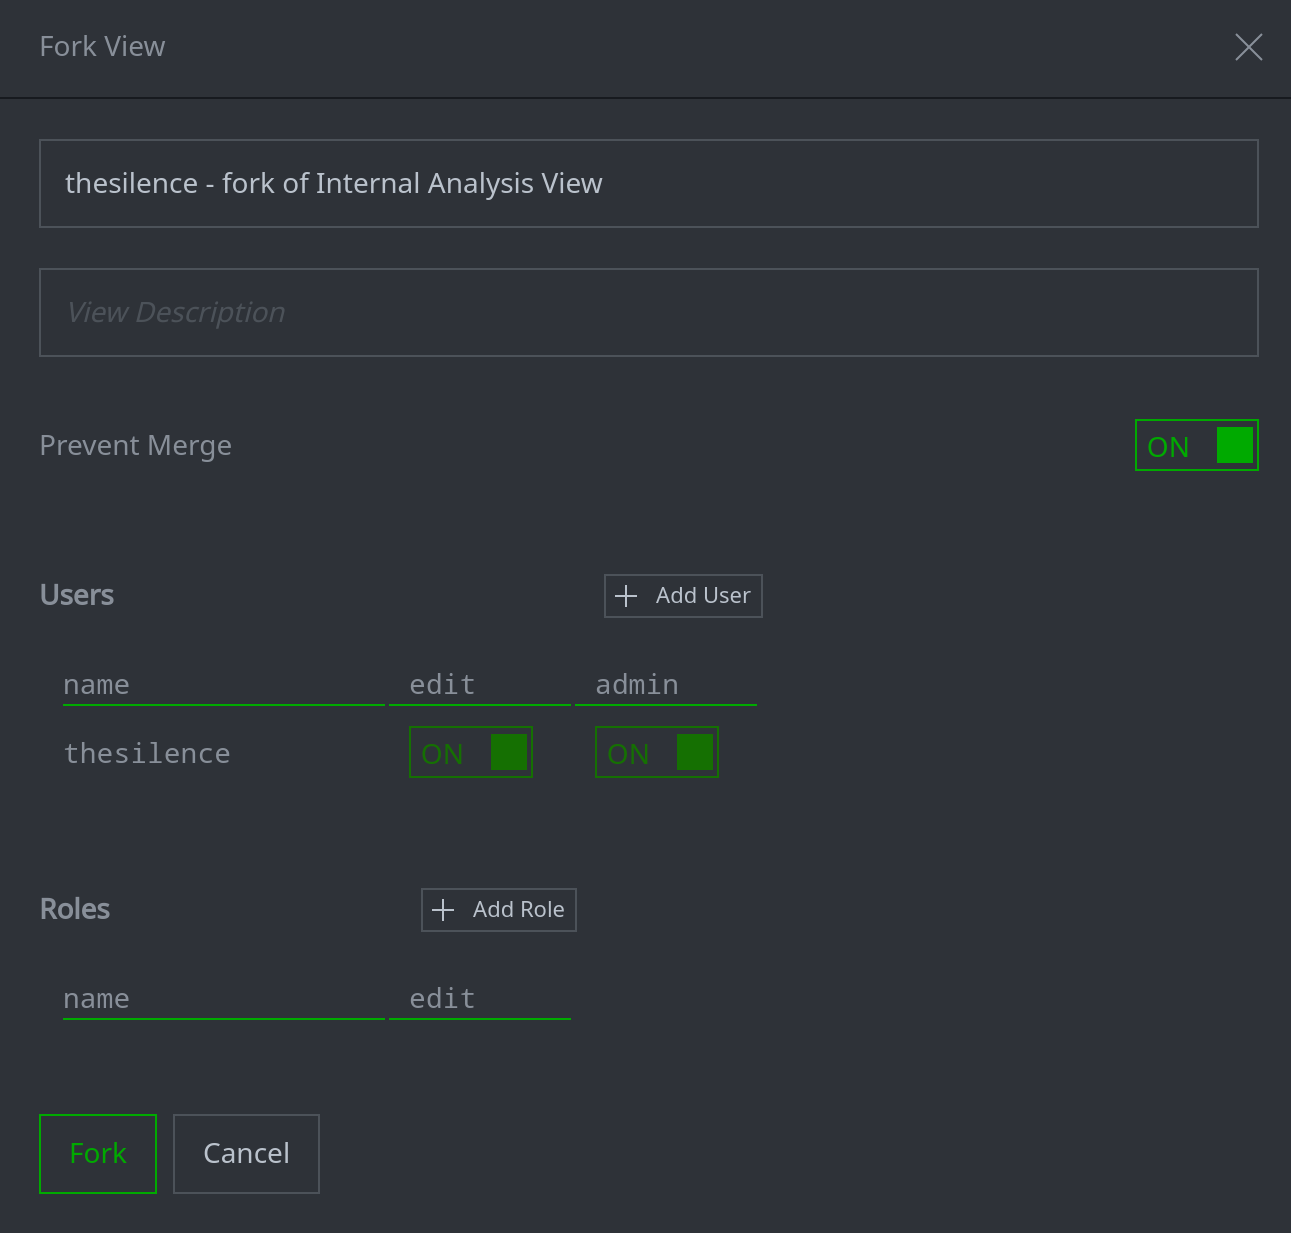
In the Fork View dialog, provide a name for the view in the View Name field:
You can optionally add a description in the View Description field.
Note
All Synapse users can see the names and descriptions of all views through the Admin Tool, even if they do not have permissions to access the data within the view itself. Do not include any sensitive information in the view name or description.
If you want to prevent the forked view from being accidentally merged into its parent view or deleted, set the Protect toggle to ON:
Tip
Setting this option prevents accidental merging of data or deletion of the view. The protect setting can be enabled or disabled later through the Workspaces Tool (See and Manage View Details).
When a view is protected:
the merge icon and delete icon in the View Task Bar are disabled / grayed out.
you are unable to delete the view, including through methods such as the view.del command.
it is still possible to merge data (fully or partially) using the Storm merge command.
To optionally share the forked view with others, use the + Add User and / or + Add Role buttons to grant permissions to the view:
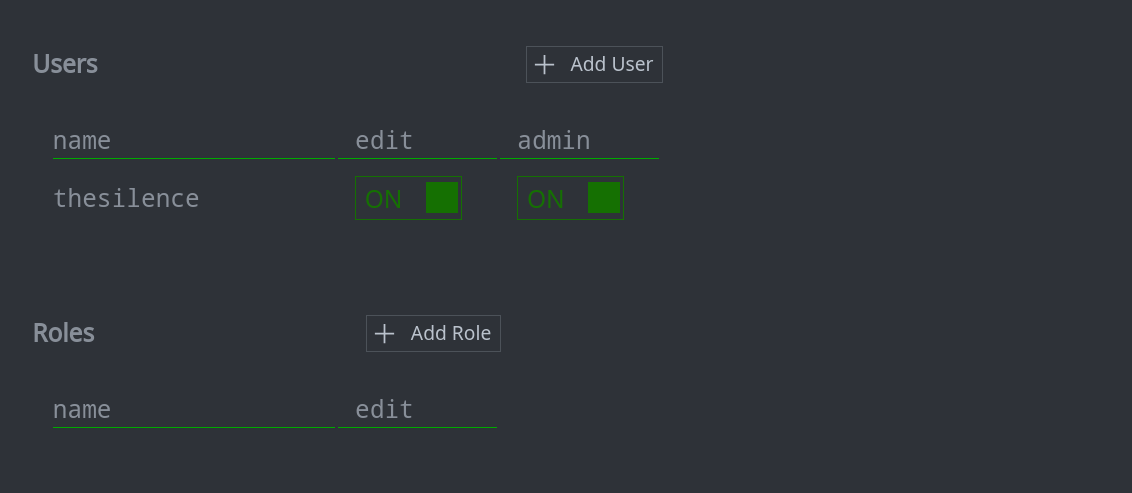
Tip
You can set or modify permissions for the view at any time through the Workspaces Tool (Give Others Access to a View).
When you have configured all of the options for the forked view, click the Fork button to create the new view:
You will see a temporary pop-up (toast) message confirming the forked view was created:
In the Top Bar, your View Selector will automatically switch to the new view:

Tip
All of the options available in the Fork View dialog (name, description, permissions, etc.) can be modified at any time through the Workspaces Tool (See and Manage View Details).
Review Data Before Merging
Synapse allows you to review changes (the difference or “diff”) in a forked view before deciding whether to merge some or all of the changes into the parent view.
Tip
Reviewing large numbers of changes may require some planning from both a technical standpoint (how many nodes or change entries can your browser reasonably display) and a human standpoint (more changes may be harder for an individual to review). It may be helpful to periodically Merge a Subset of Changes while analysis continues. This also makes “work to date” available to other users and teams and helps avoid creating data or analysis silos.
Enable Review Mode
Review mode can be used to highlight changes (differences) between the current view and its parent. Using Review mode is optional, but may be helpful to identify specific changes.
In the Top Bar, click the meatball menu and click the square to enable Review mode:
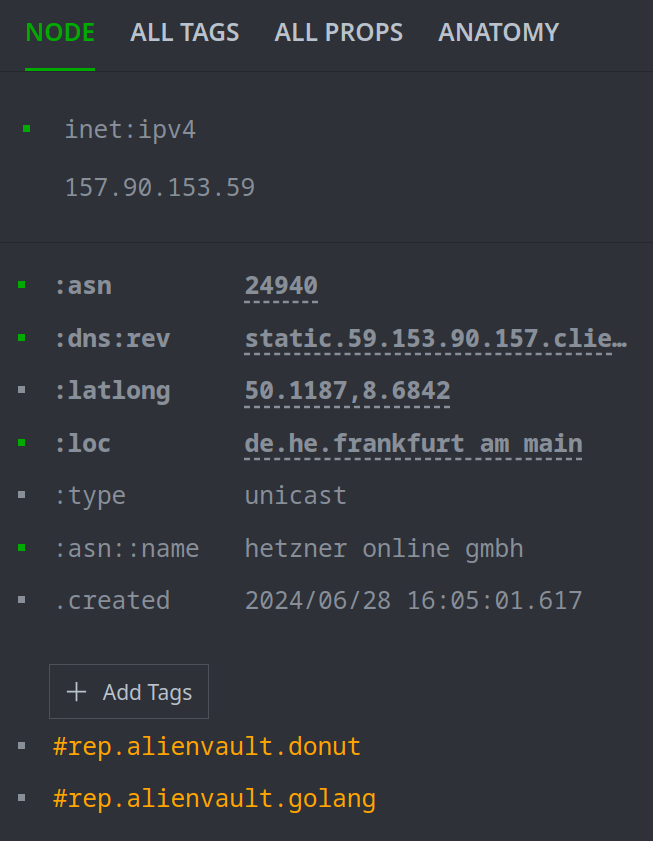
Enabling Review mode will highlight new or changed nodes, properties, or tags by displaying them in bold and with a dashed underline:
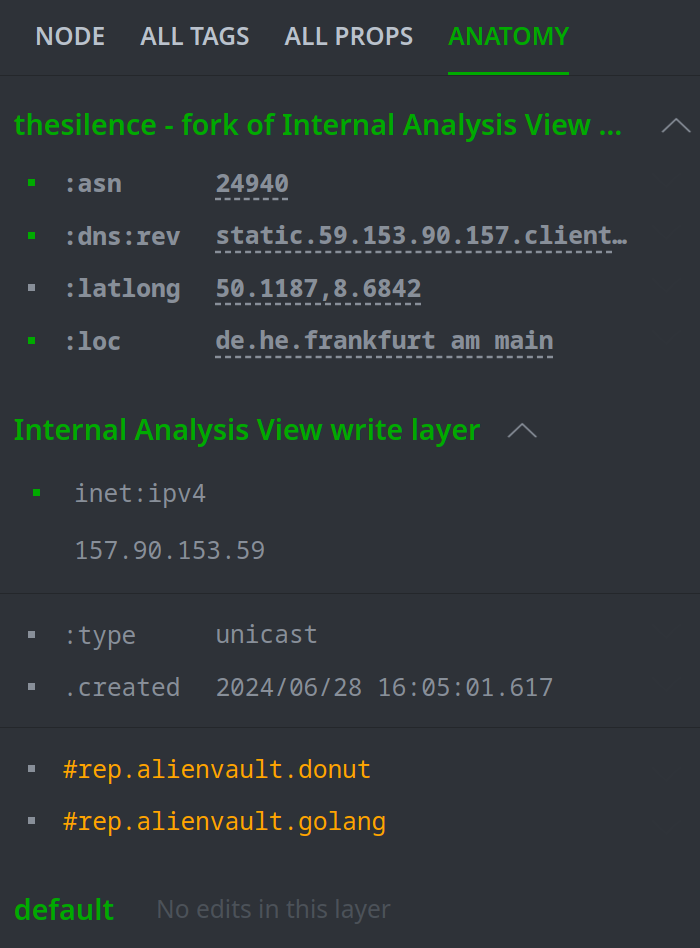
Enabling Review mode also activates the ANATOMY tab in the Details Panel, which allows you to see where (in which layer) a node’s properties and tags reside:
Review Data with the Diff Icon (View Task Bar)
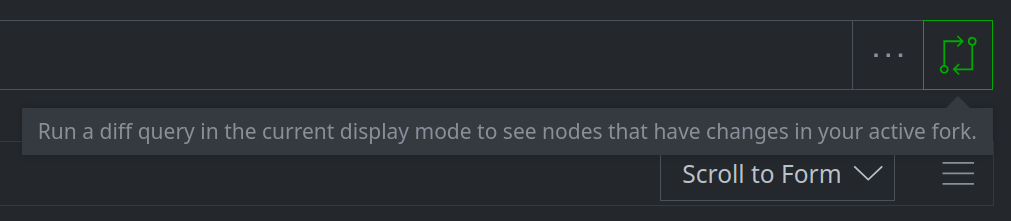
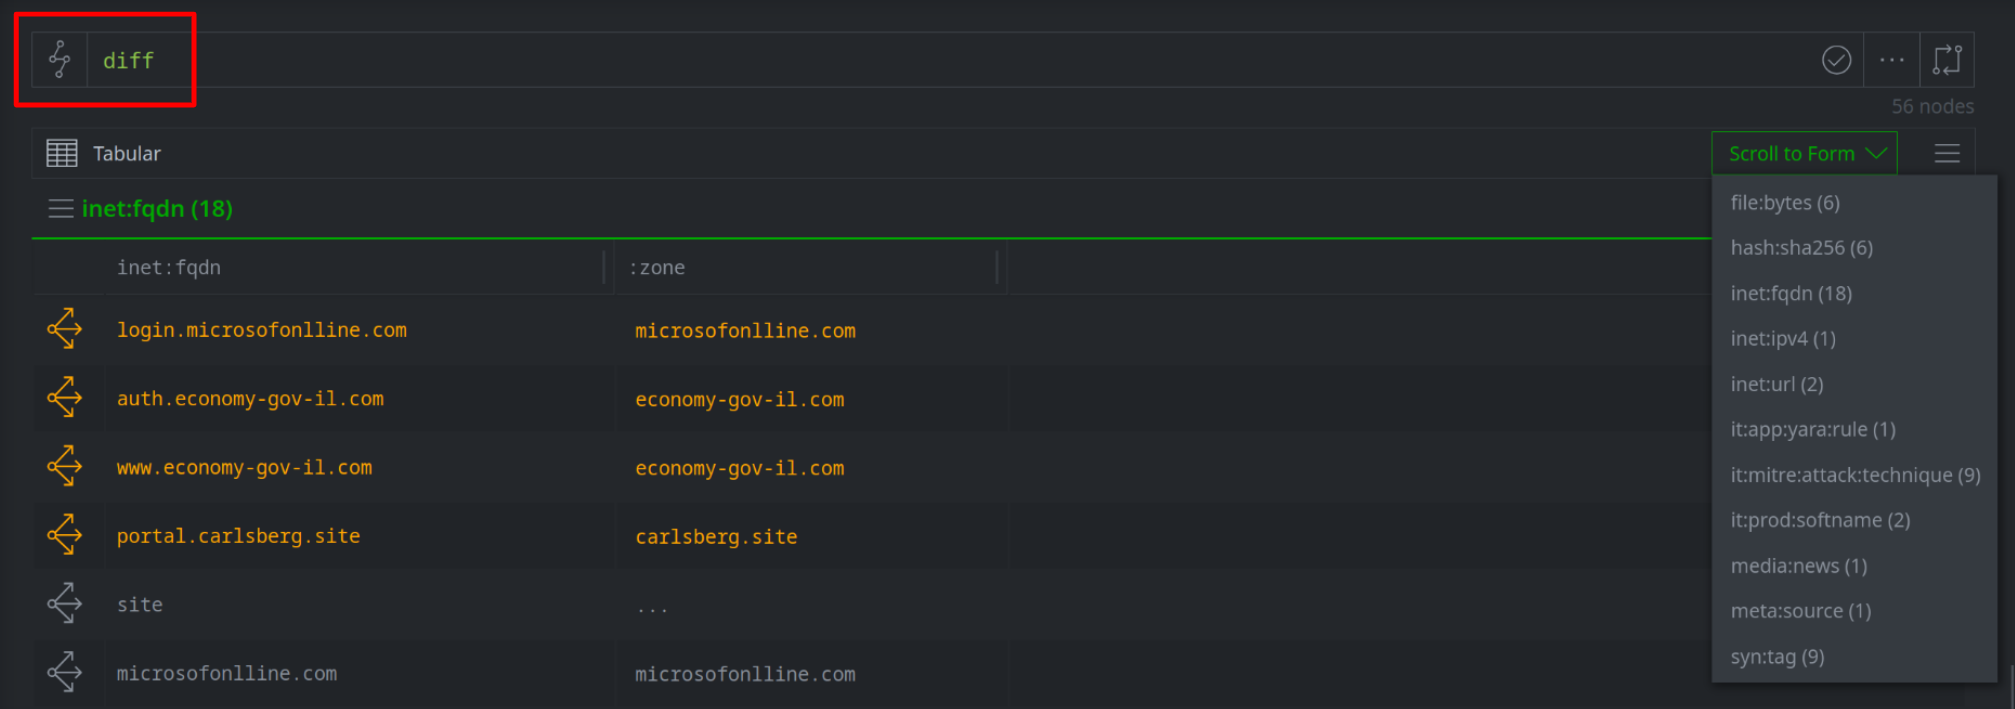
In the View Task Bar, click the diff icon:

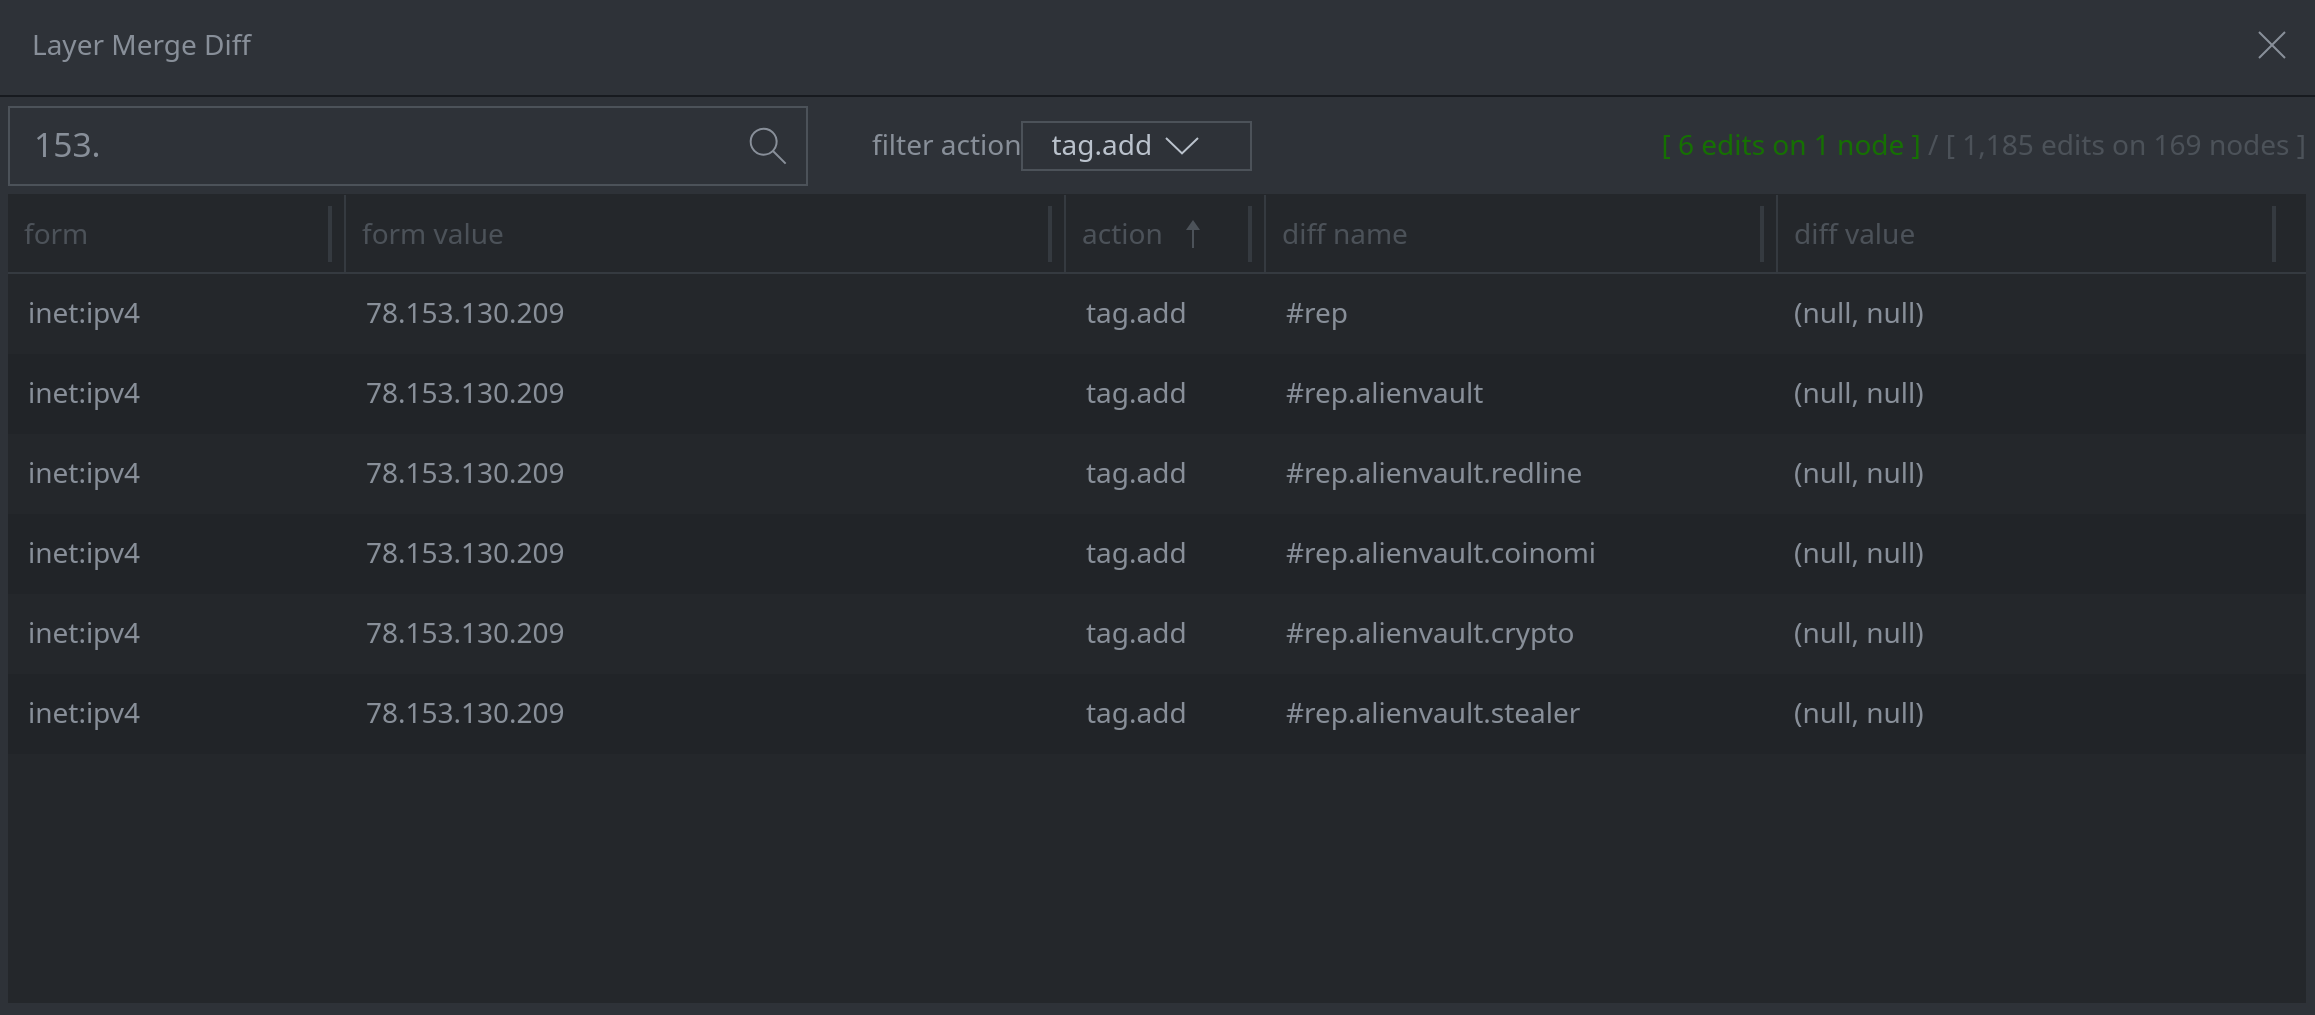
The Layer Merge Diff dialog allows you to review the changes in the current view. The total number of changes in the forked view is displayed in the upper right of the dialog:

Use the options in the Layer Merge Diff dialog to:
Sort the data in any column:
Filter the data based on the kind of change made (e.g.,
tag.add):
Search the data for specific values:

You can search on any portion of any form name, property name, form or property value, or tag name. Synapse will narrow your results as you type.
Tip
You can use the filter and search options together. When you filter and / or search the data, Synapse will display the count of the subset of changes currently visible (vs. the total number of changes) in the upper right of the dialog.
When you are done reviewing changes, click the X to close the dialog:
Review Data with the Diff Icon (Query Bar)
In the Storm Query Bar click the diff icon:
Clicking the icon runs the Storm diff command with no parameters. This will display all nodes with any changes directly in the Research Tool:
You can use all of the Research Tool’s display modes, features, and menus (and the Storm query language itself) to review the changed data.
Review Data with the diff Command
You can run the Storm diff command with parameters to review a subset of data.
To view specific changes, use the
--propor--tagoptions. For example, to view allrisk:threatnodes with changes to their:org:namesproperty, run the command shown below:
Tip
Use the Console Tool to run
diff --helpfor additional detail and examples for using thediffcommand and its options.
You can also chain the diff command with additional Storm operations, such as filters or pivots.
For example, to view
inet:ipv4nodes that have any changes in the current view and are taggedrep.alienvault, run the command shown below: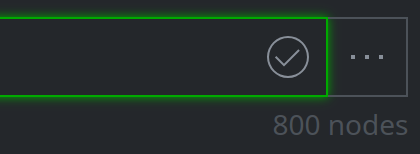
Tip
The merge command with the --diff option (merge --diff) will also display changes in the
current view. Merge can be used to both review changes and to merge data; it is discussed in
more detail below.
Merge Data
Any changes made when performing analysis or testing in a forked view can be merged into the parent view (technically, the changes are written to the top layer of the parent view). You can merge the full contents of a forked view, or selectively merge a subset of nodes, properties, edges, or tags.
Once data has been merged, you can either keep the forked view (for additional research or testing) or delete the view.
See the section on Quorum for merging a fork automatically when the number of approving Quorum votes is reached.
Merge All Changes and Delete the Fork
The View Task Bar provides a one-step means to merge all changes from the forked view into the parent view while automatically deleting the fork. This is the simplest way to merge a fork, but is an “all or nothing” option.
In the View Task Bar, click the merge icon:

Tip
If the merge icon is grayed out, use your mouse to hover over the icon and display the reason you are unable to merge. Reasons may include:
the current view is not a fork of any existing view.
the current view has existing forks (you cannot merge and delete a view “out from under” another forked view).
the protected toggle for the view is set to ON.
Review the Merge confirmation dialog and click Confirm to merge all changes and delete the current view:
Tip
Once you click Confirm you will see a spinning status icon indicating that the merge is taking place. By default, the dialog will remain open (and further use of the Optic UI will be blocked) until the merge is complete.
If the number of changes to merge is large (or if you simply don’t want to wait), click the Background button to have the merge finish in the background.
When the merge is complete, Synapse automatically deletes the forked view. Your View Selector will automatically place you in the parent view:

Note that if you selected Background when merging the view, data (changes) from the forked view will not be available (visible) in the parent view until the background merge finishes.
Merge All Changes
The Storm merge command can be used to merge all changes without deleting the forked view.
In the Storm Query Bar, to merge all changes, use the
diffcommand to lift all changes and send them to themergecommand; use the--applyoption to merge the changes:
Tip
merge has a --diff option that displays the changes in the current view and is equivalent to the
diff command. So the query merge --diff --apply will also merge all changes.
The merge command only merges changes; you must use another method or command to Delete a View.
The Storm view.merge command can also merge all changes and optionally delete the view (using the --delete
switch).
Merge a Subset of Changes
The Storm merge command can also be used to merge a subset of changes. This is useful in cases where:
a forked view contains a mix of good and undesirable changes, and you want to merge only the good ones.
you want to incrementally merge data from a longer-running project so a subset of data can be made available in the parent view while research continues in the forked view.
you want to simplify the review process by merging data that does not require oversight in order to focus on those changes that need validation.
As a Storm command, merge takes a set of inbound nodes (i.e., from another Storm command or query); the diff
command is often used for this purpose (potentially with additional command switches or Storm filters).
For example, the following query:
lifts all the changed nodes using the
diffcommand;filters out any
risk:threat,risk:tool:software, orou:orgnodes (e.g., these may require additional review);excludes any tags (
--no-tags) from the merge (tags may require additional review to ensure they have been applied correctly); andmerges the resulting nodes (
merge --apply).

See the merge documentation (or run merge --help in the Console Tool) for more detail and additional
example queries.
Tip
Synapse’s automation features can be used to simplify partial or incremental merges. For example, a macro could help identify any inconsistencies or errors prior to merging, or to automatically merge data that does not require additional review.
Merge Changes by Consensus
Synapse’s Quorum feature allows a specified set of users to vote on merging the data in a forked view. When a sufficient number of approving votes is reached, all of the data in the fork is merged, and the fork is automatically deleted.
See the Quorum section for additional information.
Delete a View
Delete a View from the View Task Bar
In the View Task Bar, click the delete icon:

Tip
If the delete icon is grayed out, use your mouse to hover over the icon and display the reason you are unable to delete the view. Reasons may include:
the current view has existing forks (you cannot delete a view “out from under” another forked view).
the protected toggle for the view is set to ON.
the view is the Synapse default view, which cannot be deleted.
Review the Delete confirmation dialog and click Confirm to delete the view:

Warning
Deleting a view will delete / discard all unmerged changes.
Your View Selector will automatically place you in the parent view:

Delete a View from the Workspaces Tool
You can also Delete a View from the VIEWS tab in the Workspaces Tool. Note that you cannot delete your current view with this method.
Tip
The view.del command can be used to delete a view using Storm.