Getting Help
Most help in Optic is available from the Help Tool. The Help Tool can be accessed from the Optic Toolbar:
Using Data Model Explorer
With the Data Model Explorer, you can view all of the objects (forms) that make up the current Synapse data model. You can:
Search for forms
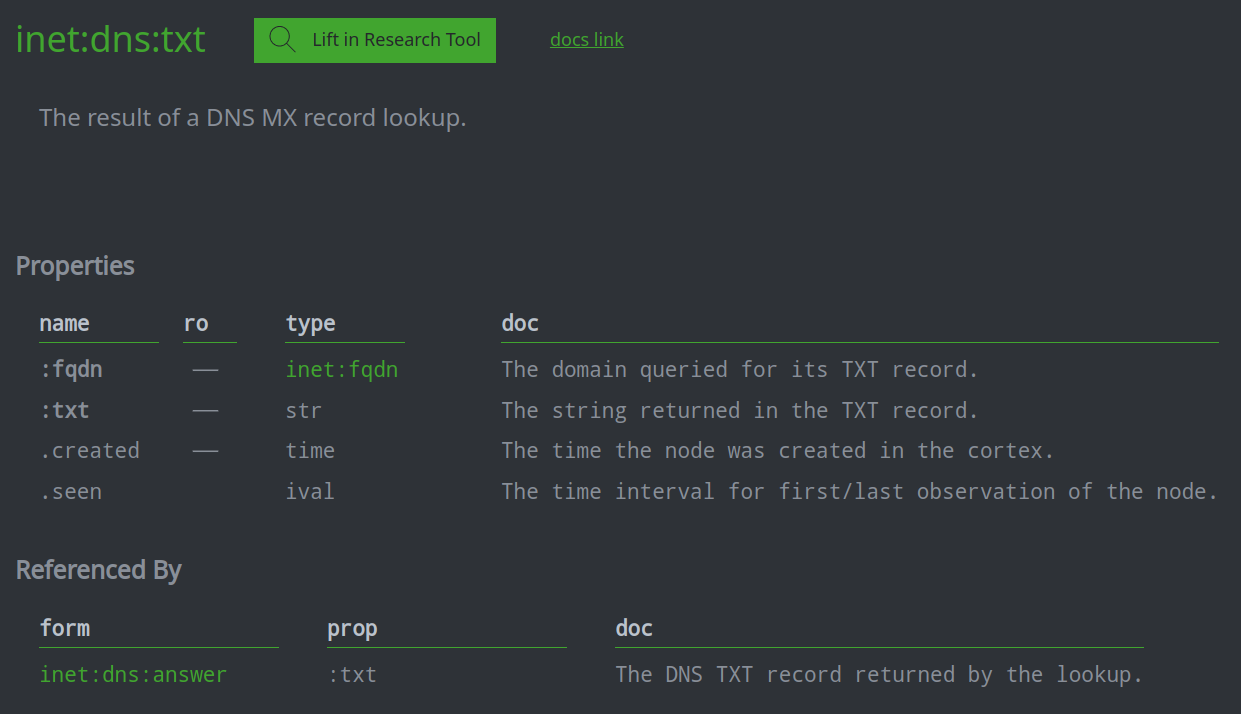
View details for a form (including properties and their definitions)
See how forms in the data model are connected
View examples of a form in the Research Tool
To access the Data Model Explorer, in the Help Tool, select the DATA MODEL EXPLORER tab:

Find a form in the Synapse data model
Select the Data Model Explorer tab in the Help Tool.
Enter the string to search in the Search field. Synapse automatically narrows your results as you type.
Select the form you wish to view from the results.
Tip
The Search field will show results where your search string matches:
any part of the form name, or
any part of any property name for a form.
Find how forms in Synapse are connected
Find forms that a form connects to
In the Data Model Explorer tab, use the Search field to locate the form you want to view.
Select the form from the results.

In the Form Details panel, locate the Properties subsection.
Properties whose type is displayed in green are the forms that the form connects to.
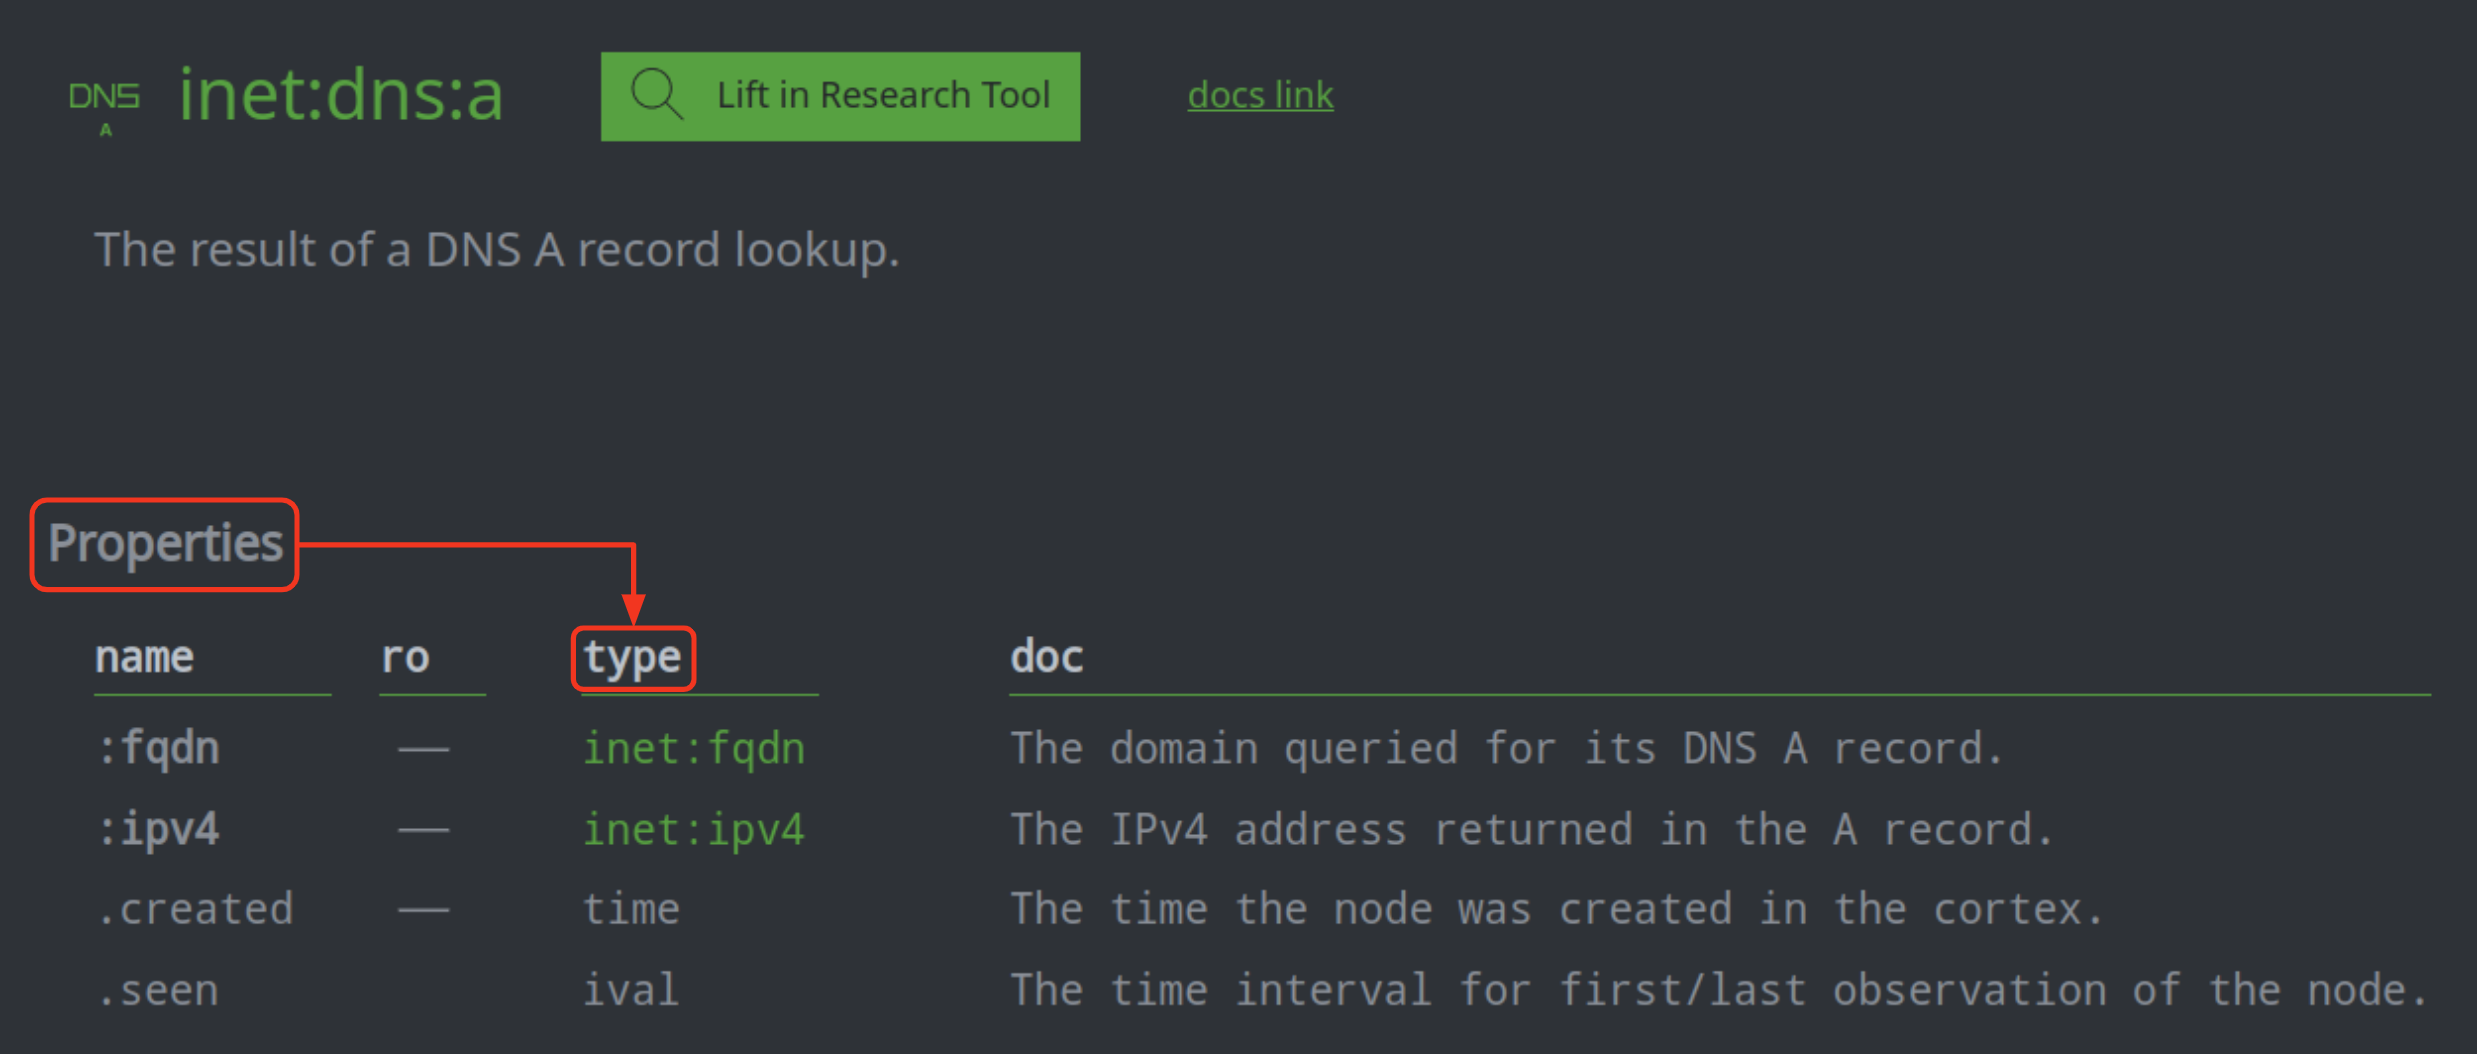
You can click any of the green types under “Properties” to view the details for the associated form.

Find forms that connect to a form
In the Data Model Explorer tab, use the Search field to locate form you want to view.
Select the form from the results.
In the Form Details panel, locate the Referenced By subsection.
The listed forms are ones that connect to this form; the form will be present in the listed prop (property).
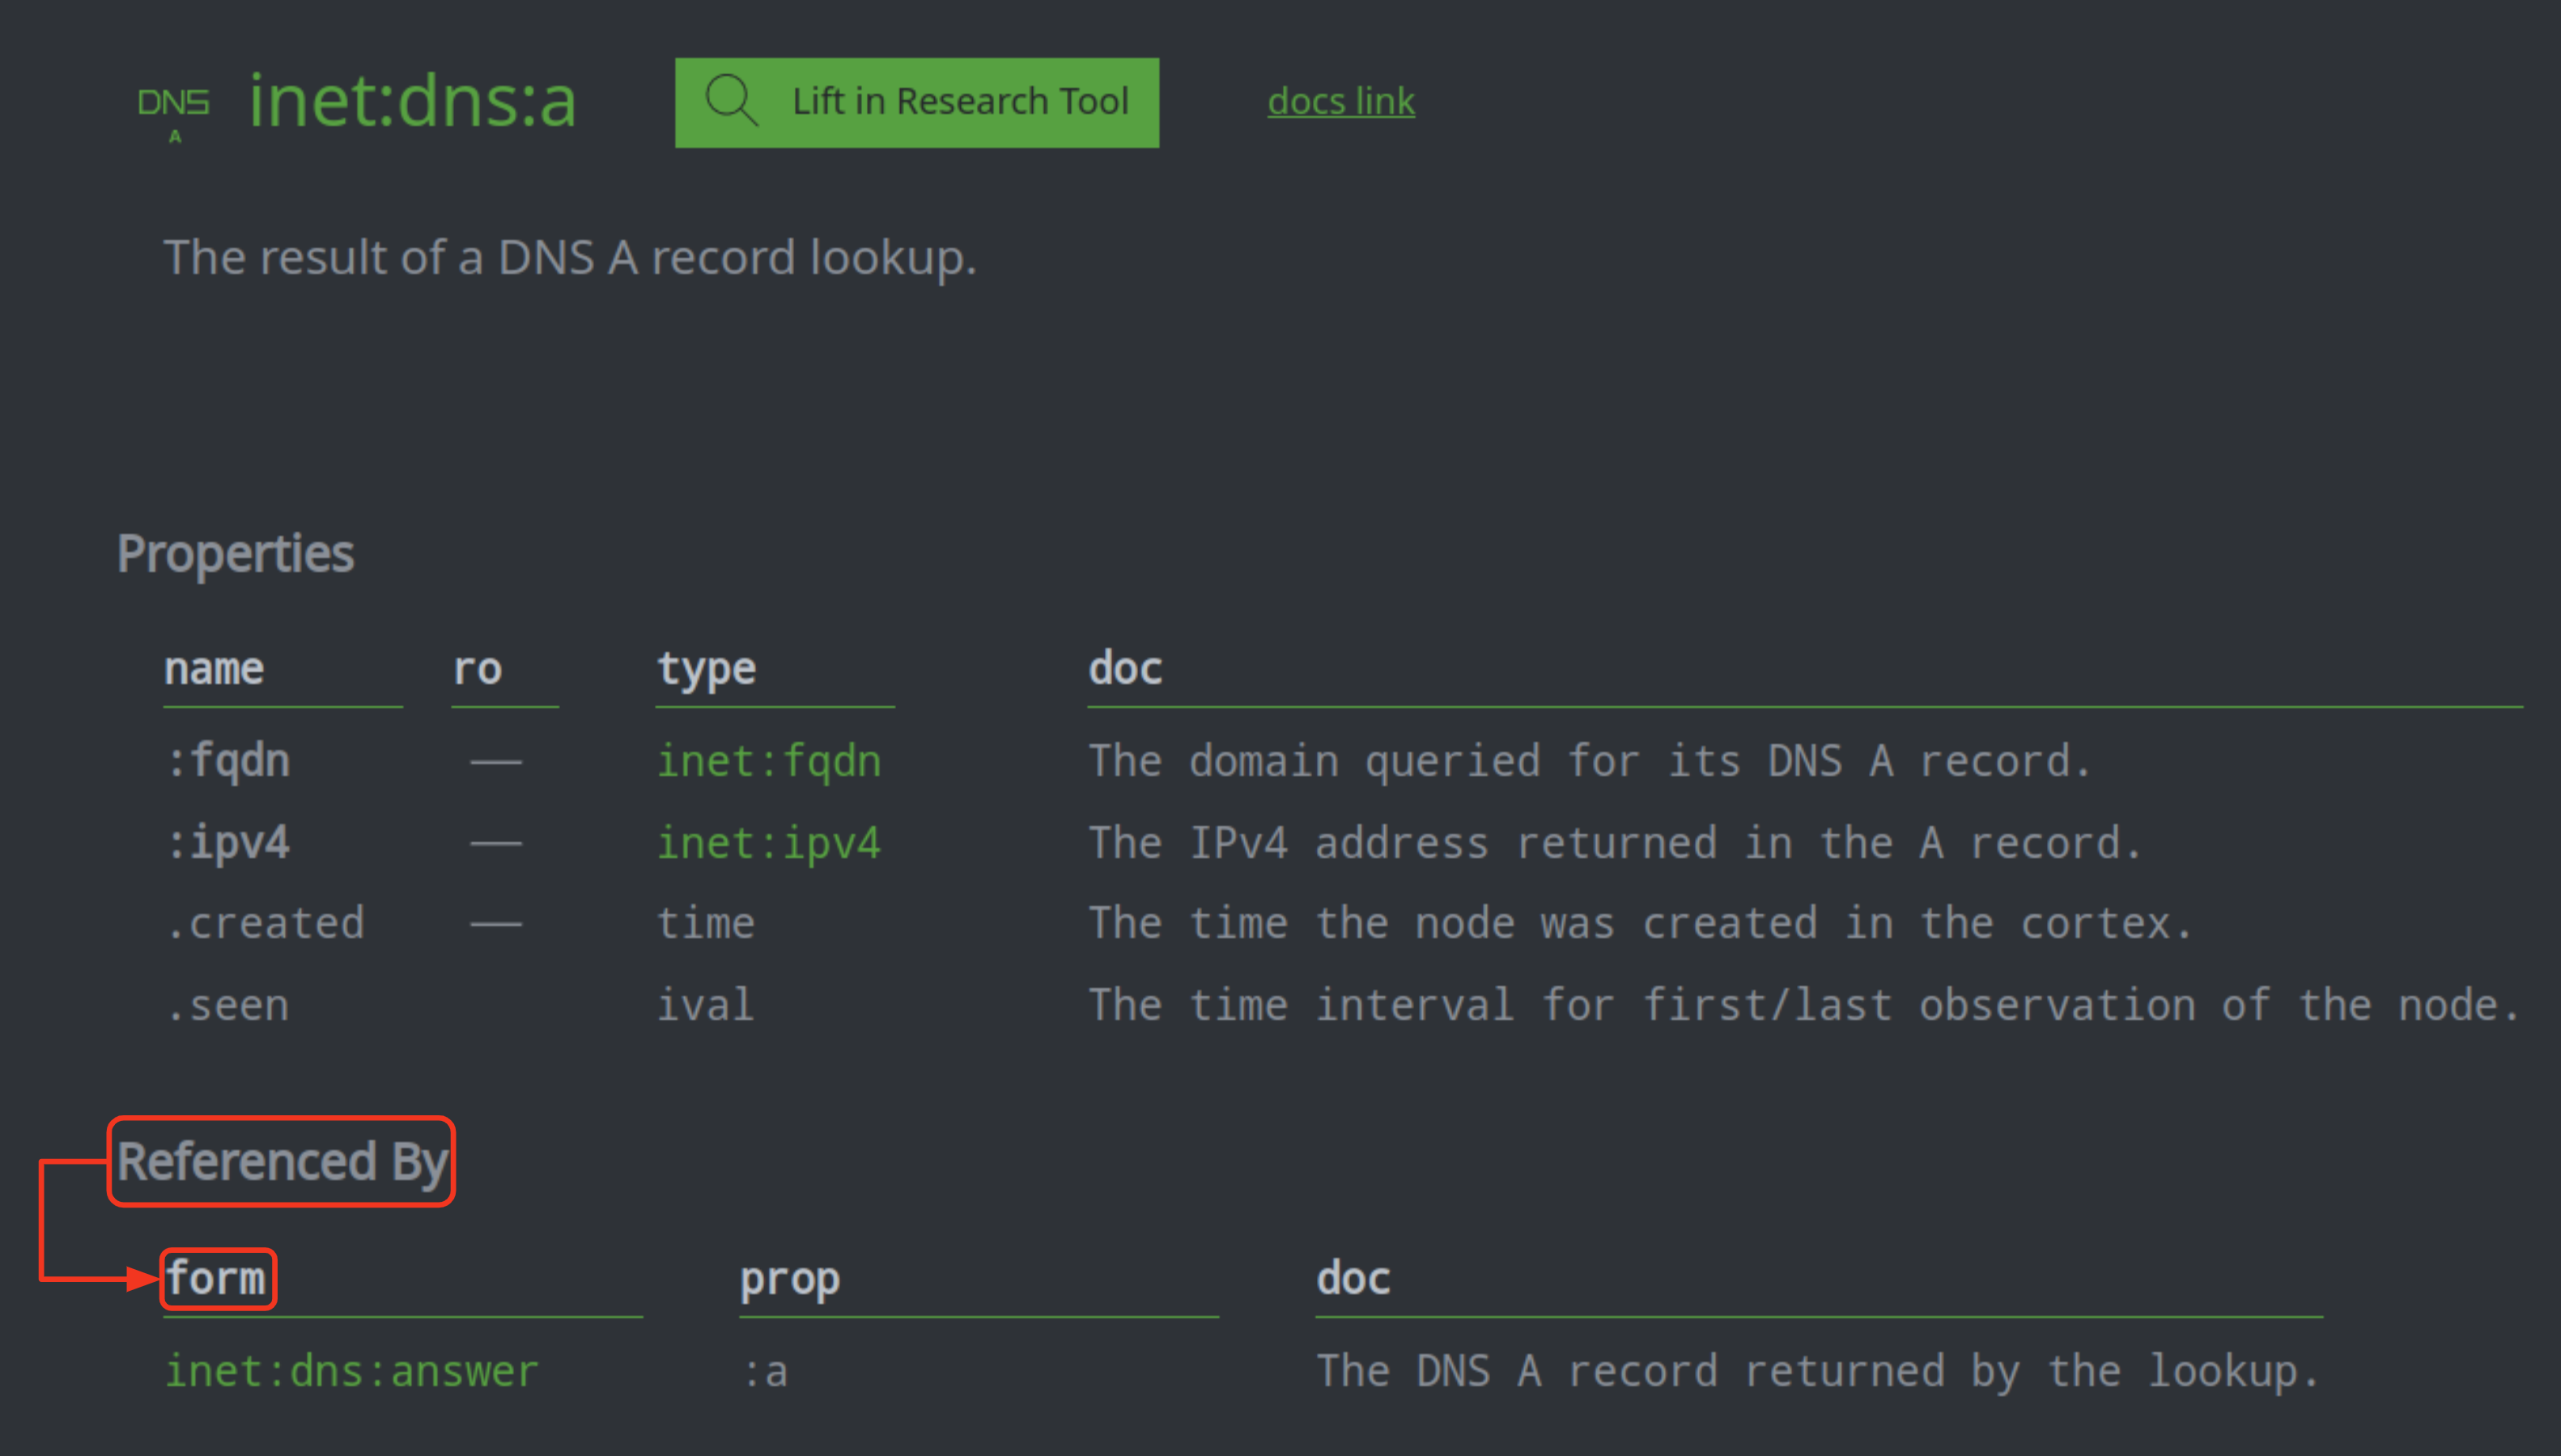
You can click any of the “Referenced By” form names to view their details.
Find the lightweight (light) edges that can be used with a form
1.. In the Data Model Explorer tab, use the Search field to locate form you want to view.
Select the form from the results.

In the Form Details panel, locate the Source Edges subsection.
The listed edges (in the verb column) can be used where your selected form is the source node (sometimes called
n1) of the edge:
Tip
An asterisk ( * ) in the source column indicates that any form (including your selected form) can be used as the source for the listed edge. Similarly, an asterisk in the target column indicates that any form can be the target of the listed edge.
In the Form Details panel, locate the Target Edges subsection.
The listed edges (in the verb column) can be used where your selected form is the target node (sometimes called
n2) of the edge: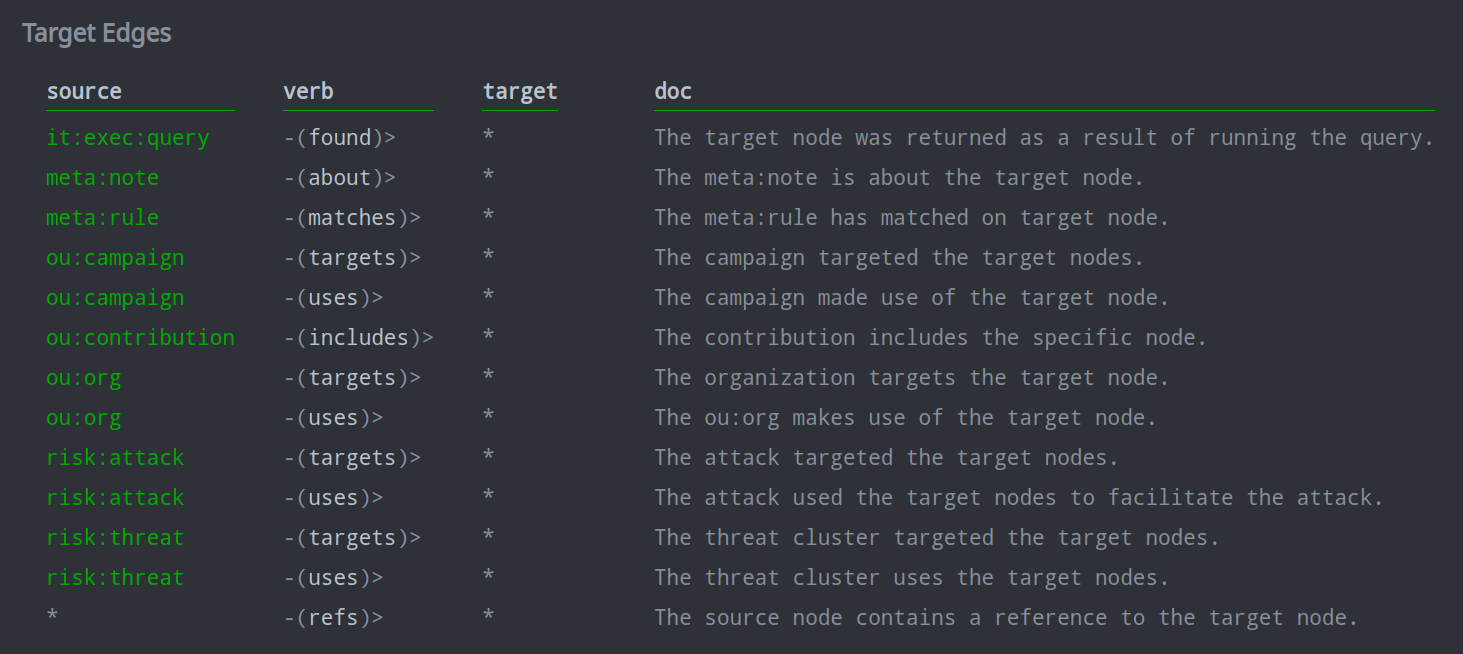
Tip
An asterisk ( * ) in the target column indicates that any form (including your selected form) can be used as the target for the listed edge. Similarly, an asterisk in the source column indicates that any form can be the source of the listed edge.
Note
The light edges listed in Data Model Explorer are conventions that have been adopted by The Vertex Project. These light edges may be created by Vertex Project Power-Ups and are our recommendations for the edges / verbs used to represent certain relationships.
Currently, Synapse does not enforce either the set of light edges used, or how the edges are used. You are free to create your own light edges and use them as you see fit.
For additional background on light edges, see the data model section of the Synapse User Guide pertaining to light edges.
View example data in Synapse
In the Data Model Explorer tab, use the Search field to locate form you want to view.
Select the form from the results.
In the Form Details panel, click the Lift in Resarch Tool button.
Synapse will automatically switch to the Research Tool and show you any nodes for that form, if any exist in your instance of Synapse.
Tip
Synapse will show you all of the nodes that exist, up to the maximum specified by your Research Query Preferences (see Change the default number of results displayed).
Jump to Data Model Explorer
Synapse includes a right-click context menu that is available in most Tools (such as the Research Tool and the Spotlight Tool). The context menu allows you to jump from a given node directly to the node’s (form’s) entry in Data Model Explorer.
From your current Tool (such as the Research Tool), select one or more nodes.
Right-click your selection and choose docs > <form_name> from the context menu.
Synapse will automatically take you to the Help Tool, Data Model Explorer, and show you the entry for the form you selected.
Toggle the display of deprecated objects
Synapse’s data model is always evolving, and over time model elements may be updated or replaced with other objects. Model elements that will eventually be removed are marked as deprecated. Deprecated elements (such as properties) appear in strikethrough format (i.e., with a line through them) in both Data Model Explorer and the Research Tool Details Panel.
By default, Synapse hides deprecated objects within Data Model Explorer. However, this setting can be adjusted if you want to view deprecated model elements.
In the Help Tool, in Data Model Explorer, click the hamburger menu to the right of the Search bar.
De-select the check box next to Hide deprecated in order to display the deprecated elements.
This change will not affect the Research Tool.
Tip
You can find detailed information on Synapse’s datamodel deprecation policy online. The various Storm model.deprecated.* commands are also helpful when working with deprecated model elements.
Using Tag Explorer
In the Tag Explorer, you can view all of the tags that have been created in your instance of Synapse. You can:
Expand and view tag trees
View or set definitions for tags
View a tag in the Research Tool
View examples of tagged data in the Research Tool
To access the Tag Explorer, in the Help Tool, select the TAG EXPLORER tab:

Tip
If you have configured Tag Colors in your Workspaces Tool, the tags in Tag Explorer will be displayed according to your color rules (see Set your tag color preferences).
Note
Synapse does not include any pre-configured tags, although some tags may be created and set by individual Power-Ups. Organizations can create tags and tag trees best suited for your analysis.
Browse the tags available in Synapse
In the Help Tool, select the Tag Explorer tab.
Tag Explorer shows you the top level (root) tags in your instance of Synapse.
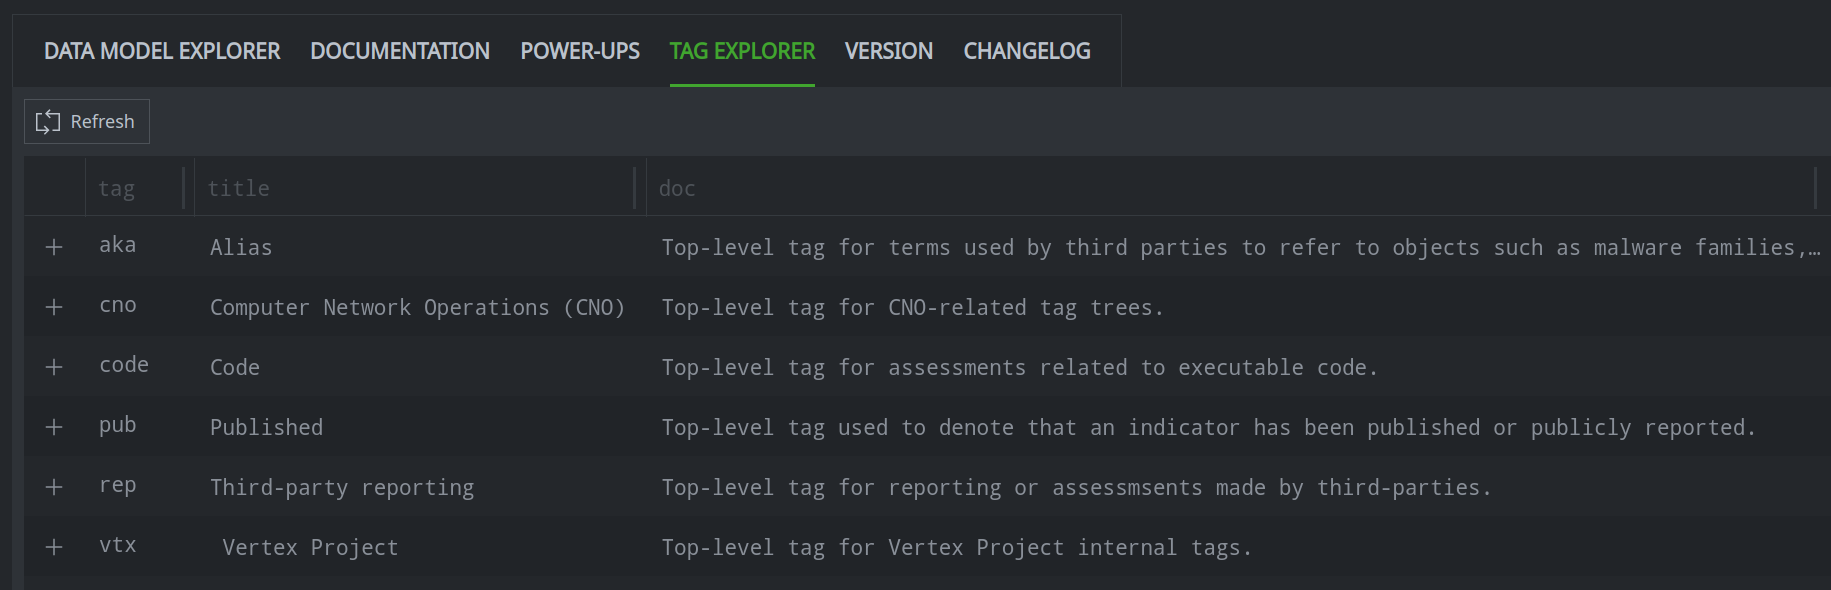
Click the plus sign ( + ) next to any tag to expand that level of the tag tree.
Tip
The Refresh button can be used to reset Tag Explorer to its default display (top level tags only). This will also update Tag Explorer with the latest tag data (i.e., if a new tag has been added to Synapse or a tag definition has changed).
Find the meaning of a tag
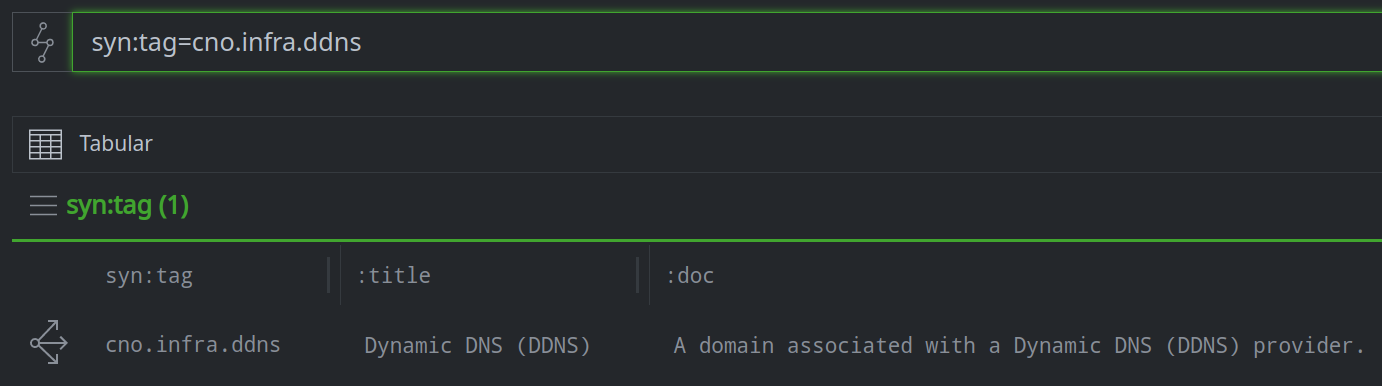
Tags in Synapse are also nodes (syn:tag nodes). The node properties can store a summary (:title) and
detailed (:doc) definition for the tag.
In the Tag Explorer tab, use the plus ( + ) sign to expand the tag tree and display the tag you want to view.
Review the title and doc information for the tag.

Tip
In the Research Tool, you can hover over a tag in the Details Panel to view a tooltip with the tag’s definition.
Set or change a tag’s definition
In the Tag Explorer tab, use the plus ( + ) sign to expand the tag tree and display the tag whose definition you want to modify.
Double-click the title field to set or change the title property.
Press Enter to save your changes.

Double-click the doc field to open an edit dialog.
Using the edit dialog, set or change the tag’s doc property.
Click the Save button to save your changes.
See a tag in the Research Tool
In the Tag Explorer tab, use the plus ( + ) sign to expand the tag tree and display the tag you want to view.

Tip
You can use shift-click or ctrl-click to select multiple tags.
Right-click the tag and select query > selected node from the context menu.

Synapse will switch to the Research Tool and show you the tag in Tabular mode.
See examples of how a tag is used
In the Tag Explorer tab, use the plus ( + ) sign to expand the tag tree and display the tag you want to view.

Tip
You can use shift-click or ctrl-click to select multiple tags.
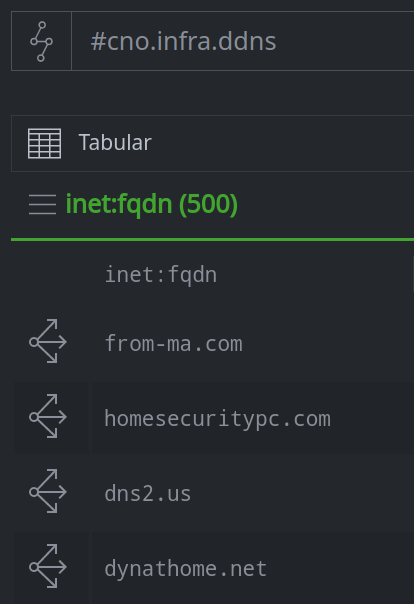
Right-click the tag and select query > selected tag from the context menu.
Synapse will switch to the Research Tool and show you nodes that have this tag in Tabular mode.
Tip
Synapse will show you all of the tagged nodes that exist, up to the maximum specified by your Research Query Preferences (see Change the default number of results displayed).
Using Power-Ups Help
Power-Ups are packages and services that add functionality to Synapse. Each Power-Up has its own set of help documents that are added to the Help Tool when the Power-Up is installed.
To access Power-Ups help, in the Help Tool, select the POWER-UPS tab:

Tip
Most Power-Up help is divided into four standard sections:
The User Guide provides a quick overview of the Power-up and gives examples for using some of the Power-Up’s Storm commands.
The Admin Guide provides information on requirements for installing, configuring, or managing Power-Ups. It also contains a list of any Node Actions installed by the Power-Up.
The Package Documentation documents and provides help for all of the Storm commands installed by the Power-Up. (Help for Power-Up Storm commands is also available from the Console Tool (see Using Console Help).
The Changelog lists new features, enhancements, or bug fixes from current and previous releases of the Power-Up.
Find documentation or help for an installed Power-Up
In the Power-Ups tab, locate the Power-Up whose help you wish to view. (Use the Search bar to locate the Power-Up if needed.)
Select the Power-Up from the list view.
Select the help section that you wish to view.
Find out what additional Power-Ups are available for Synapse
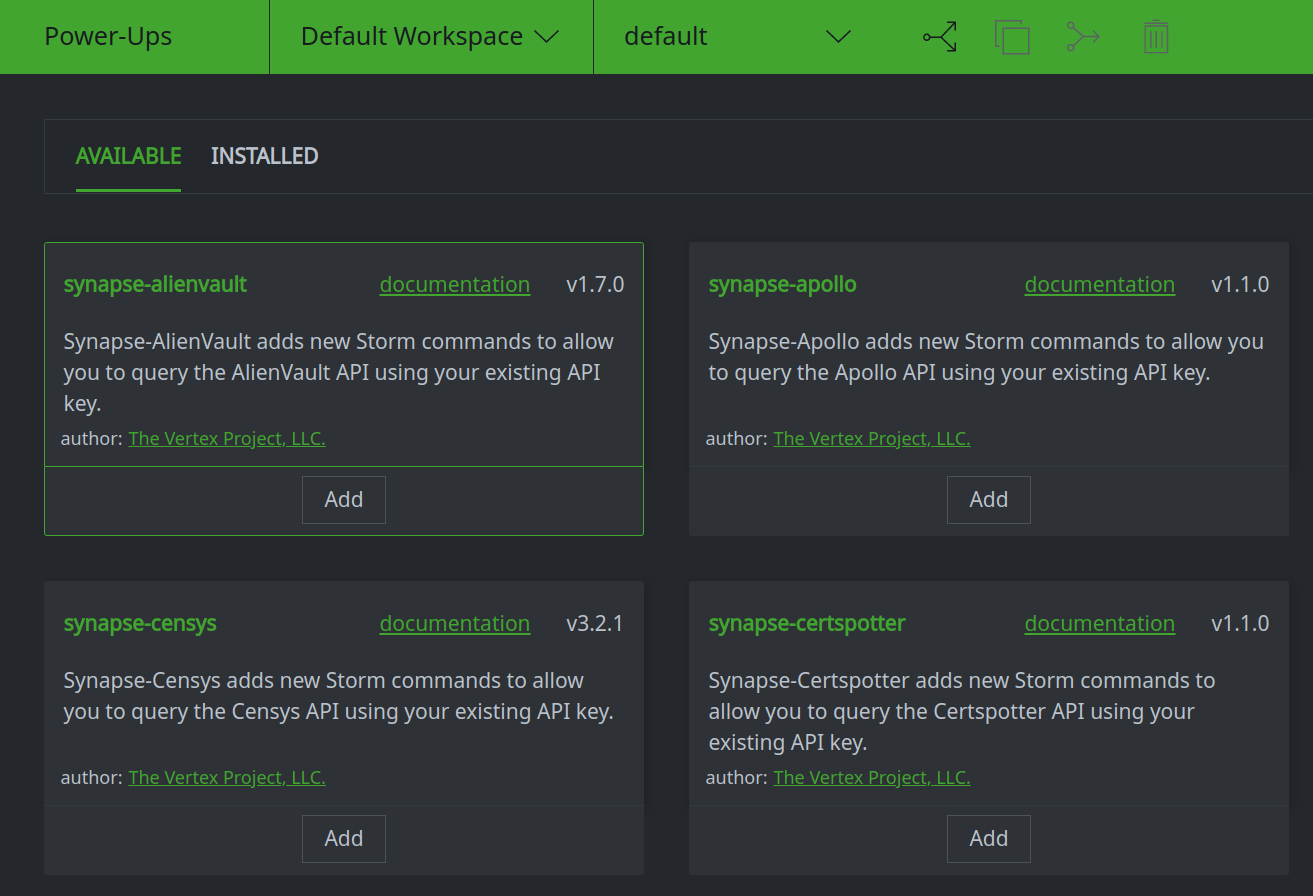
All Power-Ups currently available from The Vertex Project (but not installed in your instance of Synapse) are listed in the Power-Ups Tool on the AVAILABLE tab.
You can view the documentation for available Power-Ups by clicking the documentation link on the Power-Up card.
Learn what a specific Power-Up does
Both the User Guide and the Admin Guide for a Power-Up will provide basic information on the Power-Up’s use and features (see Find documentation or help for an installed Power-Up or Find out what additional Power-Ups are available for Synapse).
Find whether a Power-Up needs an API key
The Admin Guide and / or User Guide for the Power-Up will reference whether the Power-Up requires an API key. There will also be an associated Storm command (listed in the Package Documentation) for setting and managing API keys or other similar tokens (see Find documentation or help for an installed Power-Up or Find out what additional Power-Ups are available for Synapse).
Note
The Vertex Project does not provide keys for Power-Ups that connect to third-party APIs; Synapse users are responsible for obtaining and configuring their own keys. Refer to the third-party vendor’s web site or API documentation for information on obtaining API keys (free or paid, API limits, etc.).
Find requirements for installing a Power-Up
The Admin Guide provides information on any requirements for installing and provisioning the Power-Up (see Find documentation or help for an installed Power-Up or Find out what additional Power-Ups are available for Synapse).
This may include information such as:
Whether an API key is required.
Permissions needed for users to use the Power-Up.
Rapid Power-Ups are written entirely in Storm and have few or no requirements (other than any necessary setup or configuration once the Power-Up is installed).
Advanced Power-Ups may have additional requirements (possibly including additional infrastructure) before they can be used. See the help for the specific Power-Up for details.
Find the Storm commands for a Power-Up
The Package Documentation lists and provides help for all Storm commands installed by a Power-Up (see Find documentation or help for an installed Power-Up or Find out what additional Power-Ups are available for Synapse).
Storm commands can also be viewed in the Console Tool (see Using Console Help).
See examples of Power-Up command usage
The User Guide provides “real world” examples of command usage for some Power-Up Storm commands.
The Package Documentation includes detailed help (description, command syntax, etc.) for all Power-Up Storm commands.
(See Find documentation or help for an installed Power-Up or Find out what additional Power-Ups are available for Synapse).
Find the Node Actions installed by a Power-Up
The Admin Guide contains a list of all Node Actions installed by the Power-Up (see Find documentation or help for an installed Power-Up or Find out what additional Power-Ups are available for Synapse).
See examples of Workflows
The Storm Workflow Examples contain the documentation and examples for extending Power-Ups to add custom UI components to Optic.
Using Console Help
With Optic’s Console Tool, you can:
List available Storm commands
Search for specific commands
View help for individual commands
The Console Tool is available from the Optic Toolbar:
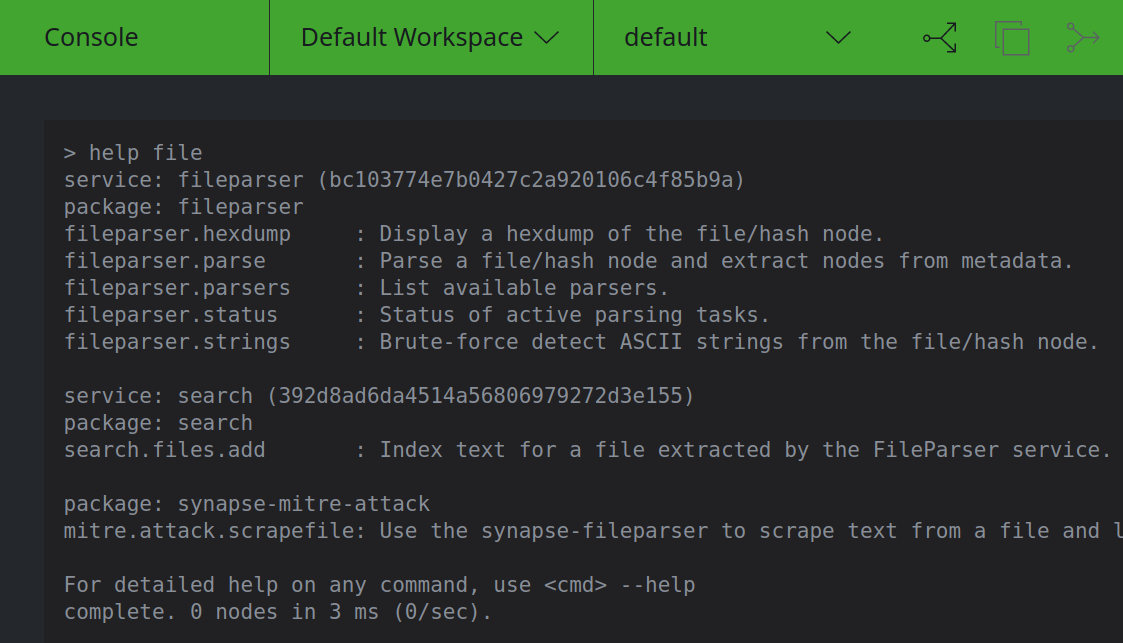
View all the commands available in Synapse
In the Console Tool, enter
helpin the Storm query bar and press Enter: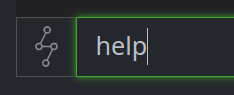
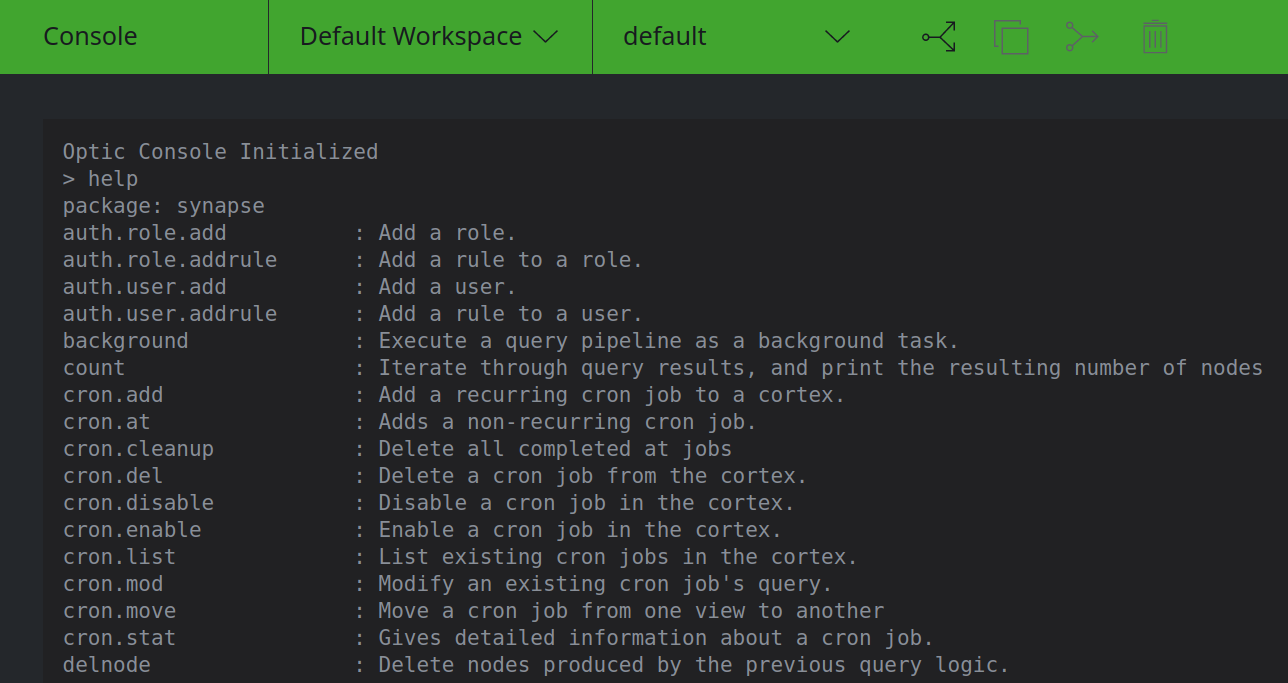
Synapse will display all available commands for your instance of Synapse, including:
Note
Help for Synapse’s built-in Storm commands is only available from the Console Tool; there is no associated help in the Help Tool. Synapse’s built-in commands will always be the first set of commands displayed by
help, underpackage: synapse(as shown above). Synapse’s Storm commands are also documented in the Storm Command Reference.
Search for help on a specific command
The Console Tool allows you to search for commands that contain a specific string. You can easily view a subset of commands, or search for a command if you are not sure of the exact name.
In the Console Tool, enter
help <string>in the Storm query bar and press Enter (where<string>is the string you want to search for: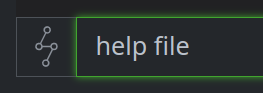
Synapse will display any installed commands that contain your search string:
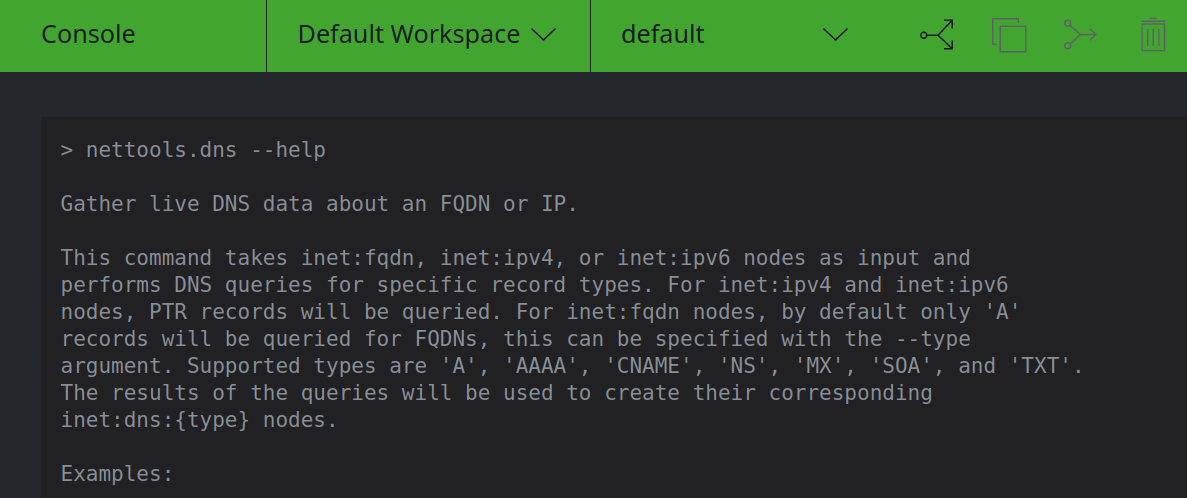
View help or examples for a specific command
In the Console Tool, enter
<command> --help(or<command> -h) in the Storm query bar and press Enter (where<command>is the command whose help you want to view):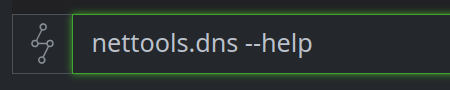
Synapse will display the detailed help for that command:
Tip
For commands installed by Power-Ups, the help available in the Console Tool is the same content that can be found in the Help Tool, Power-Ups tab, under each Power-Up’s Package Documentation.
Find Additional Documentation
Optic’s Help Tool includes links to Synapse’s external documentation.
In the Help Tool, select the DOCUMENTATION tab:

Click the link for the documentation you want to view:
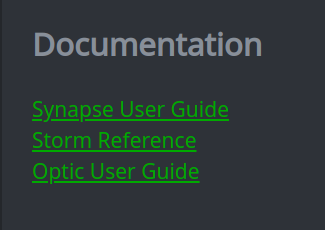
Synapse User Guide takes you to the main User Guide, which includes background information on Synapse, our data and analytical models, tools, and the Storm reference documents.
Storm Reference takes you directly to the Storm Reference, which includes background on Storm, detailed information on how to perform specific Storm operations (such as lifts and pivots), and descriptions of additional Storm features.
Optic User Guide takes you to the main page of this User Guide.