Views and Layers
Synapse users access data through views. A view is made up of one or more layers of data. A basic Synapse deployment uses a single view (the default view) that contains a single layer (the default layer). For environments where different users or teams need access to different data sets, you can configure multiple views with each view providing visibility into different sets of data (i.e., different combinations of layers).
The overall configuration of views and layers within Synapse is typically managed by Synapse Admins using the Admin Tool.
Users typically work with views through the View Selector and the View Task Bar in the Top Bar or through the VIEWS tab in the Workspaces Tool.
Tip
For additional background on views and layers, see our blog post and the related Synapse documentation.
Select a View
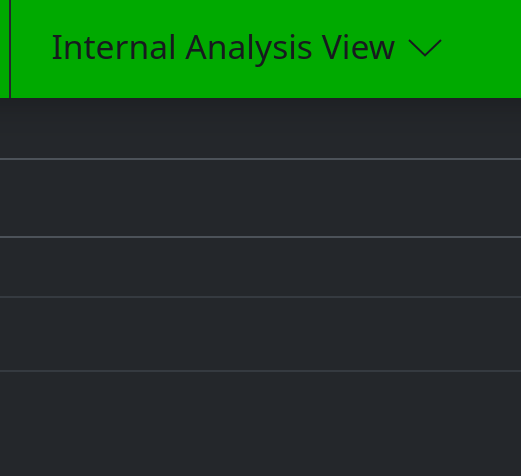
In the Top Bar, use the View Selector to choose the view you want to work with:
Tip
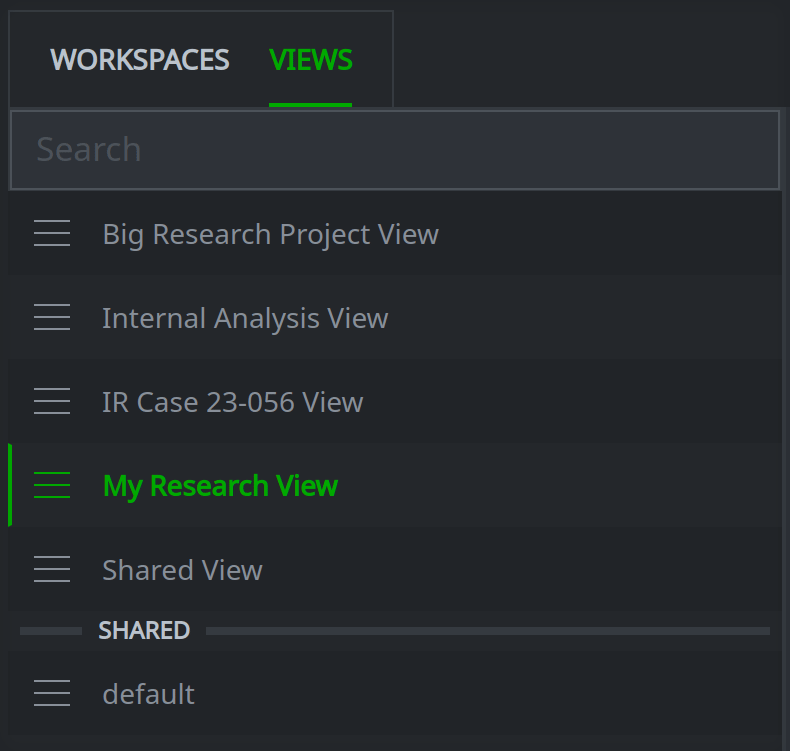
The View Selector lists all views that are visible to you. It will group views into sections separated by horizontal lines. Your Favorites are grouped at the top, followed by views that you create (such as when you Fork a View), and then views that are shared with you (either globally or by another user).
Add a View to Favorites
In the Top Bar, click the View Selector to display the list of available views. Click the star icon next to the view name to add it to your Favorites:

Fork a View
See Fork and Merge.
See and Manage View Details
Detailed information for a view is available from the Workspaces Tool (for views you can see) or the Admin Tool (for all views in a Cortex).
See Details for a View
From the Toolbar, select the Workspaces Tool:

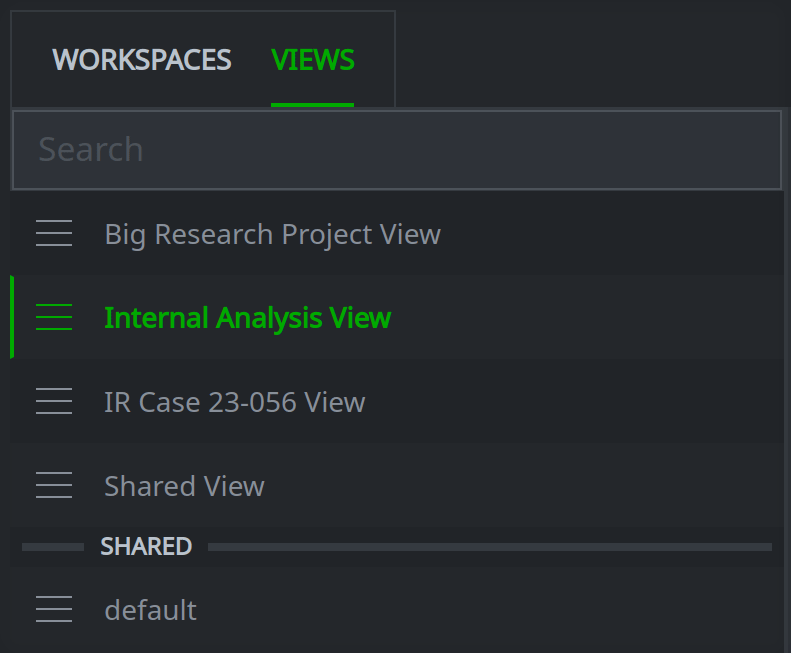
Select the VIEWS tab:
On the VIEWS tab, select the view you want to see from the list:
Tip
The list displays views that you have created at the top (including views you have forked). Views that have been shared with you are displayed at the bottom, under the SHARED separator.
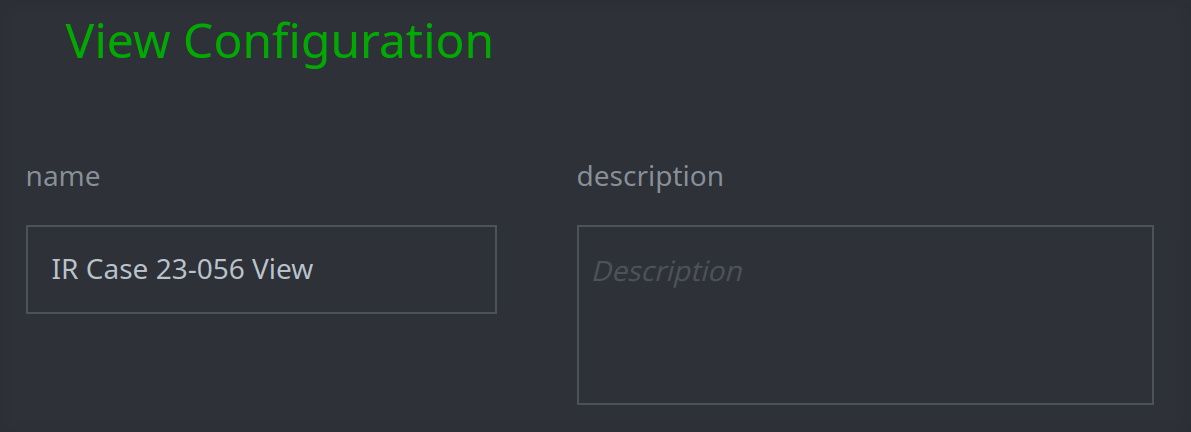
The View Configuration panel displays basic information about the selected view, including:
the view’s name;
the view’s description (if any);
the view’s iden;
the view’s parent (i.e., the view this view is a fork of, if any);
whether the view is protected. Setting this toggle to ON will gray out the merge and delete icons in the View Task Bar; this prevents you from accidentally merging or deleting the view.

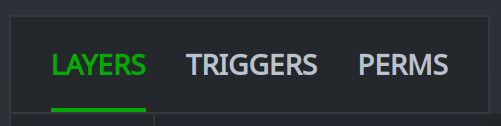
Use the various tabs to see additional information:
The LAYERS tab displays the layers that comprise the view, their order, idens, owner, and size.
The TRIGGERS tab displays any triggers in the view, and allows you to create and manage triggers.
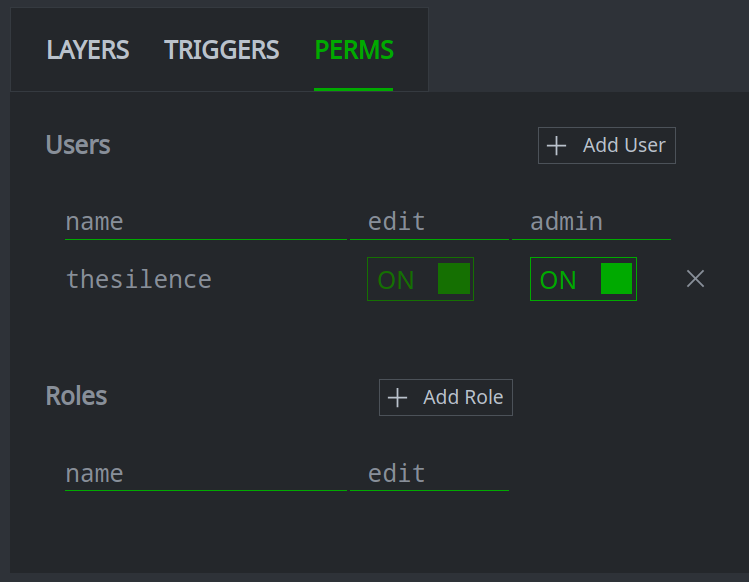
The PERMS tab allows you to view and manage permissions for the view.
The QUORUM tab allows you to enable, manage, or disable Synapse’s Quorum feature.
Change a View’s Name or Description
Follow the steps to See Details for a View.
In the View Configuration panel, edit the name and / or description fields:
Synapse will automatically save the contents (indicated by the temporary green check mark) when you pause typing.
Note
All Synapse users can see all views (and associated descriptions) through the Admin Tool, even if they cannot see the contents of a view. Do not include any sensitive information in view names or descriptions.
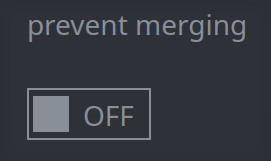
Prevent Merging a View
Follow the steps to See Details for a View.
In the View Configuration panel, set the protected toggle to ON:
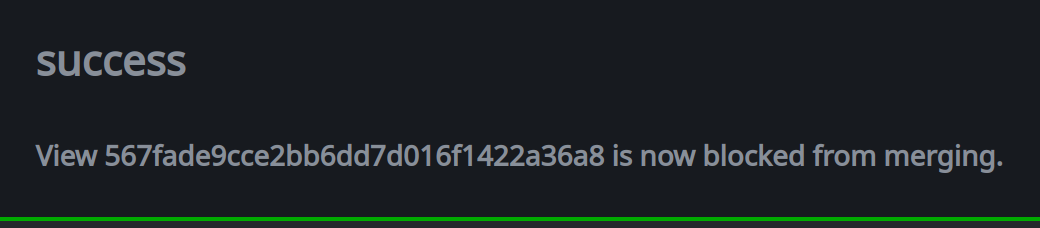
You will see a pop-up (toast) message confirming the change:
Tip
When this setting is ON, the merge icon and delete icon in the View Task Bar are grayed out. This prevents merging or deleting via the View Taskbar. This setting is useful for preventing accidental merging or deleting of data by users who otherwise have permissions to do so. The toggle can be set to OFF to allow merging of some or all data and / or deleting the view at a later date.
Note: This setting will fully prevent deleting the view, and prevents merging data from the View Task Bar. However, it does not prevent merging data through other means, such as the Storm merge command.
Delete a View
In the Workspaces Tool, select the VIEWS tab:
In the list of views, click the hamburger menu next to the view you want to delete and click Delete:
Note
You cannot delete your current view. Ensure the view you want to delete is not the selected view in the Top Bar’s View Selector (see Select a View).
In addition, you cannot delete a view that has existing forks. You must merge and delete (or simply delete) any forks of a view before deleting the view.
Review the Delete confirmation dialog and click Confirm to delete the view:

Warning
Deleting a view deletes all unmerged data in the view. See Fork and Merge for information on how to merge some (or all) data before deleting a view.
Give Others Access to a View
When you create a view (including when you Fork a View) you are the owner of the view and have admin access to the view. As admin:
You can bypass all permissions checks associated with the view (i.e., “do anything” within the view).
You can manage permissions to the view, including granting access to others.
Tip
By default, no one else has access to a view that you create.
Follow the steps to See Details for a View.
In the View Configuration panel, select the PERMS tab:

From the PERMS tab, you can grant permissions to individual users or roles.
Tip
For Views, you can grant admin permissions to other users, but not to roles.