Add Data to Synapse
There are several ways to add data to Synapse. The best option often depends on the format of the data (e.g., is the data structured or unstructured?) and the amount of data (do you need to create a few indicators or load a large number of alerts?).
In addition to the methods described here, the following are also available:
Use the Storm query language’s data modification (edit) mode to create or modify nodes.
Use the Spotlight Tool to load any PDF or HTML content, create a
media:newsnode, and extract and link indicators and other data.Use the Ingest Tool to load structured data in CSV, JSON, or JSONL format.
Many Power-Ups are designed to ingest data into Synapse programmatically. Synapse includes Power-Ups for many popular third-party data sources, as well as Power-Ups that connect to free and / or common data stores or formats. For example:
Synapse-Mitre ATT&CK downloads MITRE ATT&CK data from MITRE’s Github repository.
Synapse-Sidepocket connects to many common databases to import data into Synapse.
Synapse-MISP connects to one or more MISP instances to load MISP data.
Synapse-RSS consumes RSS feeds that you specify.
The full list of currently available Power-Ups can be viewed in the Power-Ups Tool.
Note
Synapse also includes helper libraries to support the import and export of data in STIX format.
Add Common Indicators with Lookup Mode
Use the Storm Query Bar in Lookup mode to quickly add common indicators to Synapse.
“Common” indicators are those frequently reported as indicators of compromise (IOCs), plus a few extras. Lookup mode recognizes domains (FQDNs), IPv4 addresses, email addresses, URLs, and hashes (MD5 / SHA1 / SHA256). Lookup mode also recognizes CVE numbers (e.g., CVE-2021-44228) and cryptocurrency addresses for common currencies such as Bitcoin (BTC) and Ethereum (ETH).
Note
Lookup mode is useful for quickly adding a handful of indicators to Synapse. The Spotlight Tool provides greater flexibility for creating nodes, linking nodes to articles, applying tags, etc.
In the Research Tool, set the Storm Query Bar to Lookup mode.
Paste or type the indicators you want to add into the Query Bar and press Enter.

Tip
You can paste “defanged” indicators into the Query Bar. Lookup mode accounts for most common defang methods and will “re-fang” them for you automatically. In addition, Lookup mode will simply ignore any text it does not recognize as a valid indicator; so if you are copying and pasting from a report, you do not need to manually remove any extraneous headers or other text.
Synapse will prompt you to create the new indicators:
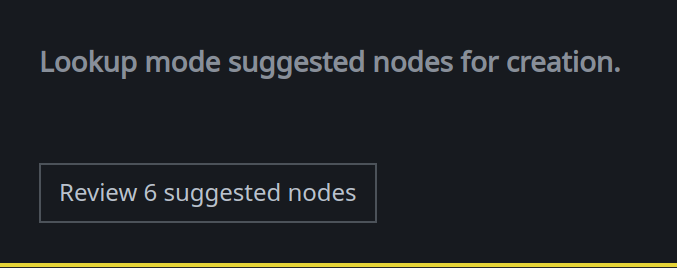
Click the Review suggested nodes button to review the data.
Note
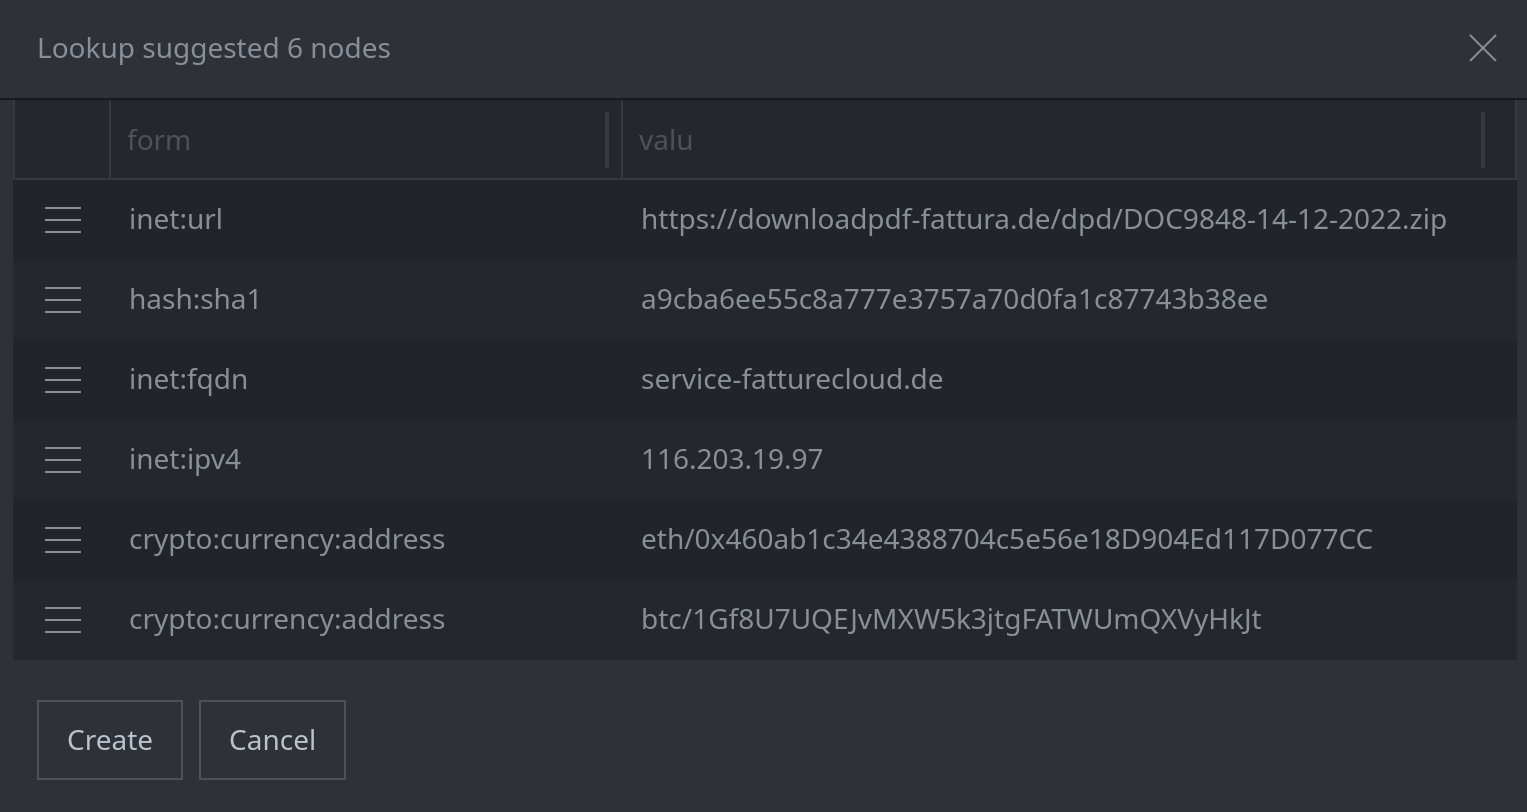
If any of the indicators you pasted already exist, Synapse will simply display them in the Results Panel. Synapse will not prompt you to “re-create” the existing nodes.
Review Synapse’s suggested nodes. If you do not want to create a node, click the hamburger menu next to the node and select Remove to remove it from the list.
When you are done reviewing, click Create to create the new nodes.
Tip
The Storm Query Bar’s Auto Add mode can also be used to quickly add common indicators. It works the same way as Lookup mode, but will immediately create any nodes it recognizes when you press Enter. Auto Add mode will not prompt you to review the data first.
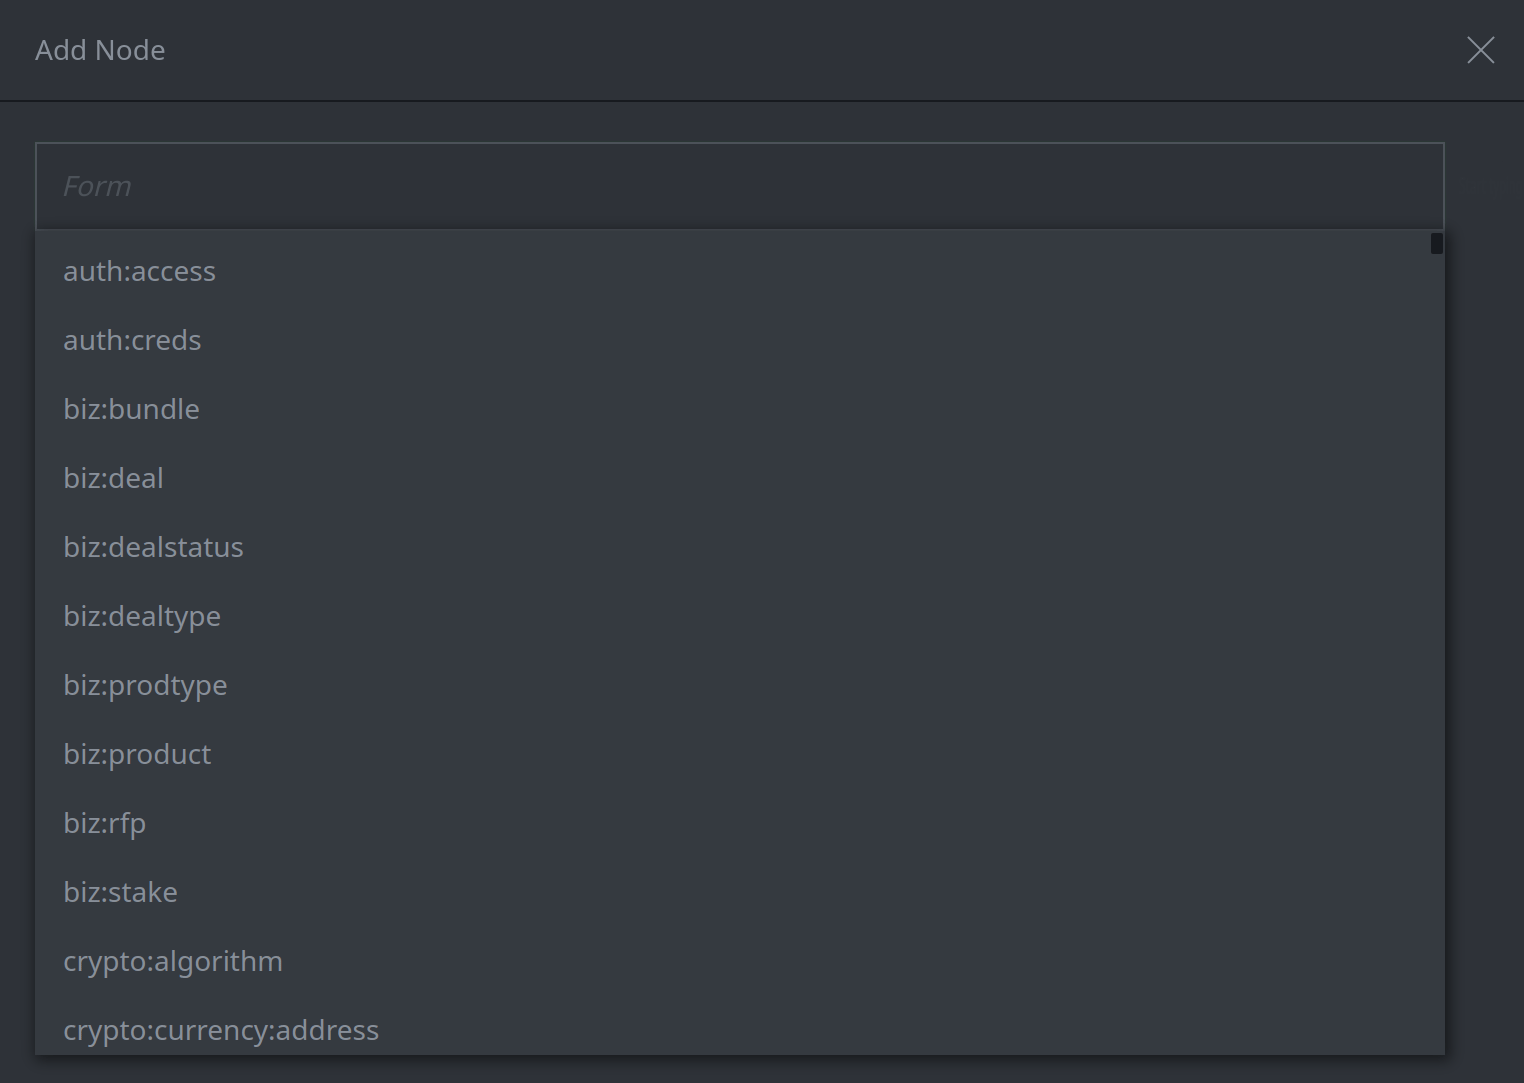
Add a Node with the Add Node Dialog
Use the Add Node dialog to add an individual node of any kind.
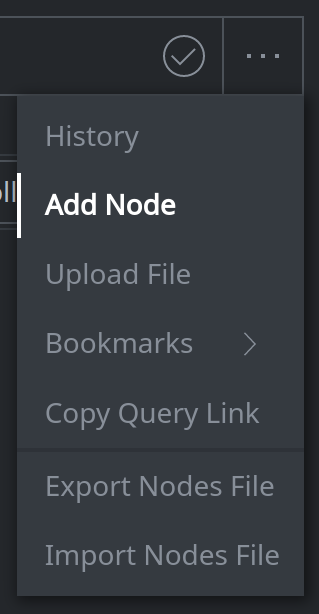
In the Research Tool, from the Storm Query Bar menu (“meatball menu”), select Add Node:
In the Add Node dialog, in the Form field, start typing to locate the name of the form that you want to add. Select the form from the drop down list:
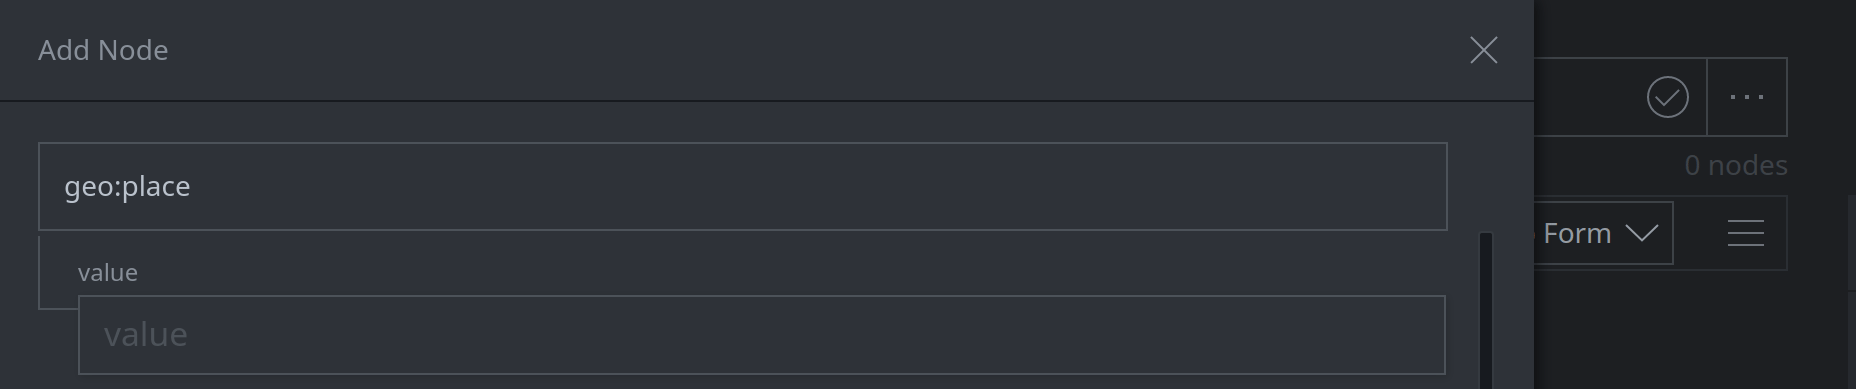
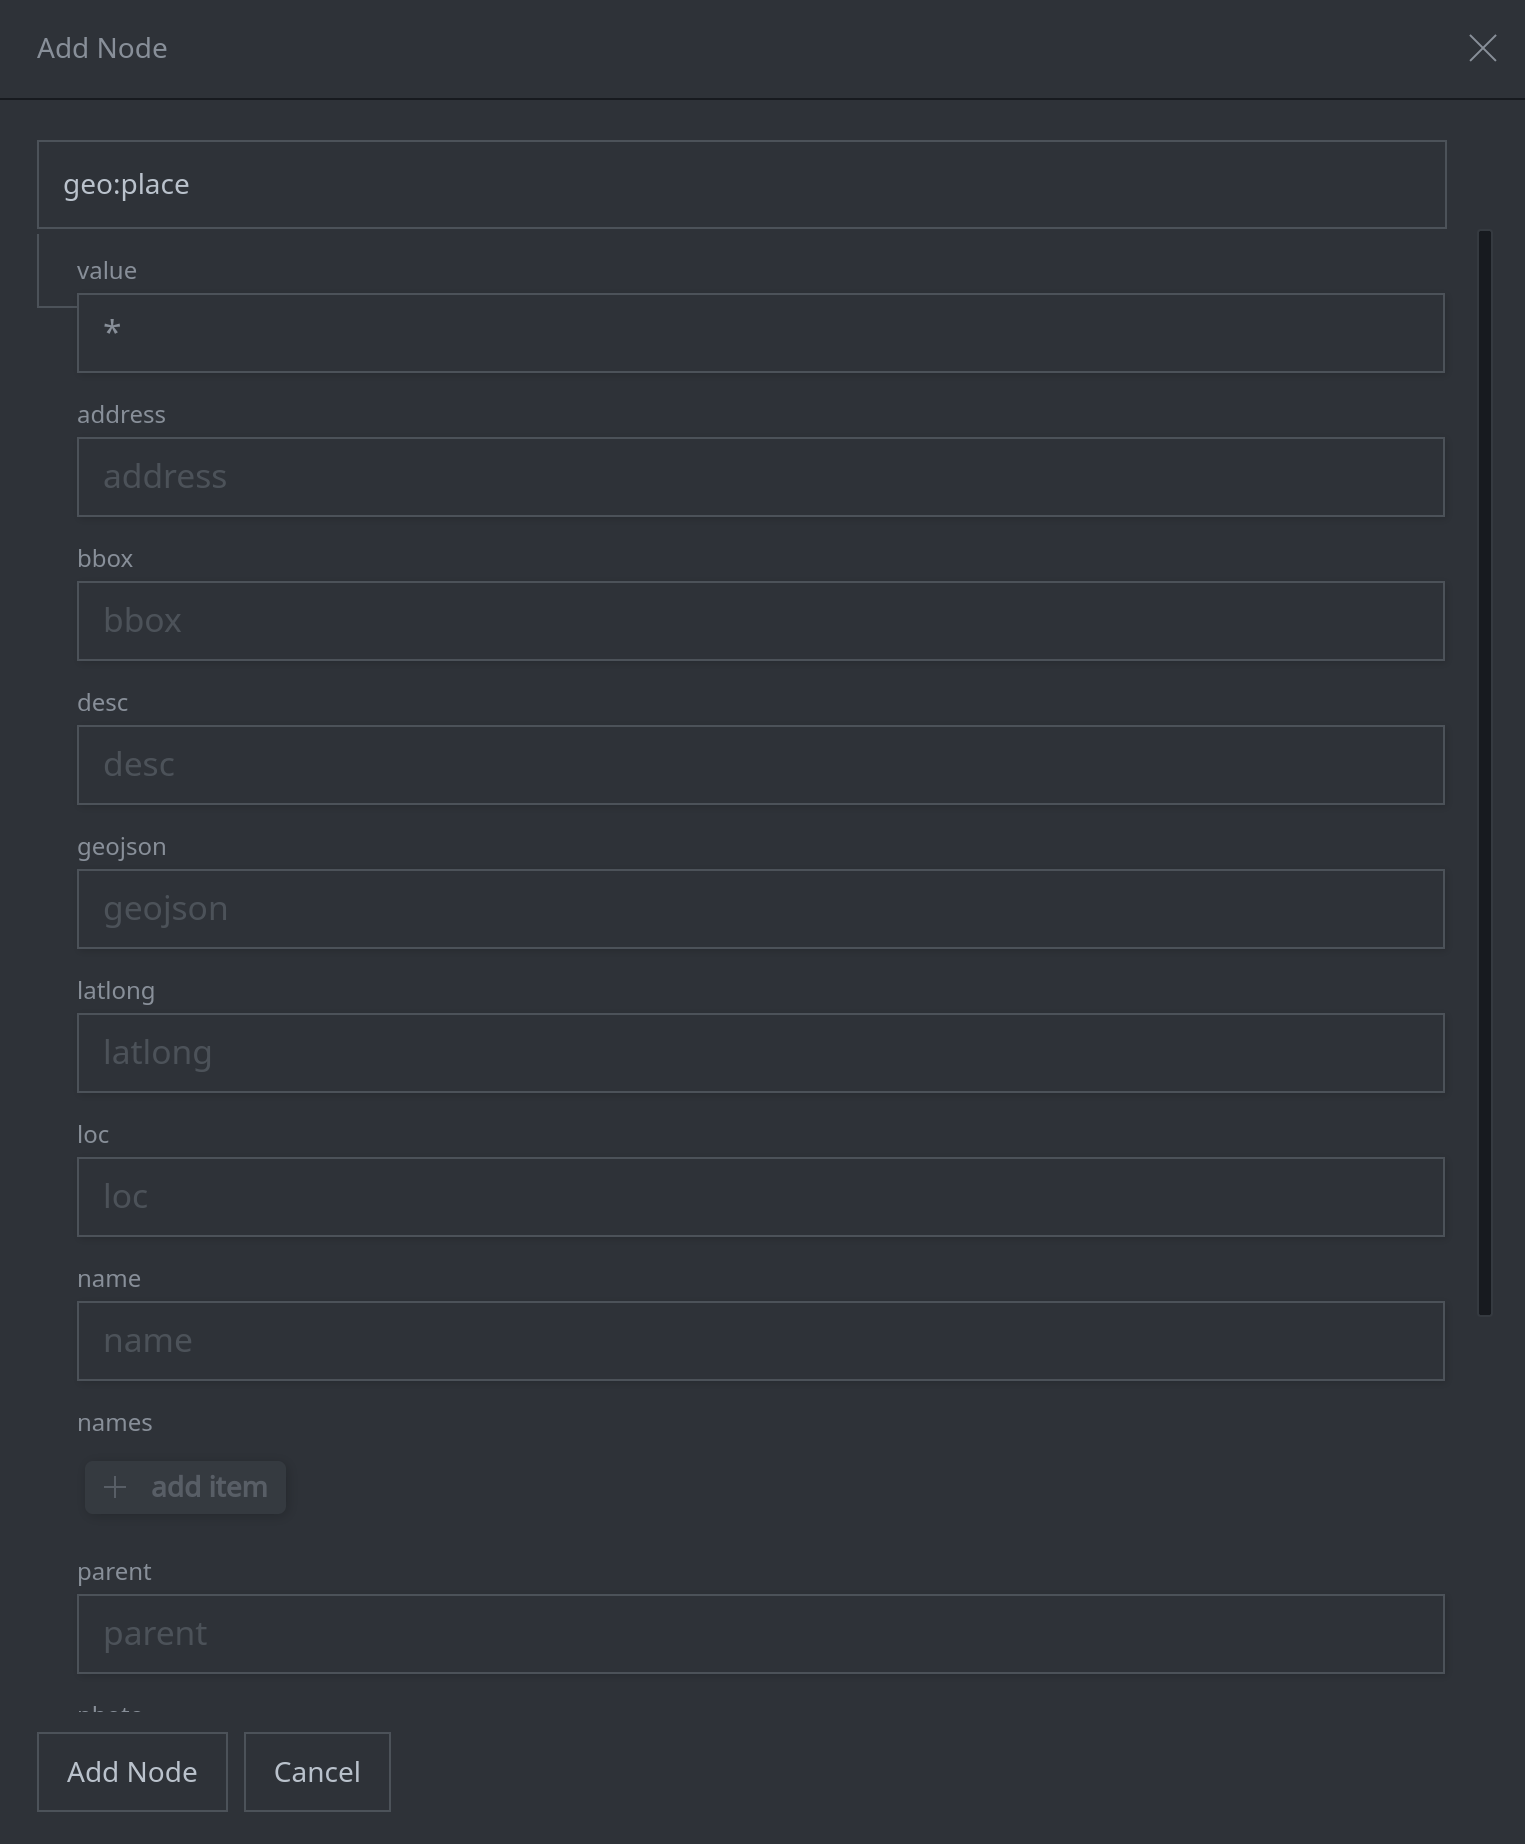
In the dialog box, add the node’s primary property value. The field(s) for the primary property are connected to the form name by a thin gray line:
Tip
The value(s) required will vary based on the kind of node you are creating. The Add Node dialog provides a pop up “hint” when you place your cursor in any field. For nodes that require a globally unique identifier (guid), you can enter an asterisk (
*) to have Synapse generate an arbitrary guid value.If you are still not sure what to enter, refer to the Data Model Explorer in the Help Tool (see Using Data Model Explorer).
Enter the values for any secondary properties that you want to set. Click the Add Node button to create the node:
Tip
All secondary properties are optional. You can set them now, set (or edit) them later, or leave them blank.
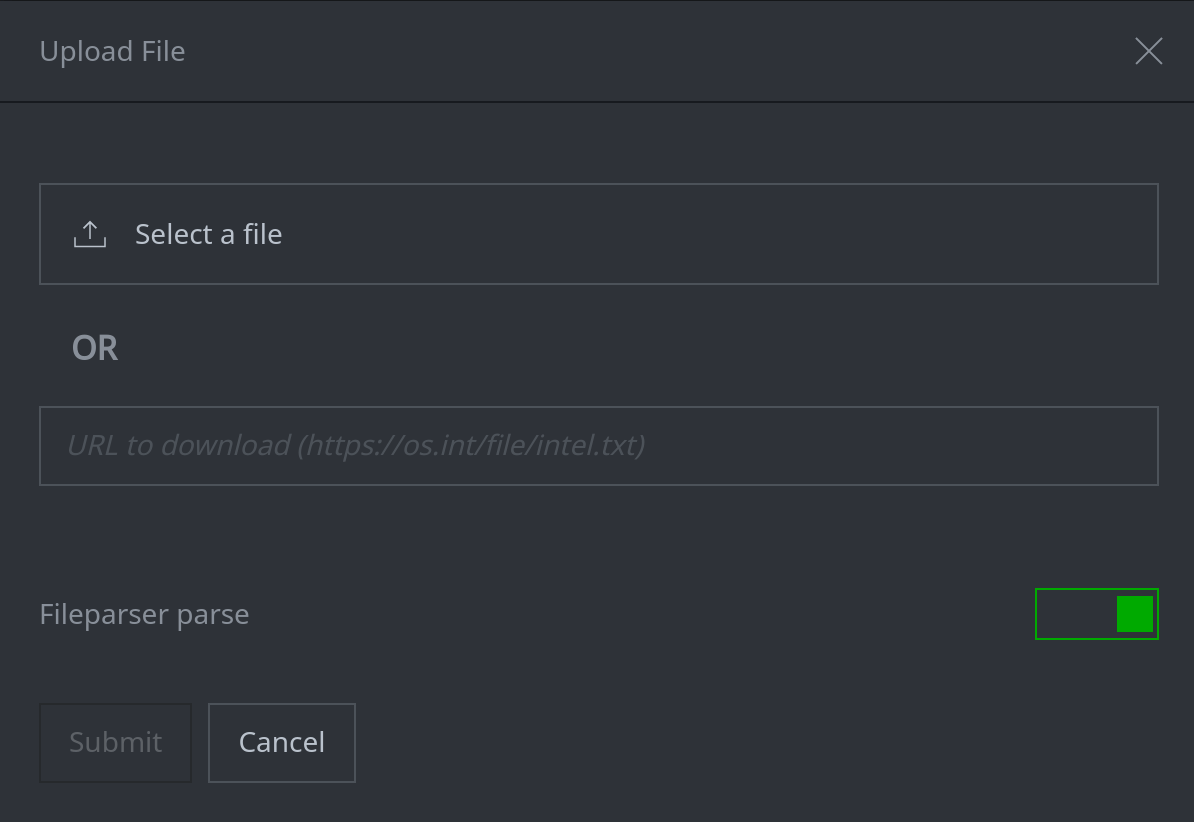
Add a File (Upload / Download)
Synapse allows you to either upload a file (from local disk) or download a file (from a specified URL). You can optionally parse the file to extract data or indicators.
Note
To add a file to Synapse, you must have the Axon storage service deployed.
To parse a file, you must have the Synapse-Fileparser Power-Up installed and configured.
For information on how the Synapse-Fileparser parses various file types (MIME types), including nodes that may be extracted / created / linked when parsing a file, refer to the Power-Up’s documentation.
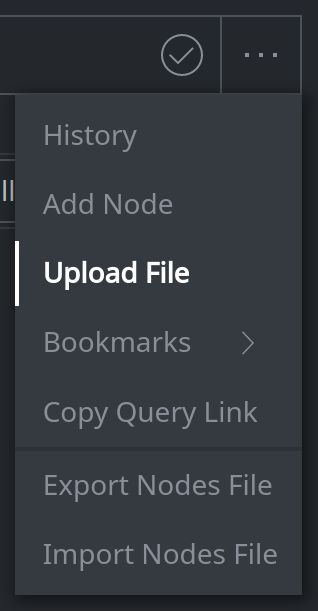
In the Research Tool, from the Storm Query Bar menu (“meatball menu”), select Upload File:
Select a local file to upload OR specify a URL for the file you wish to download. If you want the Synapse-Fileparser Power-Up to parse the file, ensure that the Fileparser parse toggle is set to ON.
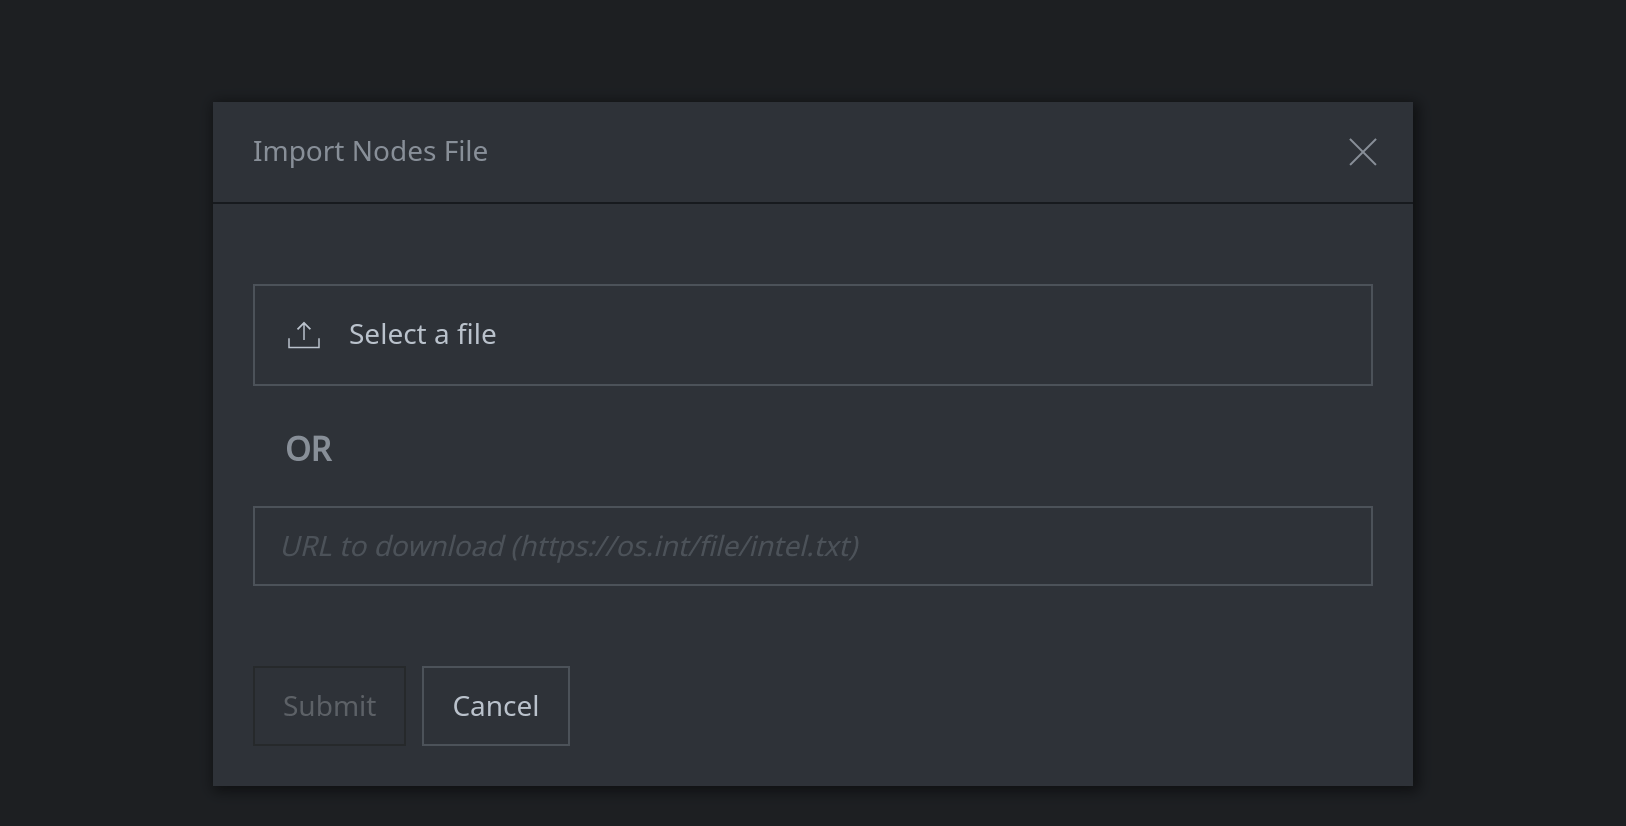
Import Data from a Nodes File
Synapse allows you to export a subset of data (nodes, edges, and / or tags) in native Synapse format
using a nodes (.nodes) file. The nodes file can then be imported directly into another instance
of Synapse.
Note
Before importing a nodes file, we strongly recommend that you fork a view. This allows you to load the nodes file data into a separate “working space” for review and deconfliction before you merge any data into your production view.
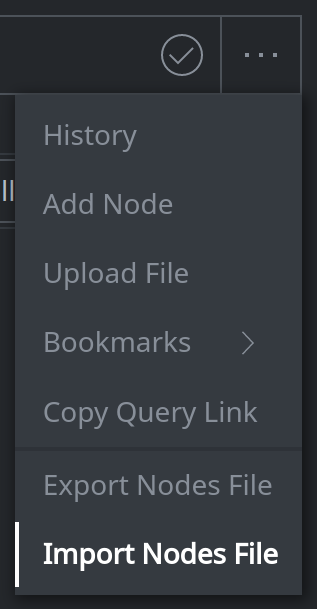
In the Research Tool, from the Storm Query Bar menu (“meatball menu”), select Import Nodes File:
Select a local nodes file to upload OR specify a URL to download a nodes file. Click Submit to retrieve and load the data:
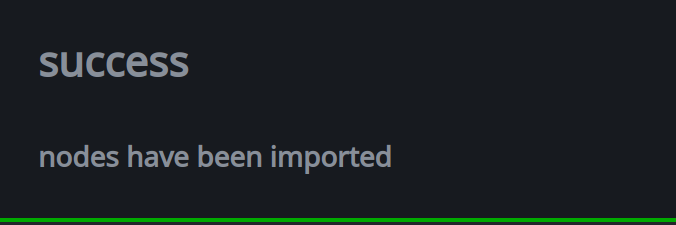
Once the data has been imported, Synapse will display a pop-up message:
Depending on the size of the nodes file, the data import may take some time. In addition to the temporary pop-up message, Synapse will display a gray dot on your notifications icon when the data import is complete:
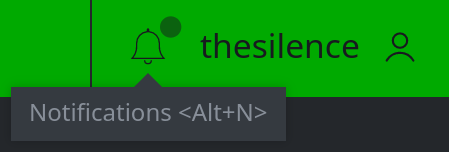
Click the notifications icon to view any messages:
