Export Data from Synapse
There are several ways to export data from Synapse. The best option may depend on factors such as the type of data, volume of data, or whether the data needs to be in a particular format.
This document focuses on those methods likely to be most helpful for Synapse users. For programmatic access to Synapse and Synapse data, refer to the Storm API guide in the Synapse Developers Guide.
Note
Synapse also includes helper libraries to support the export and import of data in STIX format.
Export Data from Tabular Mode
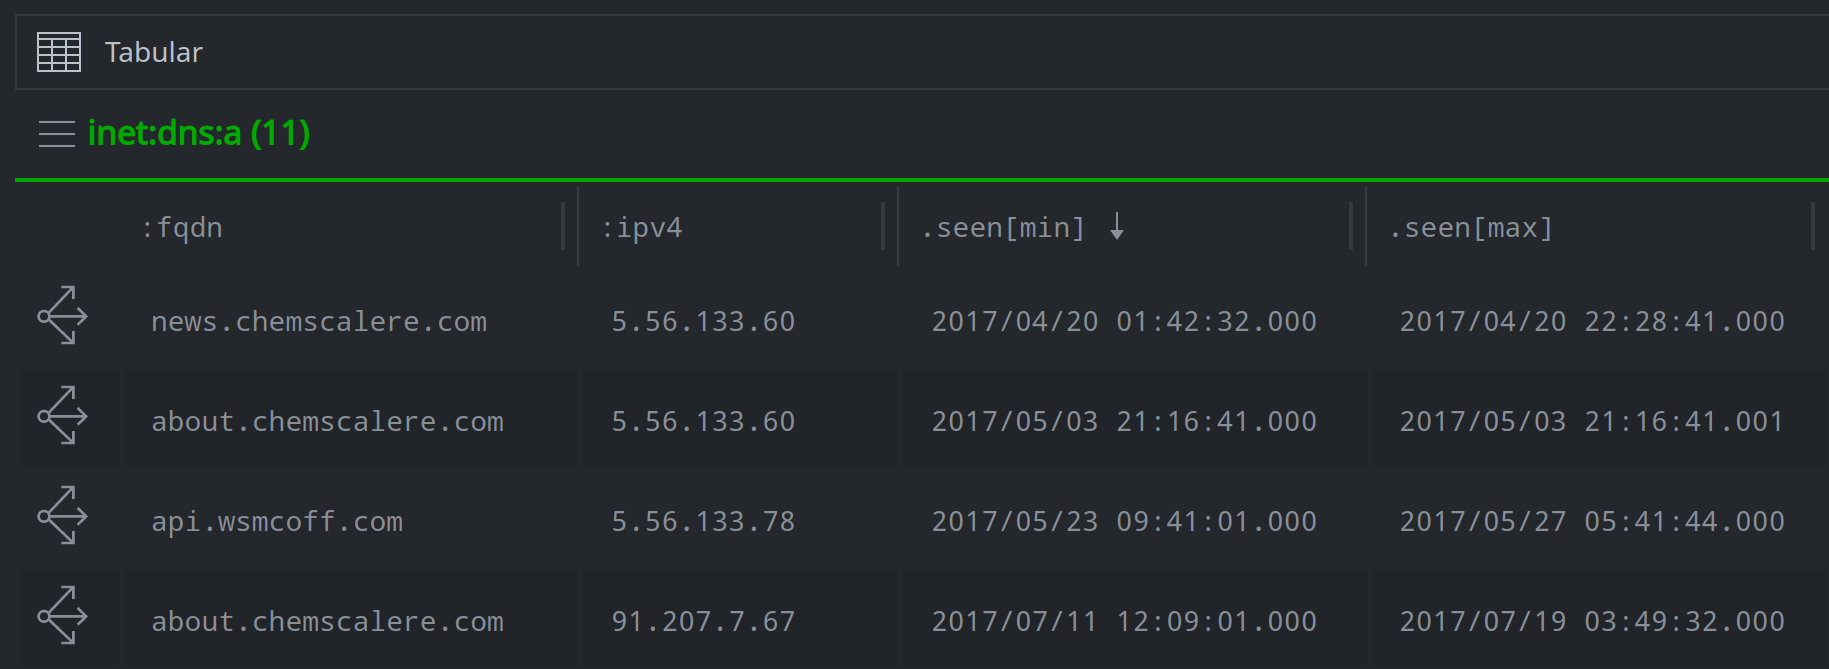
When using the Research Tool in Tabular Mode, you can export any individual column or table from the data displayed in the Results Panel.
Tip
The data will be exported exactly as displayed. If you need to adjust the columns that are displayed or their order, see the section on customizing the Research Tool - Tabular Display Mode in the Customize Your Environment section of this guide.
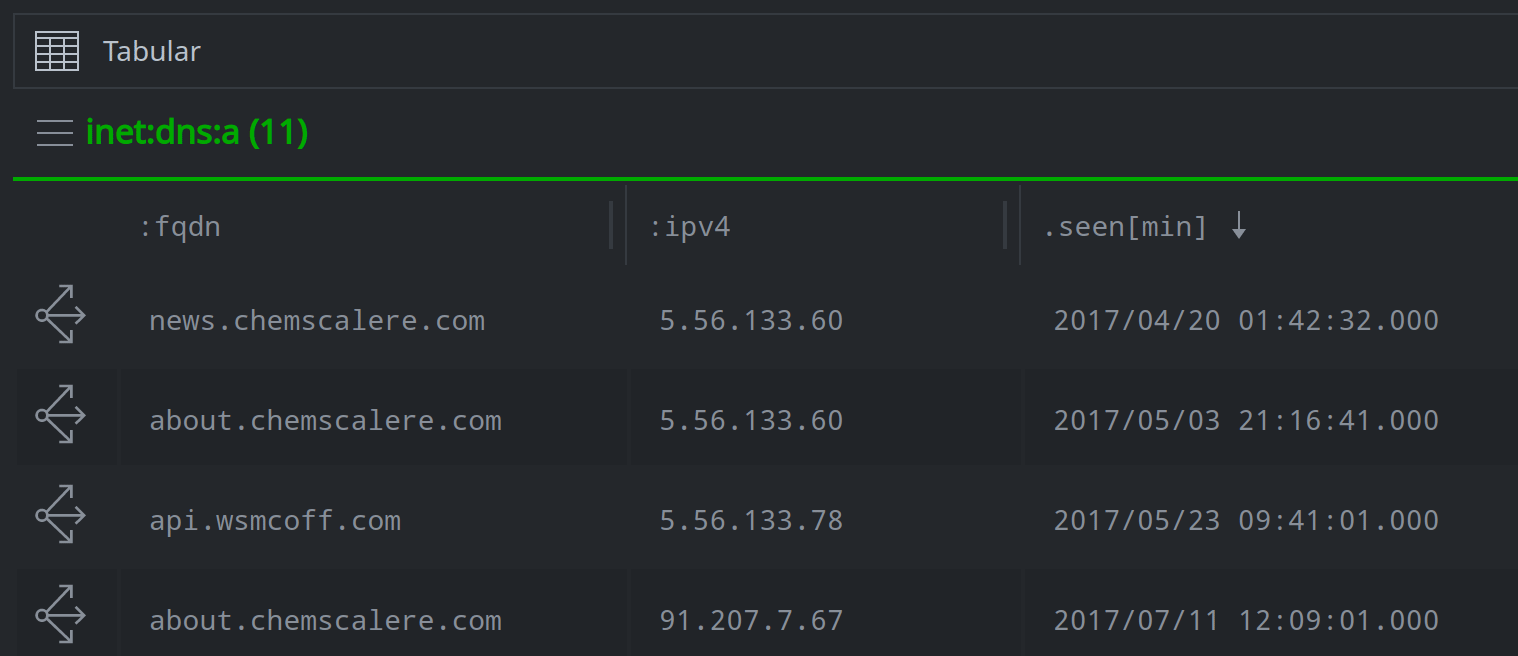
Export All Values in a Column
You can export (copy) the full set of values in any column as either a space-separated or a newline-separated list.
In the Research Tool, Tabular Mode, locate the column that you want to export in the Results Panel.
Click the column header of the column you want to export and select copy > from the drop down menu. Select either copy all space separated or copy all newline separated, depending on the format you want for the data:
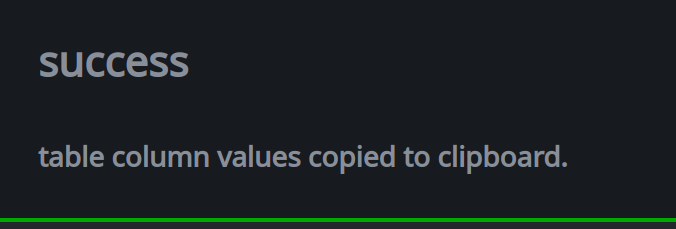
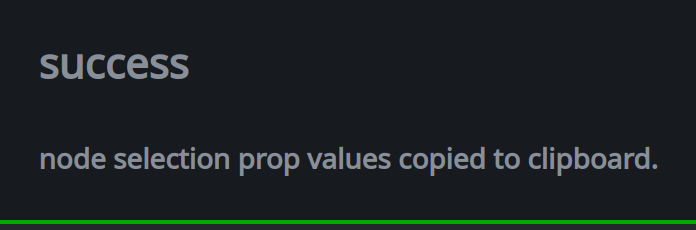
Synapse will display a temporary popup (“toast”) window indicating that the values have been copied to the clipboard.
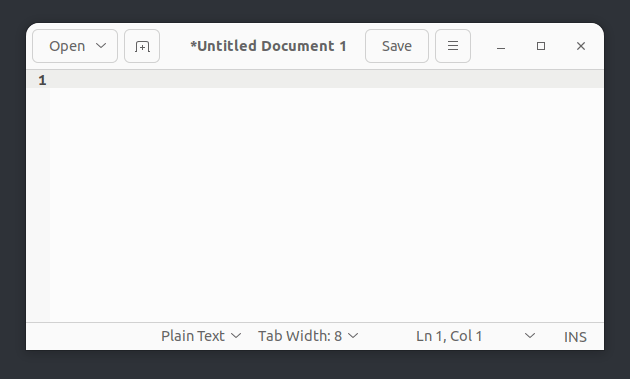
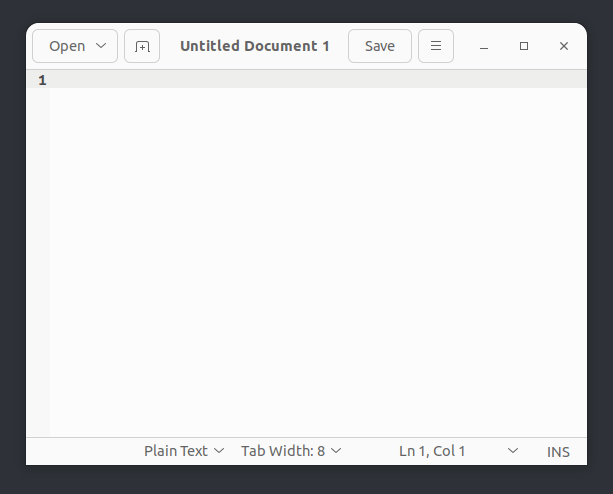
Paste the data from your clipboard into a new document:
Export a Subset of Values in a Column
You can export (copy) a selected set of values in any column as either a space-separated or newline-separated list.
In the Research Tool, Tabular Mode, locate the data that you want to export in the Results Panel.
Use shift-click or ctrl-click to select the specific results (rows) whose data (column value) you want to copy:
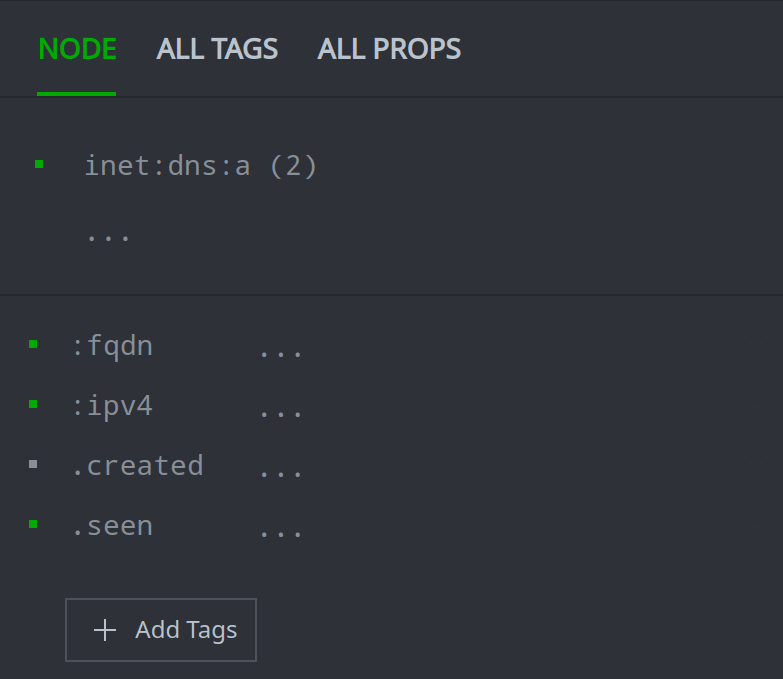
In the Details Panel, click the property whose values you want to copy. Select copy > from the drop down menu. Select either copy all space separated or copy all newline separated, depending on the format you want for the data:
Synapse will display a temporary popup (“toast”) window indicating that the values have been copied to the clipboard.
Paste the data from your clipboard into a new document:
Export a Table
You can export any table into a CSV file.
In the Research Tool, Tabular Mode, locate the table that you want to export in the Results Panel.
Click the hamburger menu next to the table header and select Export CSV from the drop down menu:
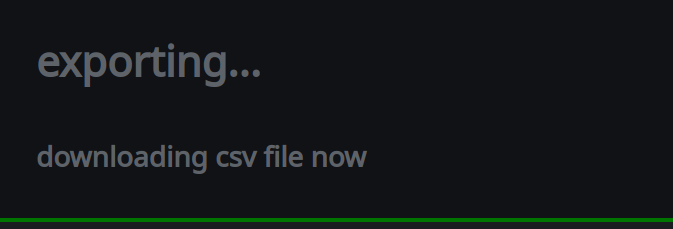
Synapse will display a temporary popup (“toast”) window indicating that the CSV file is being generated:
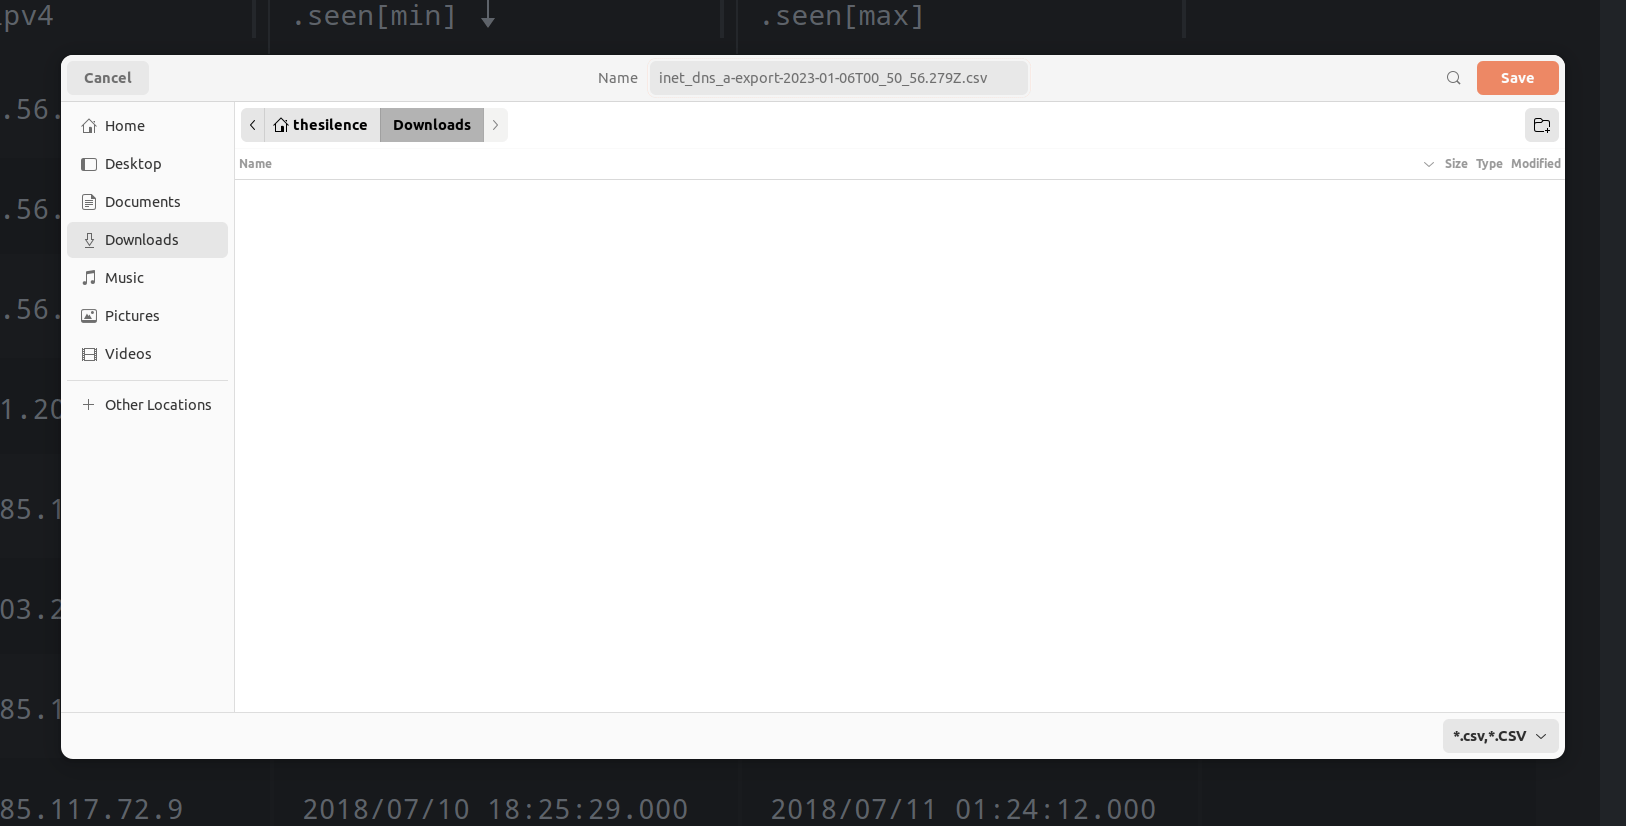
Choose a location to save the exported CSV file:
Export Data from Force Graph Mode
When using the Research Tool in Force Graph Mode, you can export any force graph as an image (PNG) file.
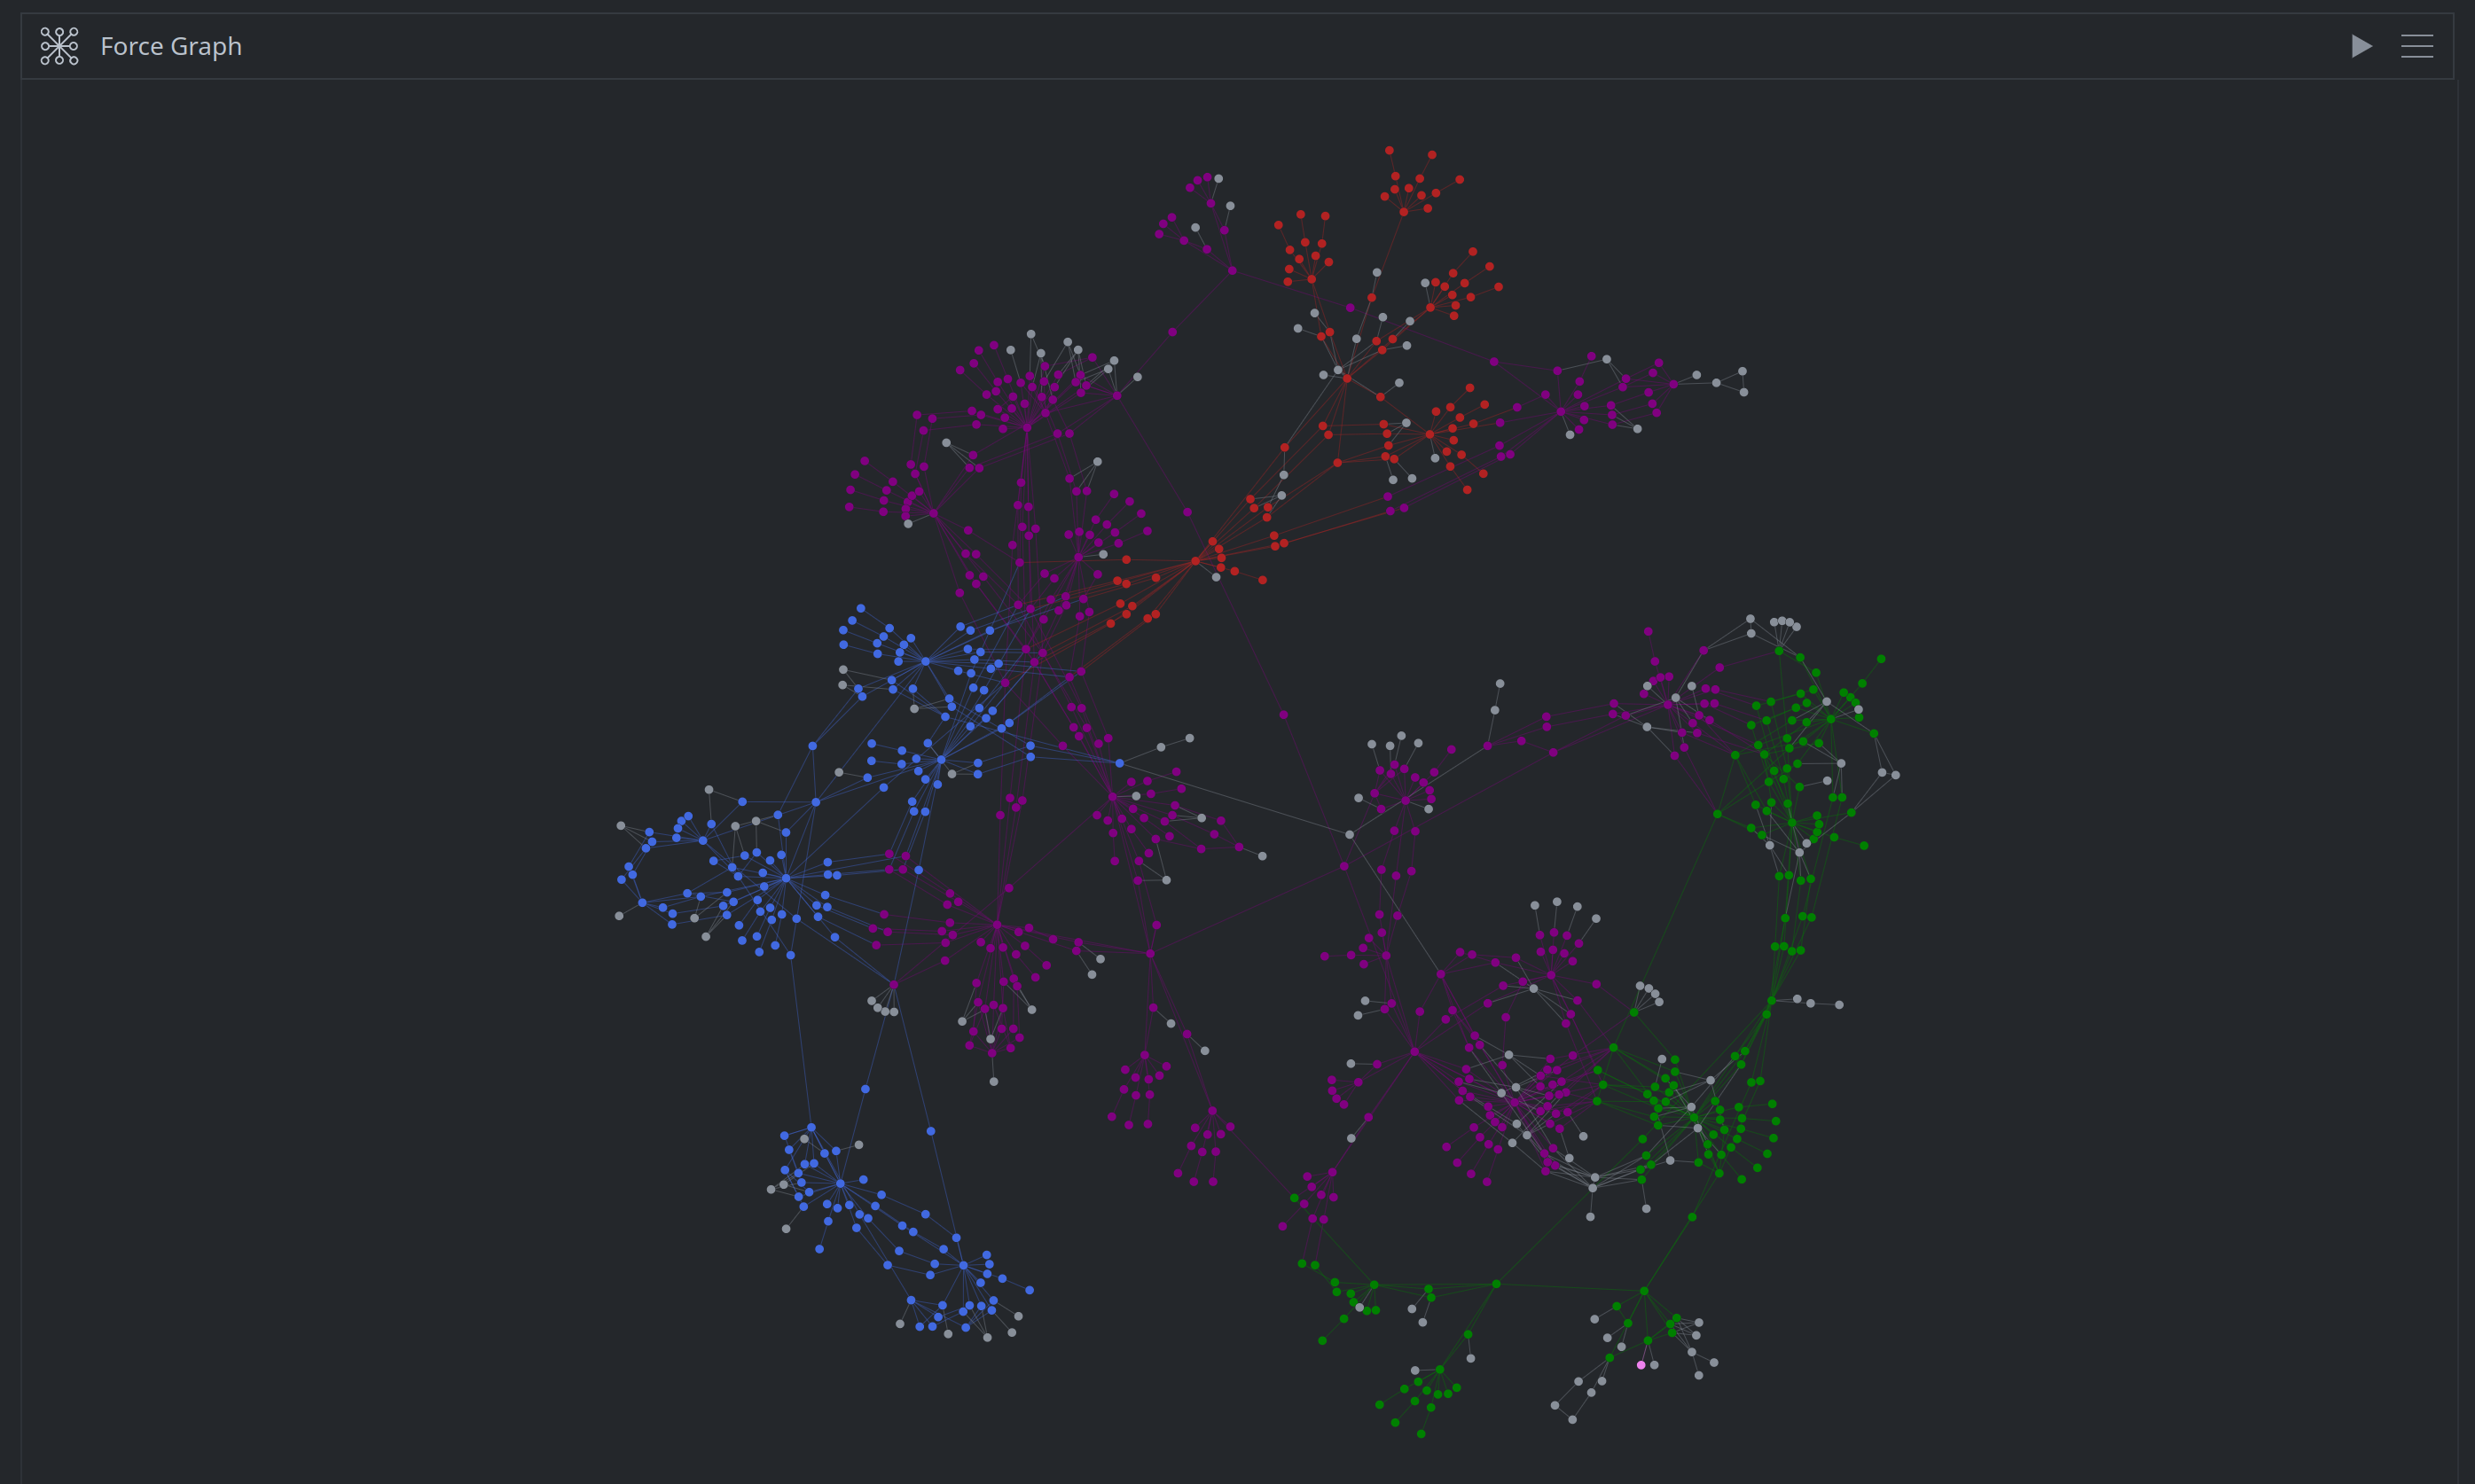
In the Research Tool, Force Graph Mode, display the force graph that you want to export:
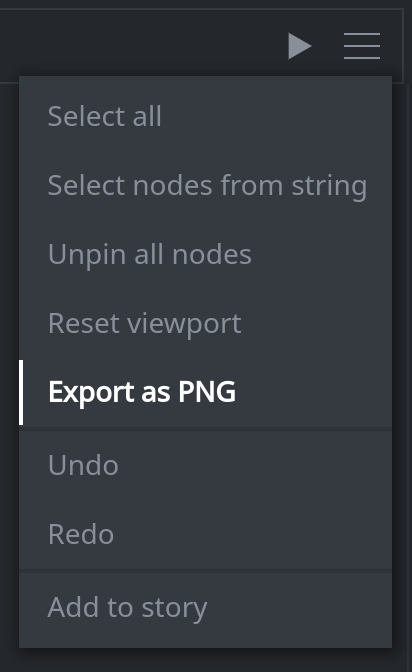
From the main Force Graph Mode hamburger menu, select Export as PNG:
You will see a popup window prompting you to download the image. Click the Click to download link:

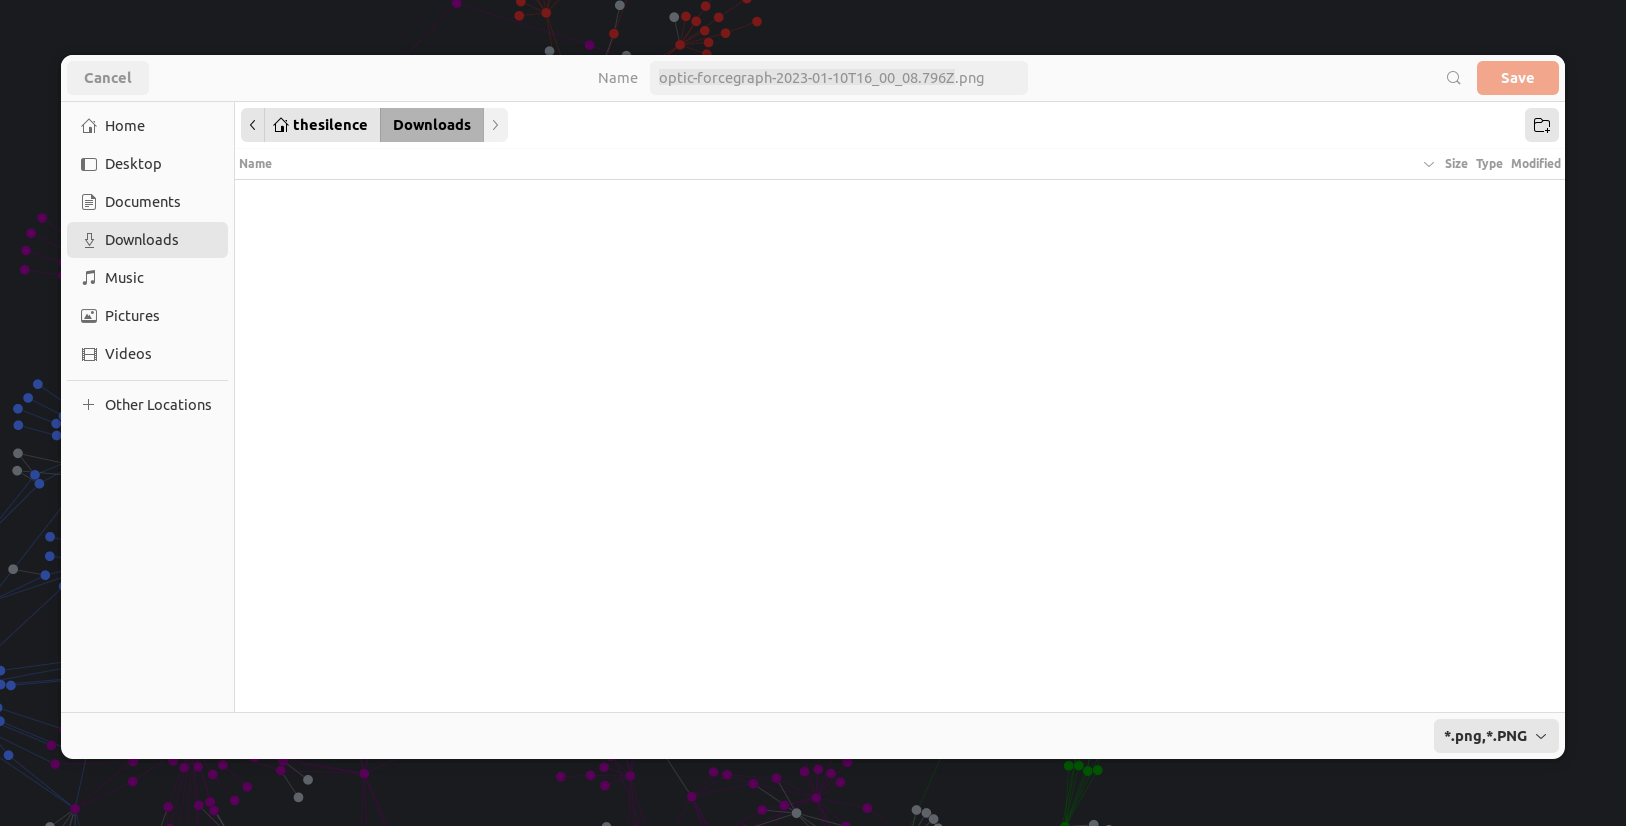
Choose a location to save the exported PNG file:
Export Data from Statistics Mode
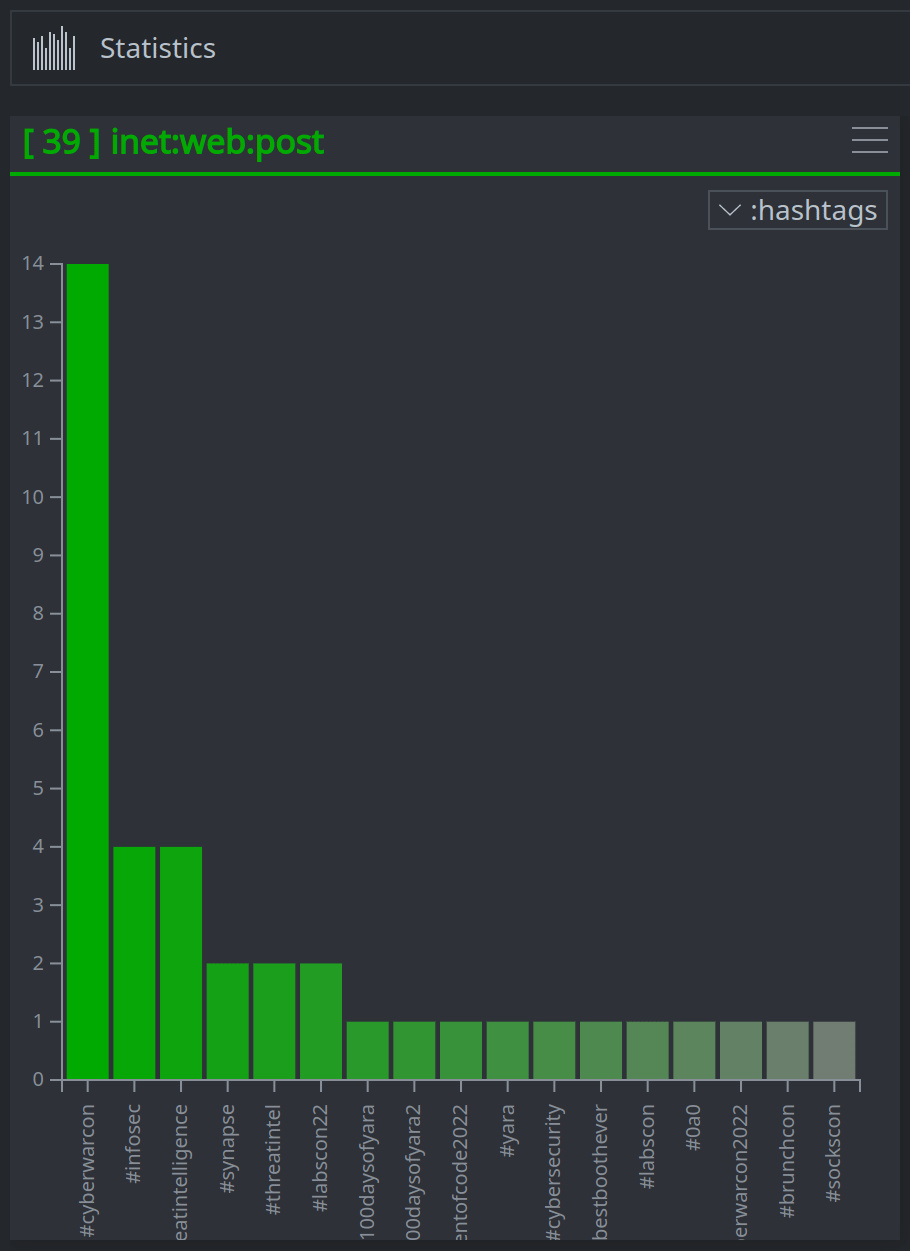
When using the Research Tool in Statistics Mode, you can export the data used to generate a particular bar chart or sunburst chart as a CSV file.
Tip
This process does not export the chart as an image, but will allow you to generate similar charts or graphs from a spreadsheet application using the exported CSV data.
In the Research Tool, Statistics Mode, locate the graph whose data you want to export. From the graph’s hamburger menu, select Export CSV:
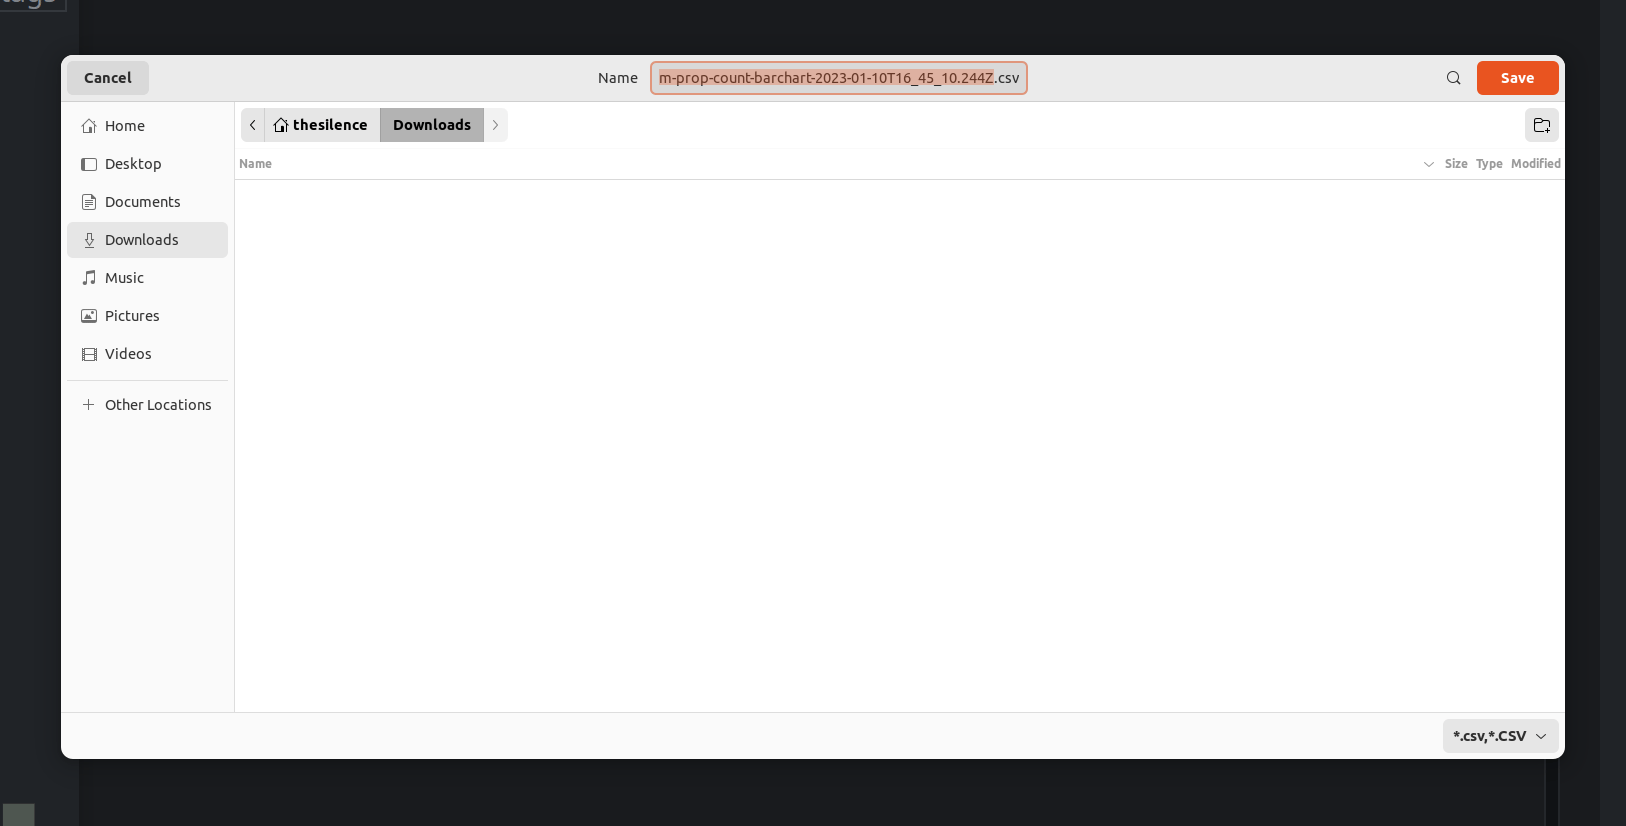
Choose a location to save the exported CSV file:
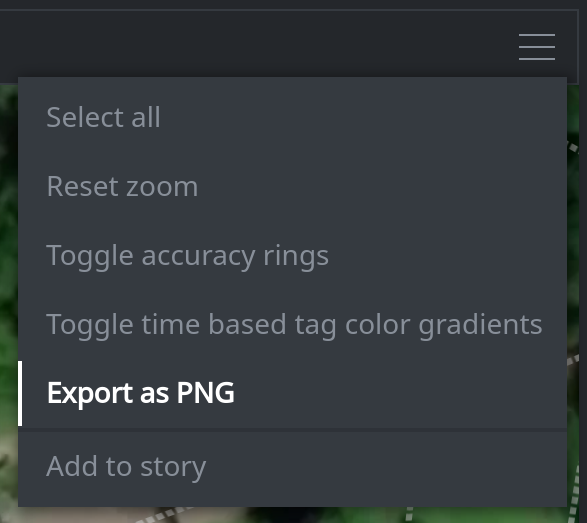
Export Data from Geospatial Mode
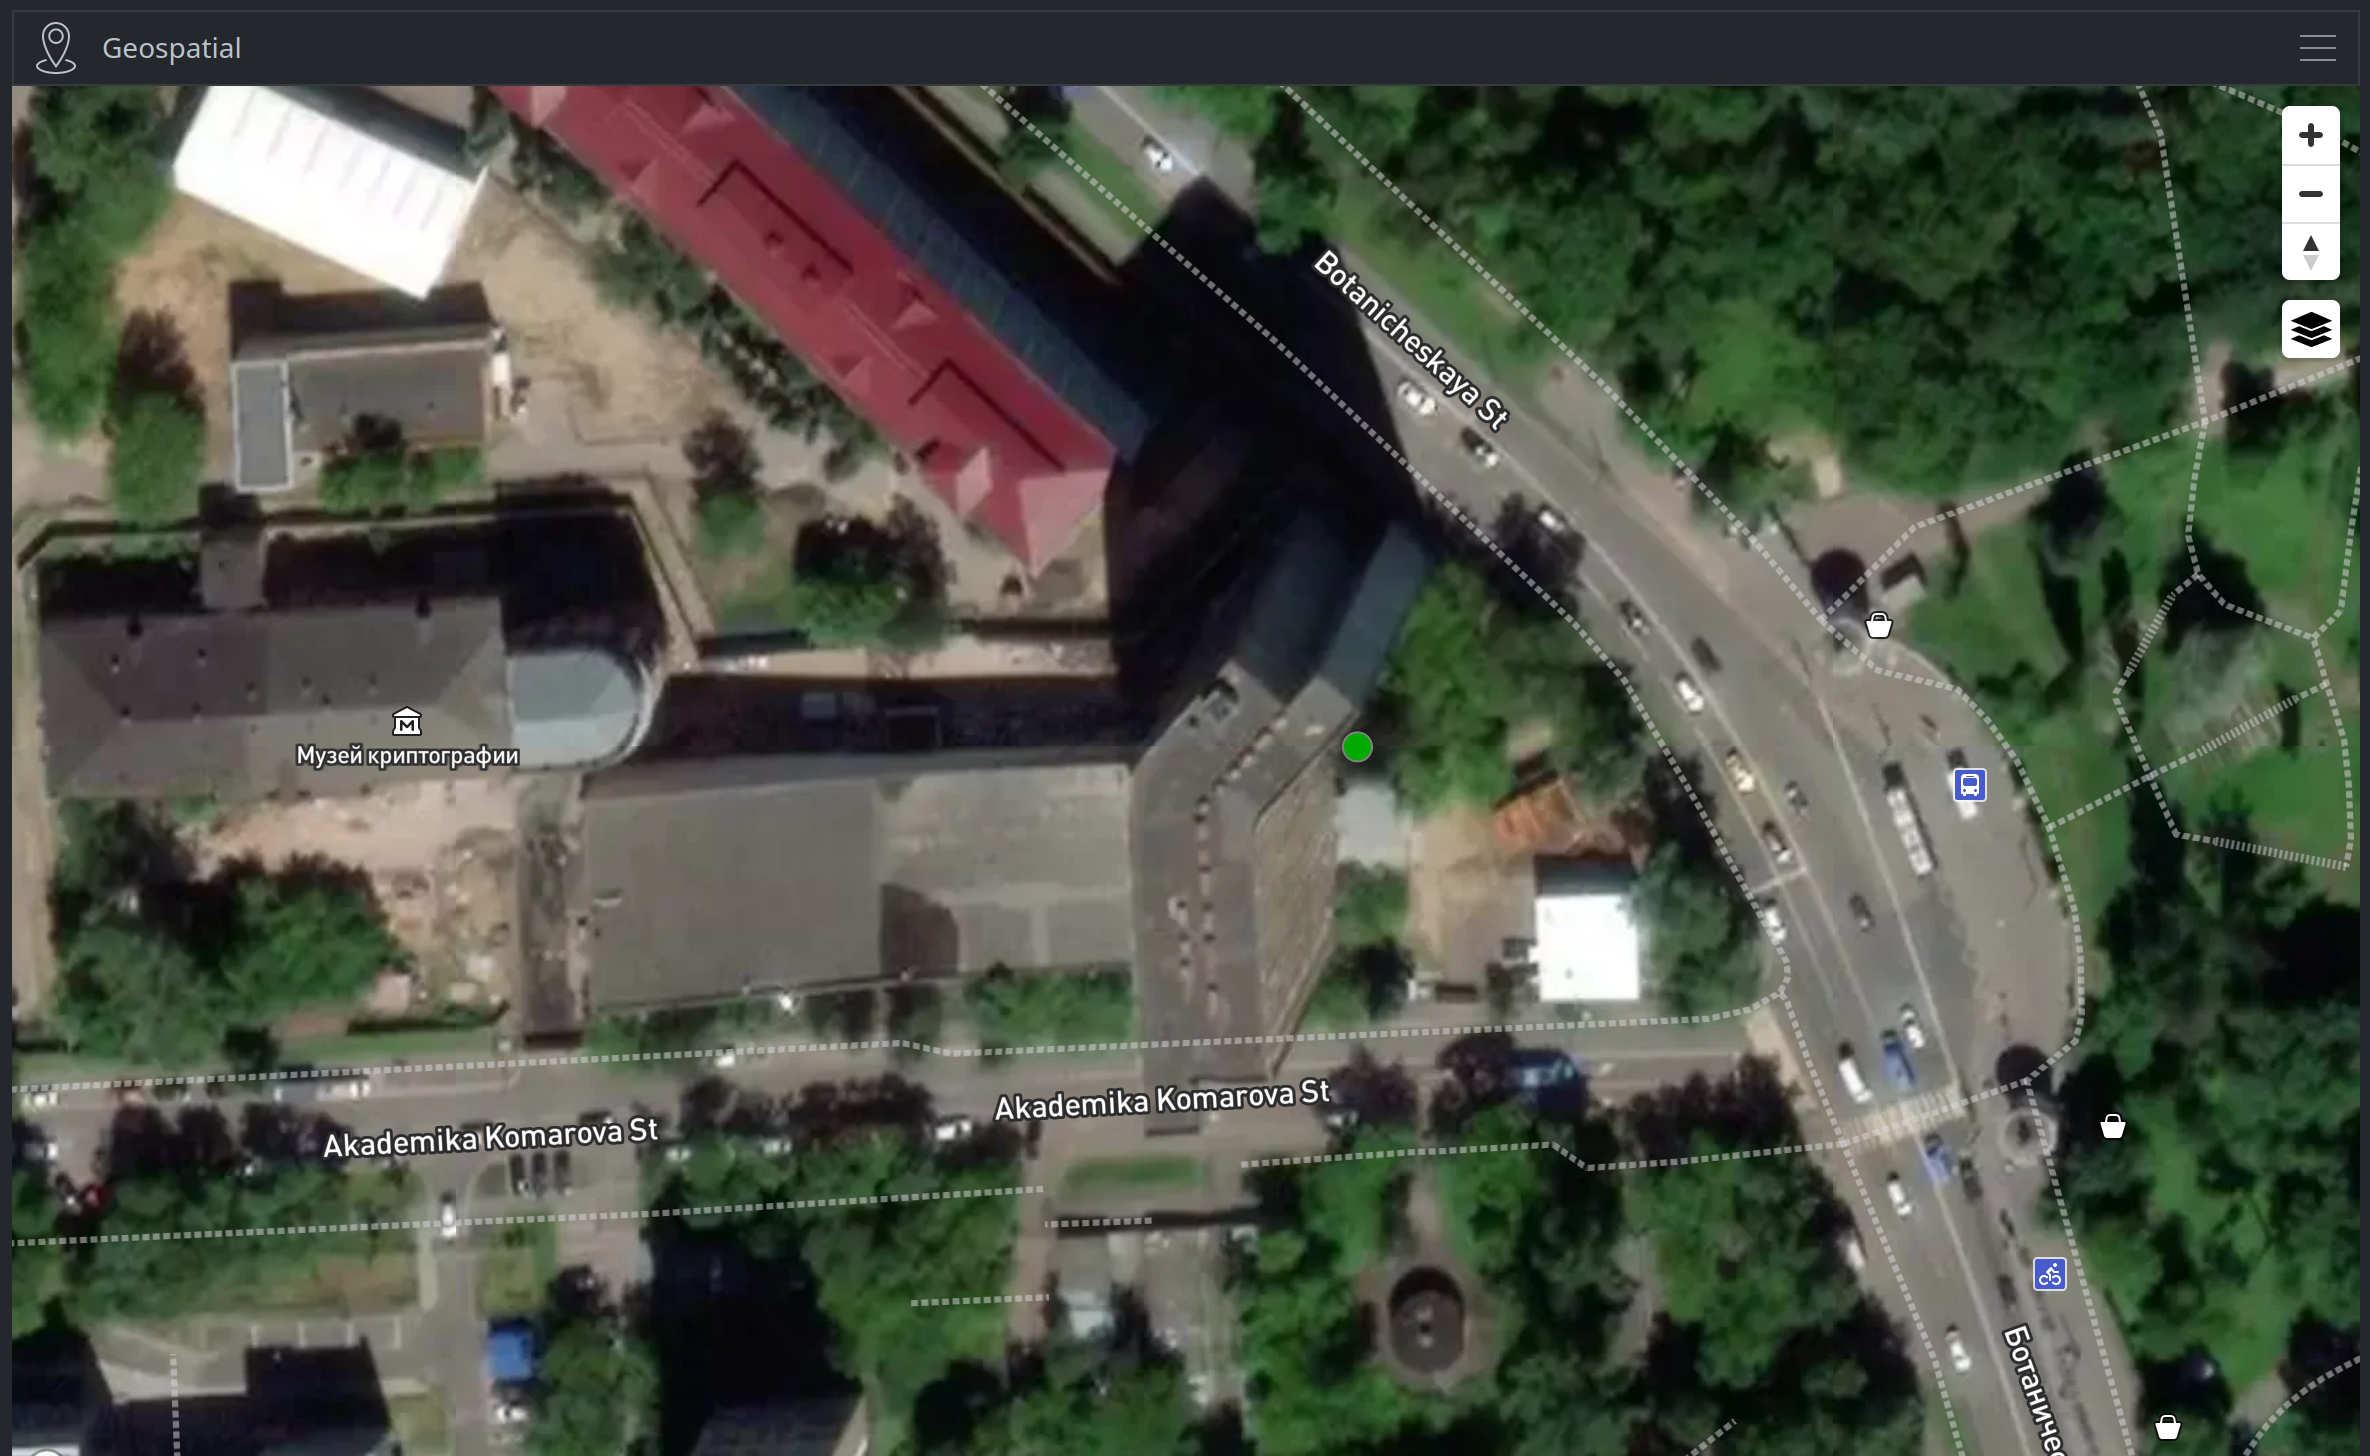
When using the Research Tool in Geospatial Mode, you can export a map view as an image (PNG) file.
In the Research Tool, Geospatial Mode, display the map image that you want to export:
From the main Geospatial Mode hamburger menu, select Export as PNG:
You will see a popup window prompting you to download the image. Click the Click to download link:

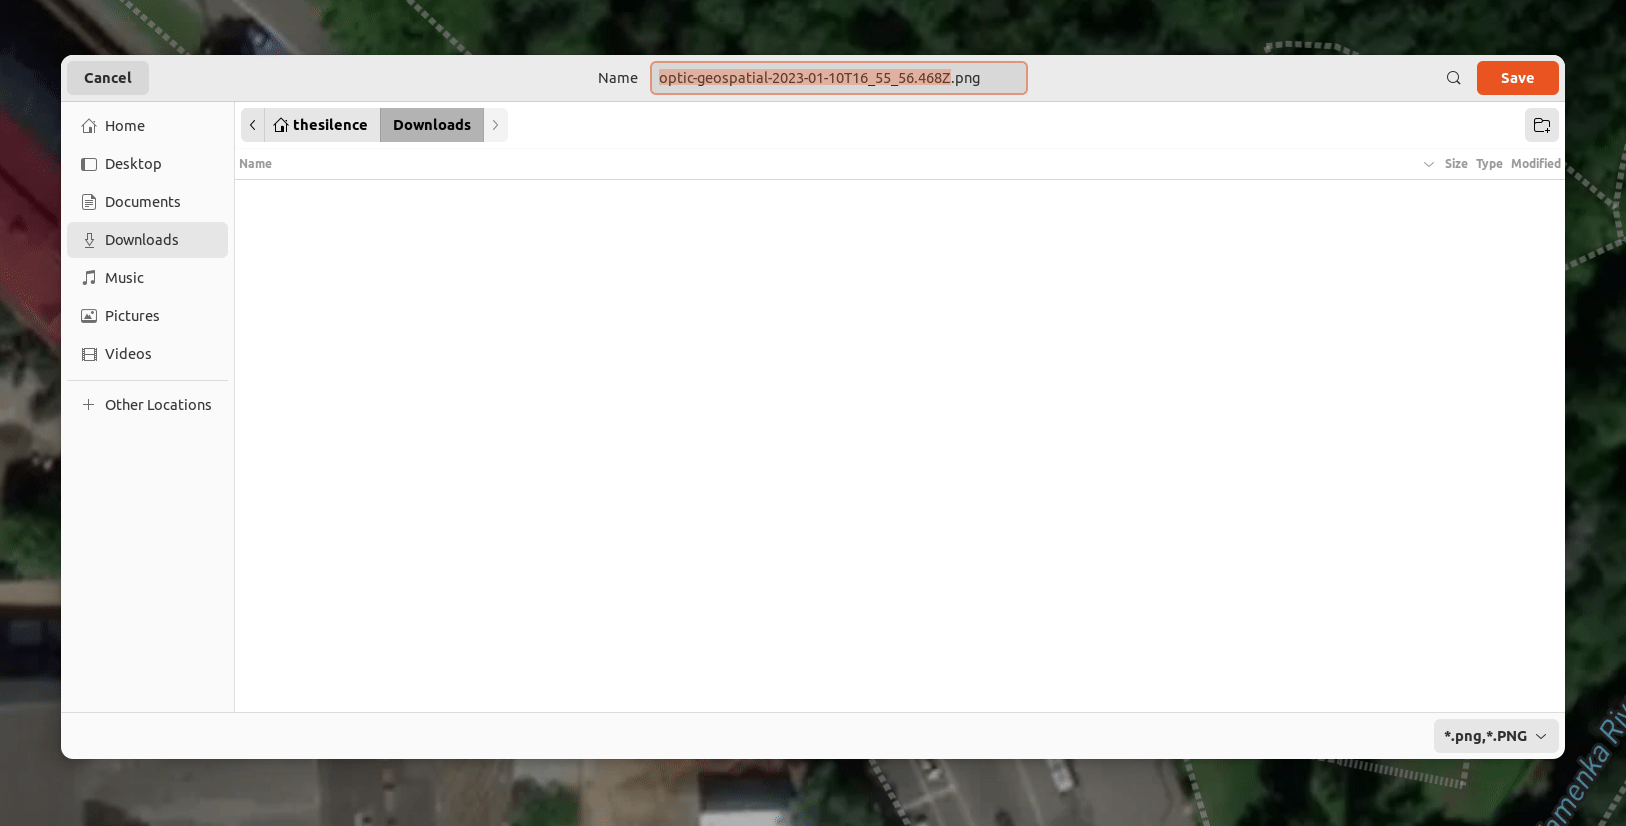
Choose a location to save the exported PNG file:
Export Data as a Nodes File
Synapse allows you to export a subset of data (nodes, edges, and / or tags) in native Synapse
format (called a “nodes file” due to its .nodes file extension). The file can then be
imported directly into another instance of Synapse.
In the Research Tool, specify a Storm query that defines the set of nodes (the subgraph) that you want to export:
Tip
You do not need to run the Storm query that you enter in the query bar (running the query will attempt to display the query results in the Results Panel, which is impractical for large exports). Synapse will execute the query in the background when it generates the file for export.
For sizeable and / or detailed subgraphs, the Storm query required to explicitly lift and pivot to all of the nodes you want to include can quickly become complex. An easy way to “define” the set of nodes to export is to simply tag all of the nodes you want to include, e.g.,
#my.export. You can then specify that tag in the Storm query bar to generate and export the nodes file, and remove the tag when you are done.Note that when exporting light edges, you do not need to explicitly specify the edge(s) themselves. If you export any nodes that are linked by a light edge, the light edge is automatically included in your nodes file.
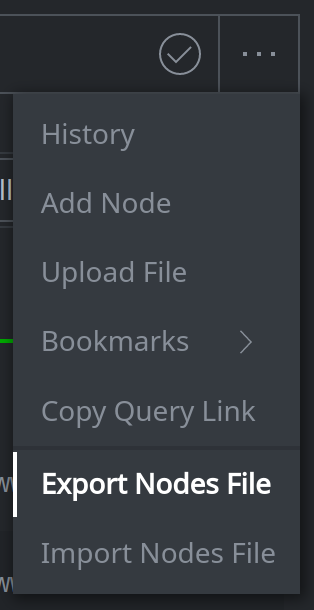
From the Storm Query Bar menu (meatball menu), select Export nodes file:
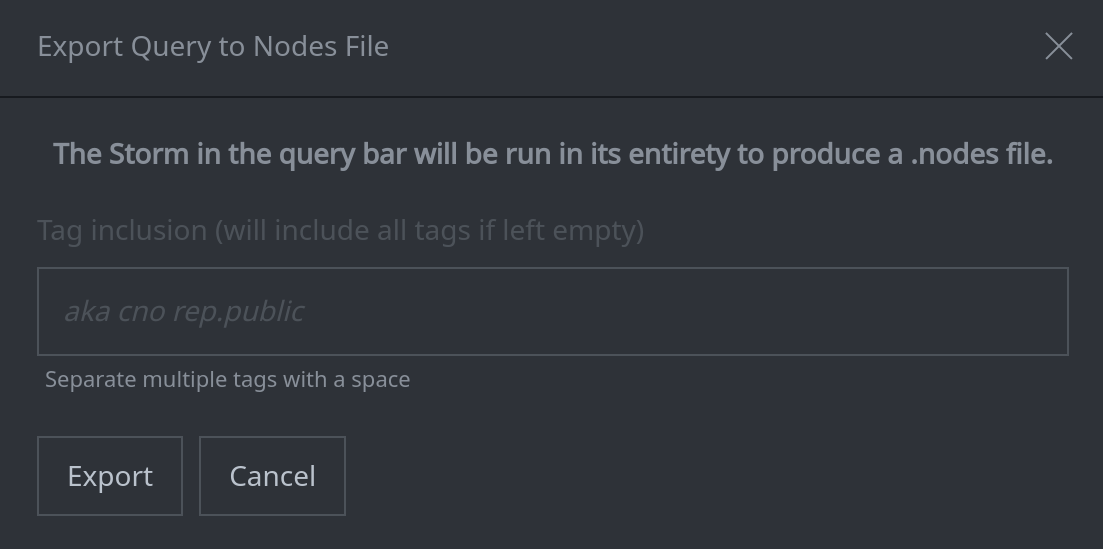
In the Export Query to Nodes File dialog, in the Tag inclusion field, specify the tag(s) you want to include on the nodes you are exporting. Click the Export button to generate the nodes file:
Tip
Recall that hierarchical tags consist of individual tags at each level of the hierarchy; so the tag
foo.bar.bazactually consists of the tagsfoo,foo.bar, andfoo.bar.baz. Specifying a higher level tag in the tag inclusion field will also export all tags below that tag in the hierarchy. So specifying the tagfoowill also export all sub-tags belowfoo(the equivalent offoo.*).Note that the tag inclusion field does not support tag glob format (e.g.,
foo.*).To include all tags on all nodes in your export, leave the field empty.
To not include any tags in your export, enter a space in the field.
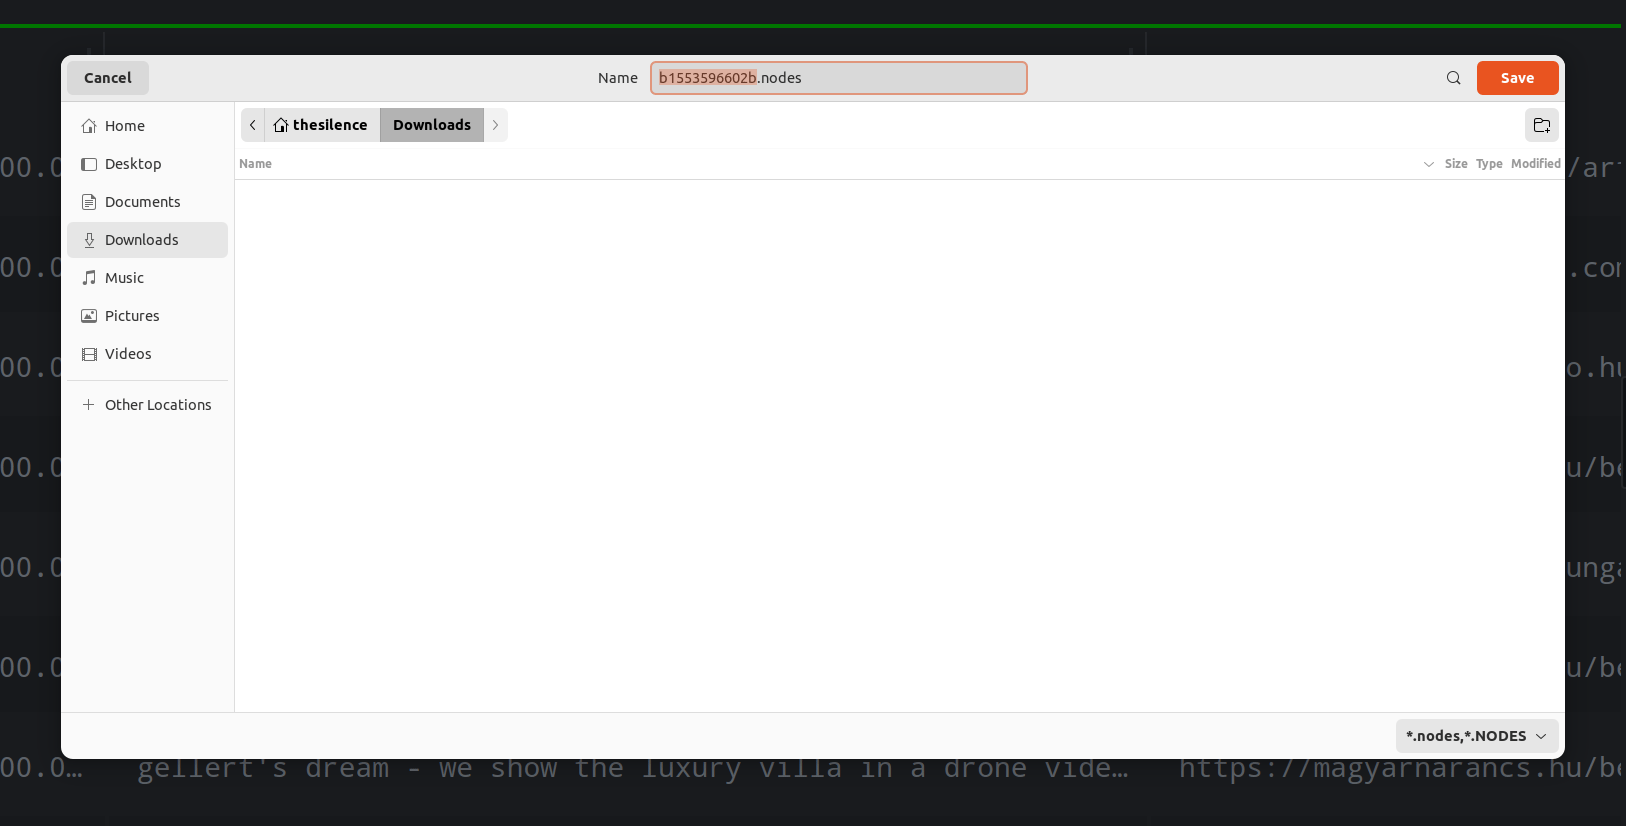
Choose a location to save the nodes file:
Note
Depending on the amount of data you are exporting, it may take Synapse some time to generate the nodes file. The “save file” dialog box will not appear until the nodes file has been generated and is ready to be saved.
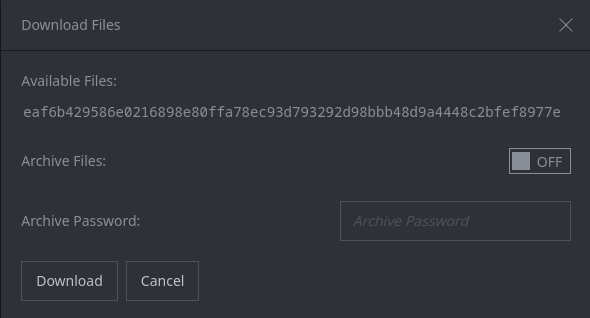
Download a File from Synapse
You can download any file from Synapse’s axon storage and save it to disk.
Tip
Synapse’s data model can represent a file (as a file:bytes node) even if Synapse does not
have a copy of the actual file. The presence of a file:bytes node in Synapse does not
necessarily mean that the corresponding file is available in Synapse’s axon storage.
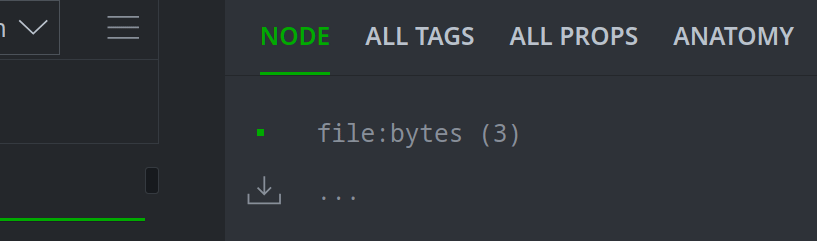
In the Research Tool, locate the file that you want to download. Right-click the file and select download file:bytes from the context menu:
Tip
You can select multiple files for download using shift-click or ctrl-click.
Alternatively, you can download the file(s) by clicking the download icon in the Details Panel:
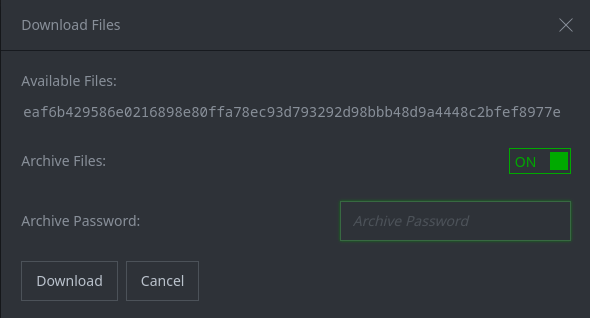
If you wish to wrap the file inside of a ZIP archive, toggle the Archive Files switch to the ON position:
Tip
When downloading multiple files, the files will always be wrapped inside a ZIP archive.
If you wish to password-protect your ZIP archive, the Archive Password input box will be enabled after setting the Archive Files switch to the ON position
Tip
Your administrator may have set a mandatory password for all downloaded files. In that case your file will always be downloaded as a password protected ZIP archive, and you should contact your administrator for the password.
Click the Download button to download the file:

Choose a location to save the downloaded file:
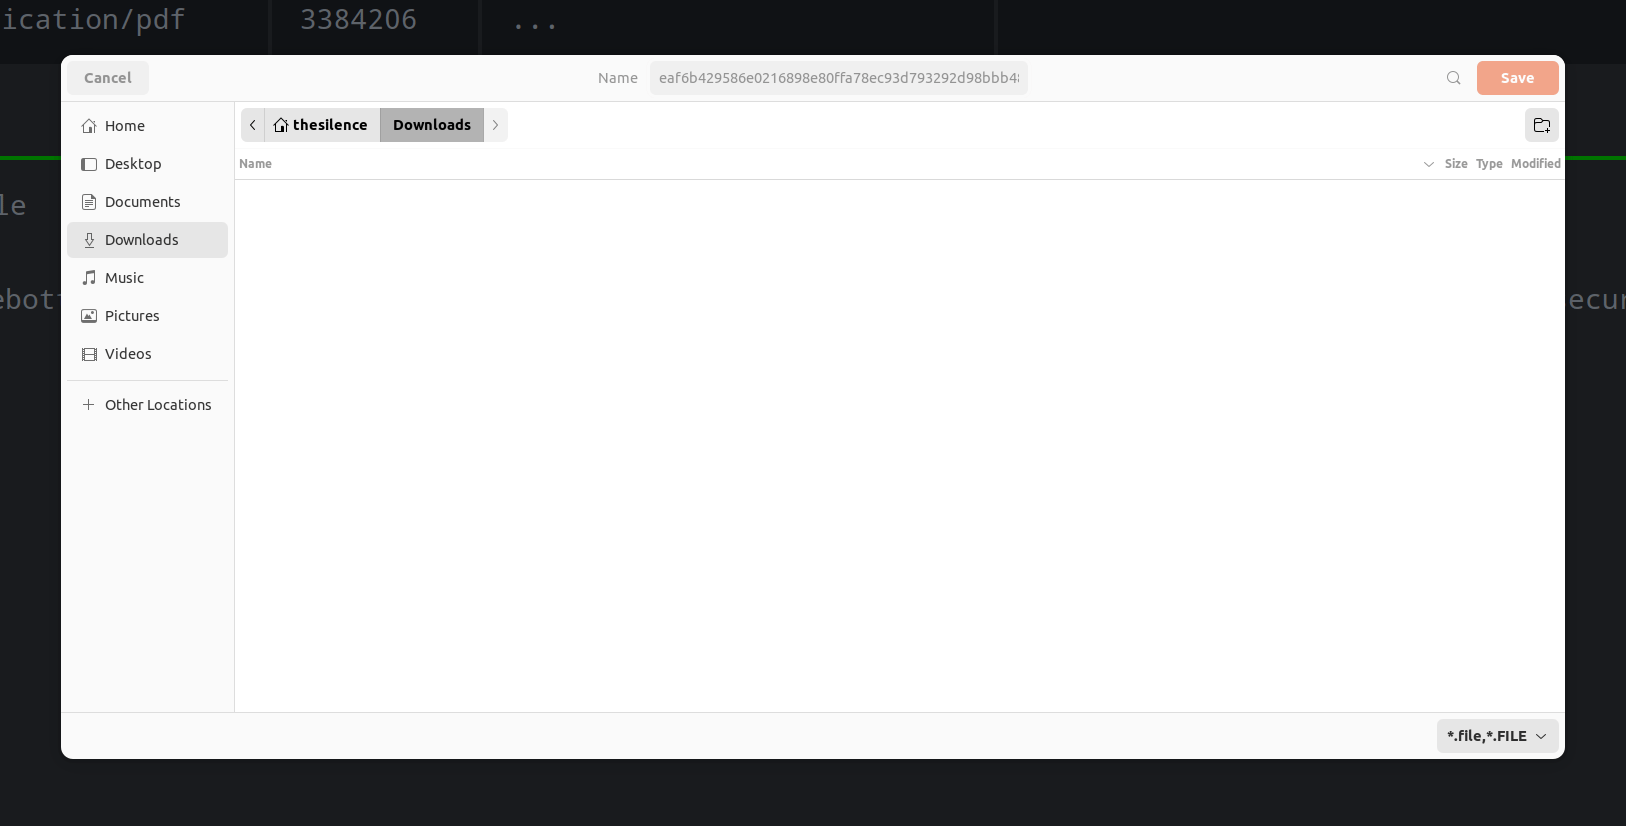
By default, the file will be saved using its
file:bytes:namevalue, if present. If a file with the same name already exists in the download location, Synapse will deconflict the names by adding a numerical extension (e.g., ifsvchost.exealready exists, Synapse will save a file with the same name assvchost.exe_1).If the
file:bytesnode does not have a:namevalue, the name will default to the file’s SHA256 hash.
Warning
Synapse’s axon storage may contain both non-malicious (documents, reports) and malicious (malware sample) files, depending on how you are using Synapse for analysis. Synapse does not include any mechanisms to detect or distinguish “safe” files from potentially “risky” ones.
Users download files from Synapse at their own risk.
Export a Story from Synapse
To export a Story from Synapse, see Export a Story as a PDF in the Stories Tool documentation.